The dog days are over
The dog days are done
The horses are coming
The horses are coming
So you better run
Florence & The Machine
Yesterday, while I was doing my weekly shopping, I heard Dog Days are Over by Florence & The Machine. I was bopping to my ipod like it was no big deal. Why don’t you get goosebumps or something when things happen, that in hind sight, give you a clue into your future?
If that was the case I would have turned into the freaking goose! LOL
Today was Ninja’s day back to work. Well… kinda, who knows what next week will bring but this week was like it was the beginning of the season. He had to be up at 6:30, Dad was in the shower by that same time and I have to get out of bed and get going at the latest 7:15. *SIGH*
I have it so good during the winter, alas… the dogs days ARE over. LOL
Ninja’s parents came over for superbowl yesterday. We had appys and ordered pizza J
So I figure I will show you 1 of the Xmas presents we made this year. It would make a great Valentine present too!
Easy Removable Pillow Cover Tutorial
Adapted from Sparkle Power
You will need:
Pillow form
Fabric for both the front & back of the pillow (I used a bedsheet)
Instructions:
Cut your front fabric to the exact measurement of the pillow form. This makes for a nice plump pillow in the end. My pieces were 14″ x 14″.
Cut two pieces from your backing fabric that are the same length of the pillow, but 4 inches shorter on the width. My pieces were 14″ x 10″.
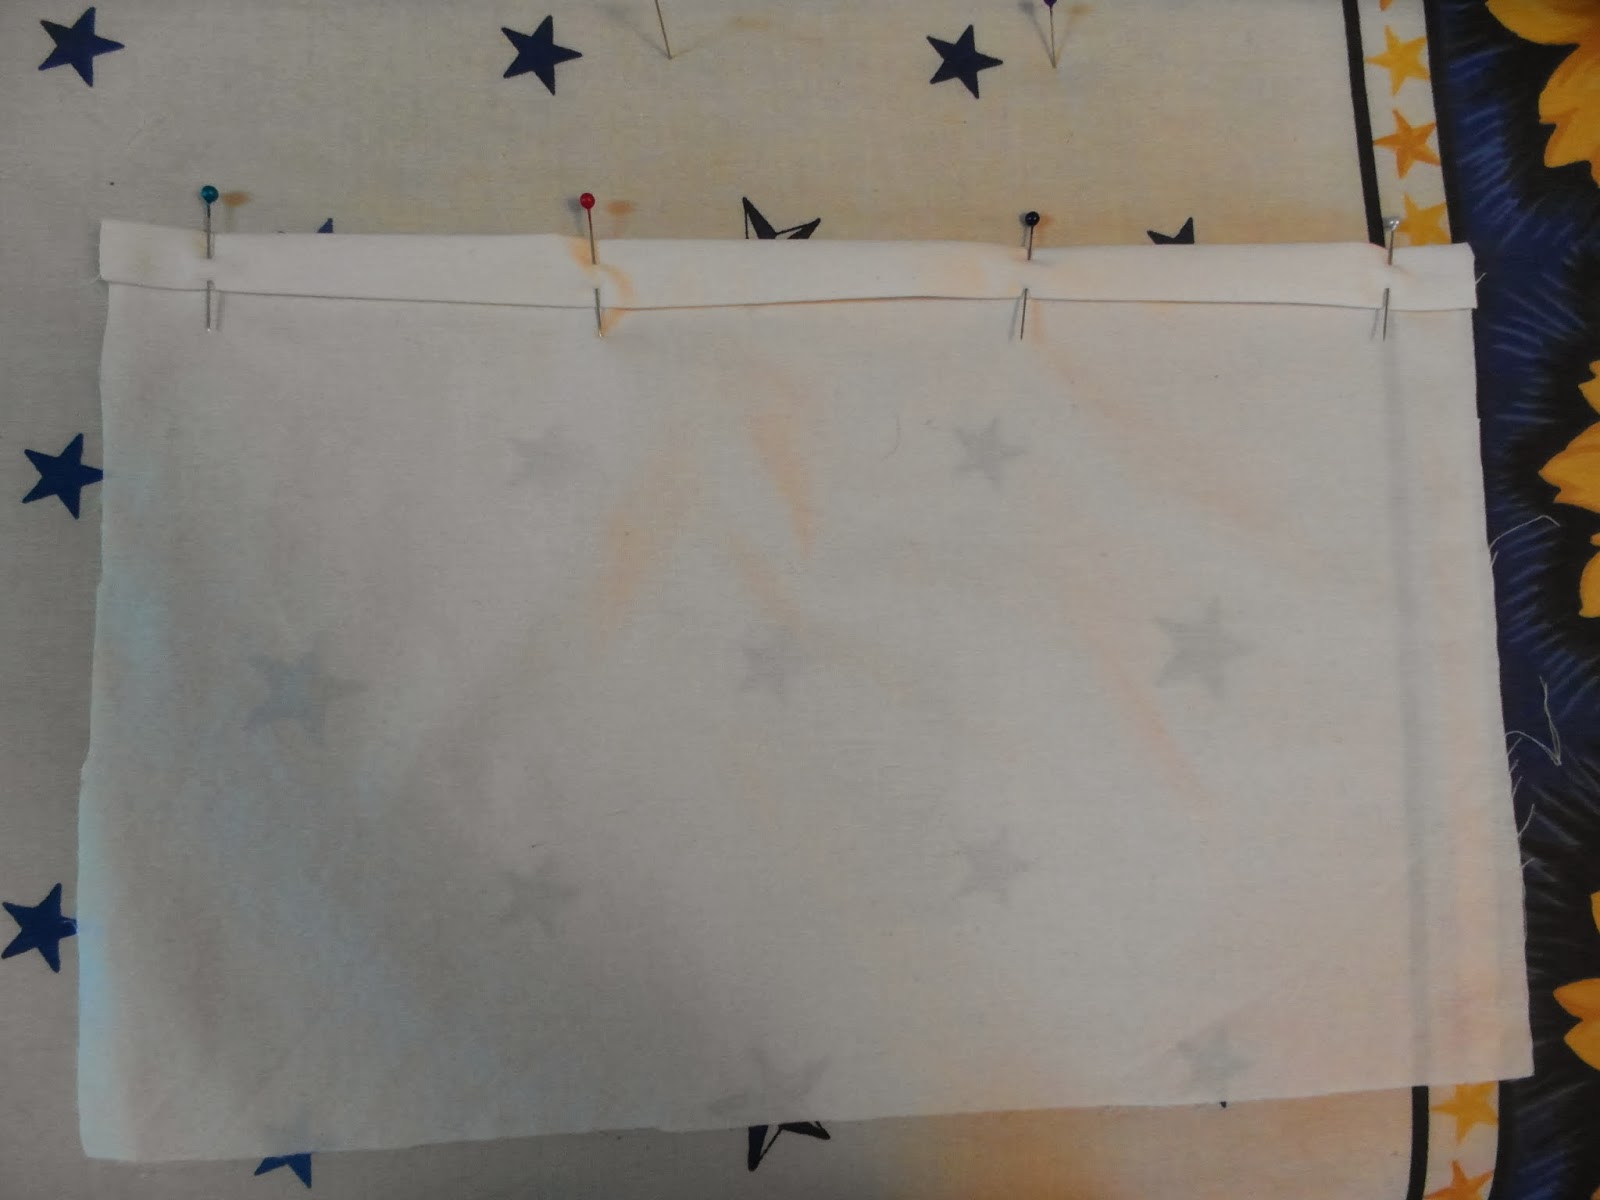
On one of the long sides of the backing pieces create a hem by folding the fabric over towards the back 1/2 inch & iron.

Then fold over another half inch, iron & pin. Sew along the fold with a straight stitch. Repeat on the other backing piece.
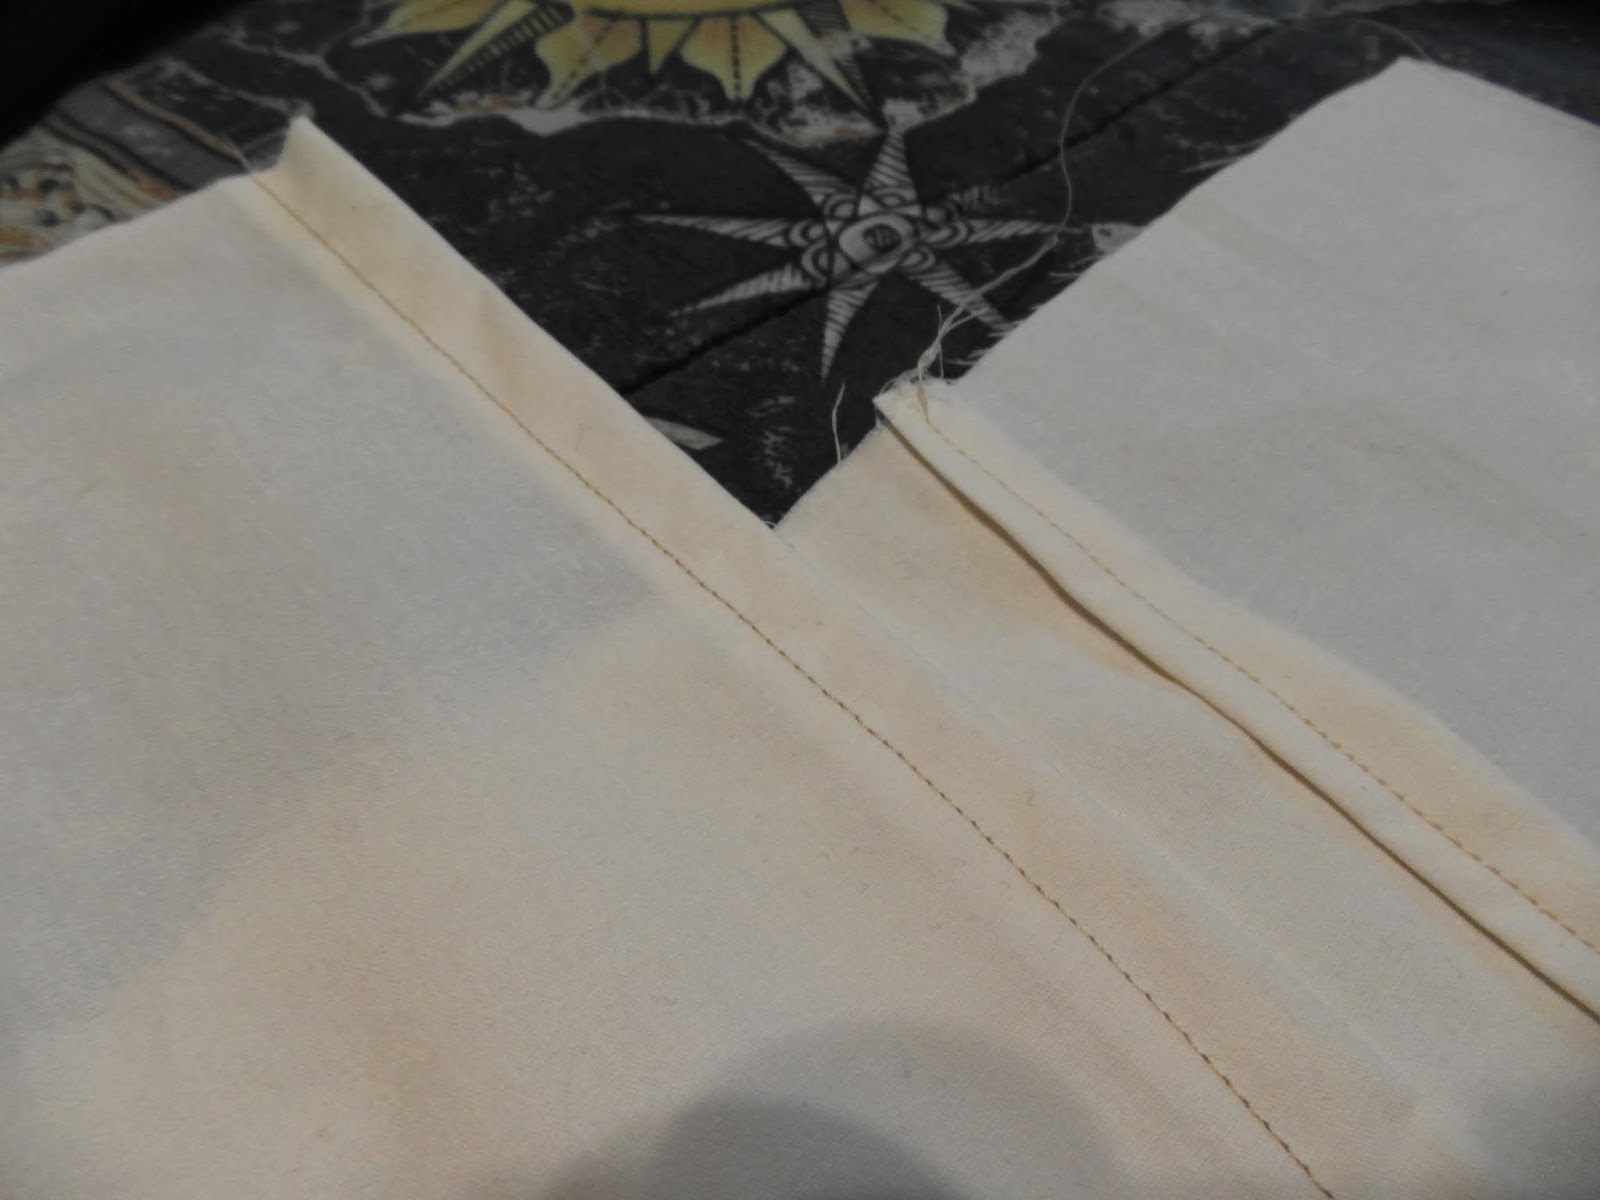
The photo below shows how this will look on the back side of the fabric (piece at the top of the photo) and on the front side (piece at the bottom of the photo).
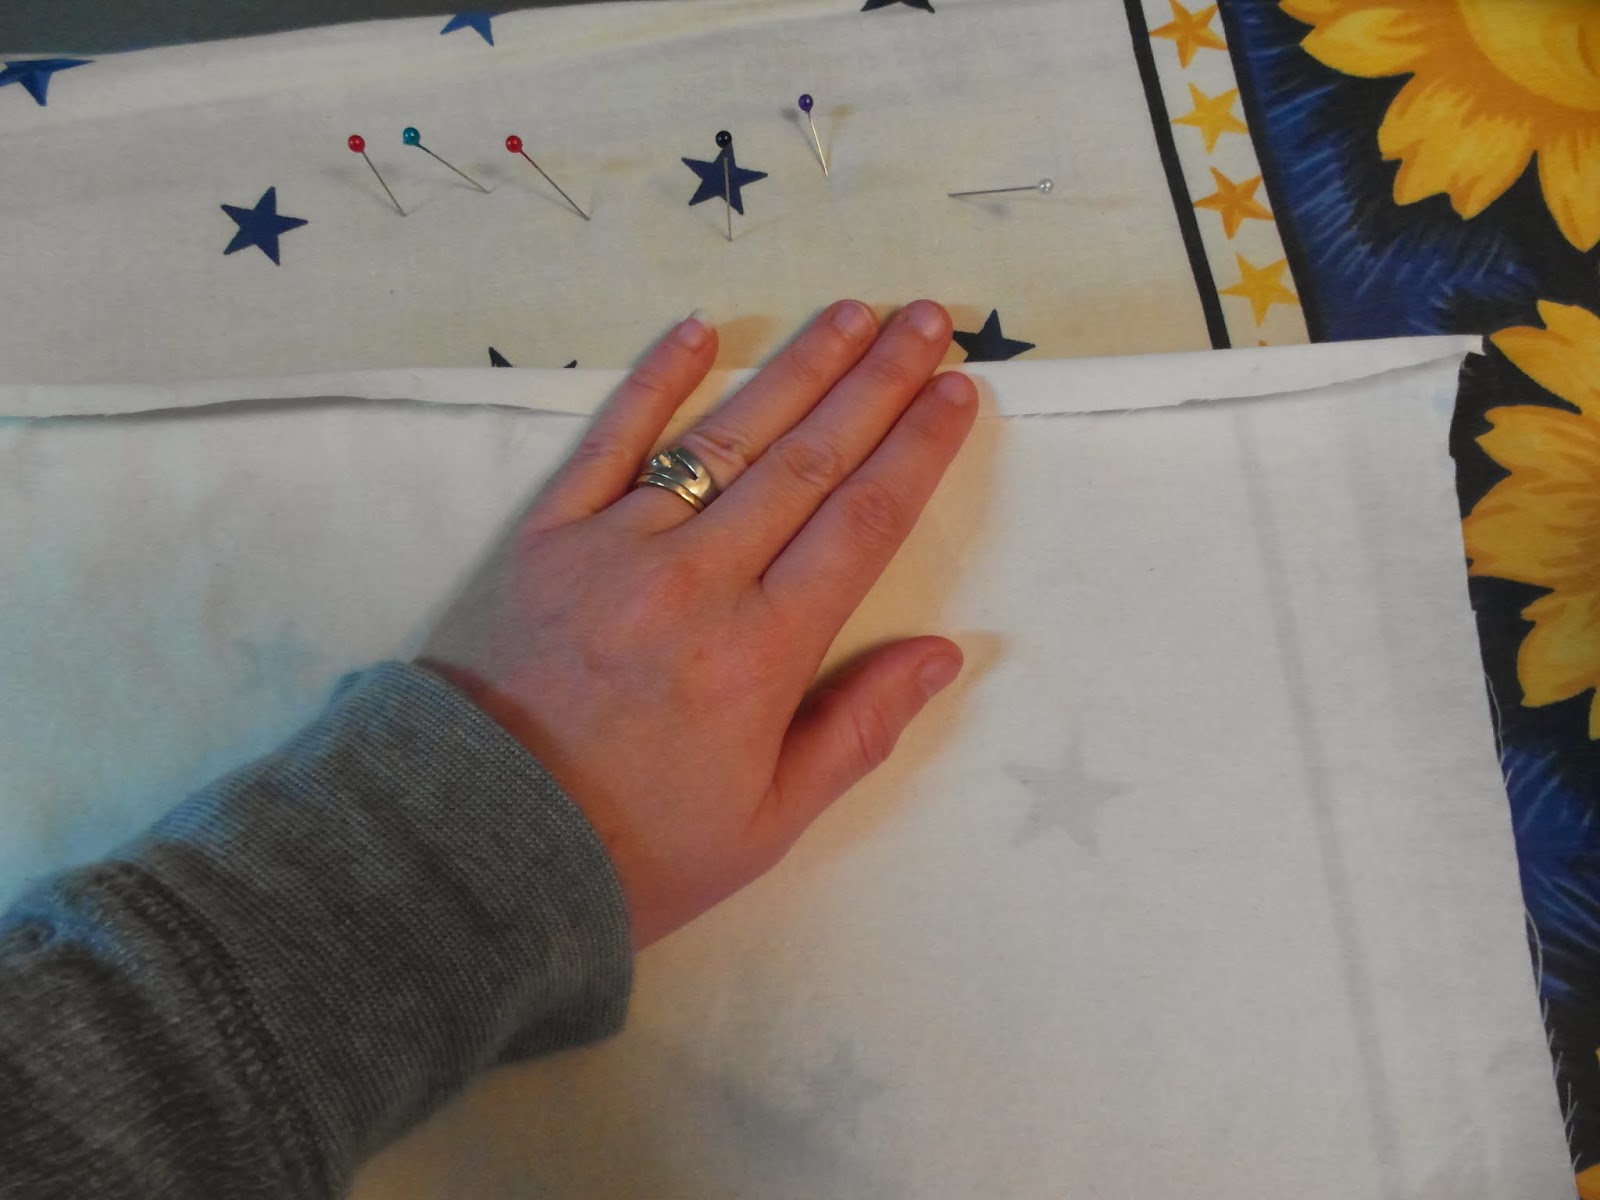
Next, lay your front fabric piece face up. Lay one of the backing pieces on top, facing down, so right sides are together. Position the raw edge of the backing piece on the left edge of the front piece. The hemmed edge will be in the middle. Pin in place.

Lay the other backing piece on top with the raw edge aligned with the right edge of the front fabric piece. The hemmed sides will overlap in the middle. Pin in place.
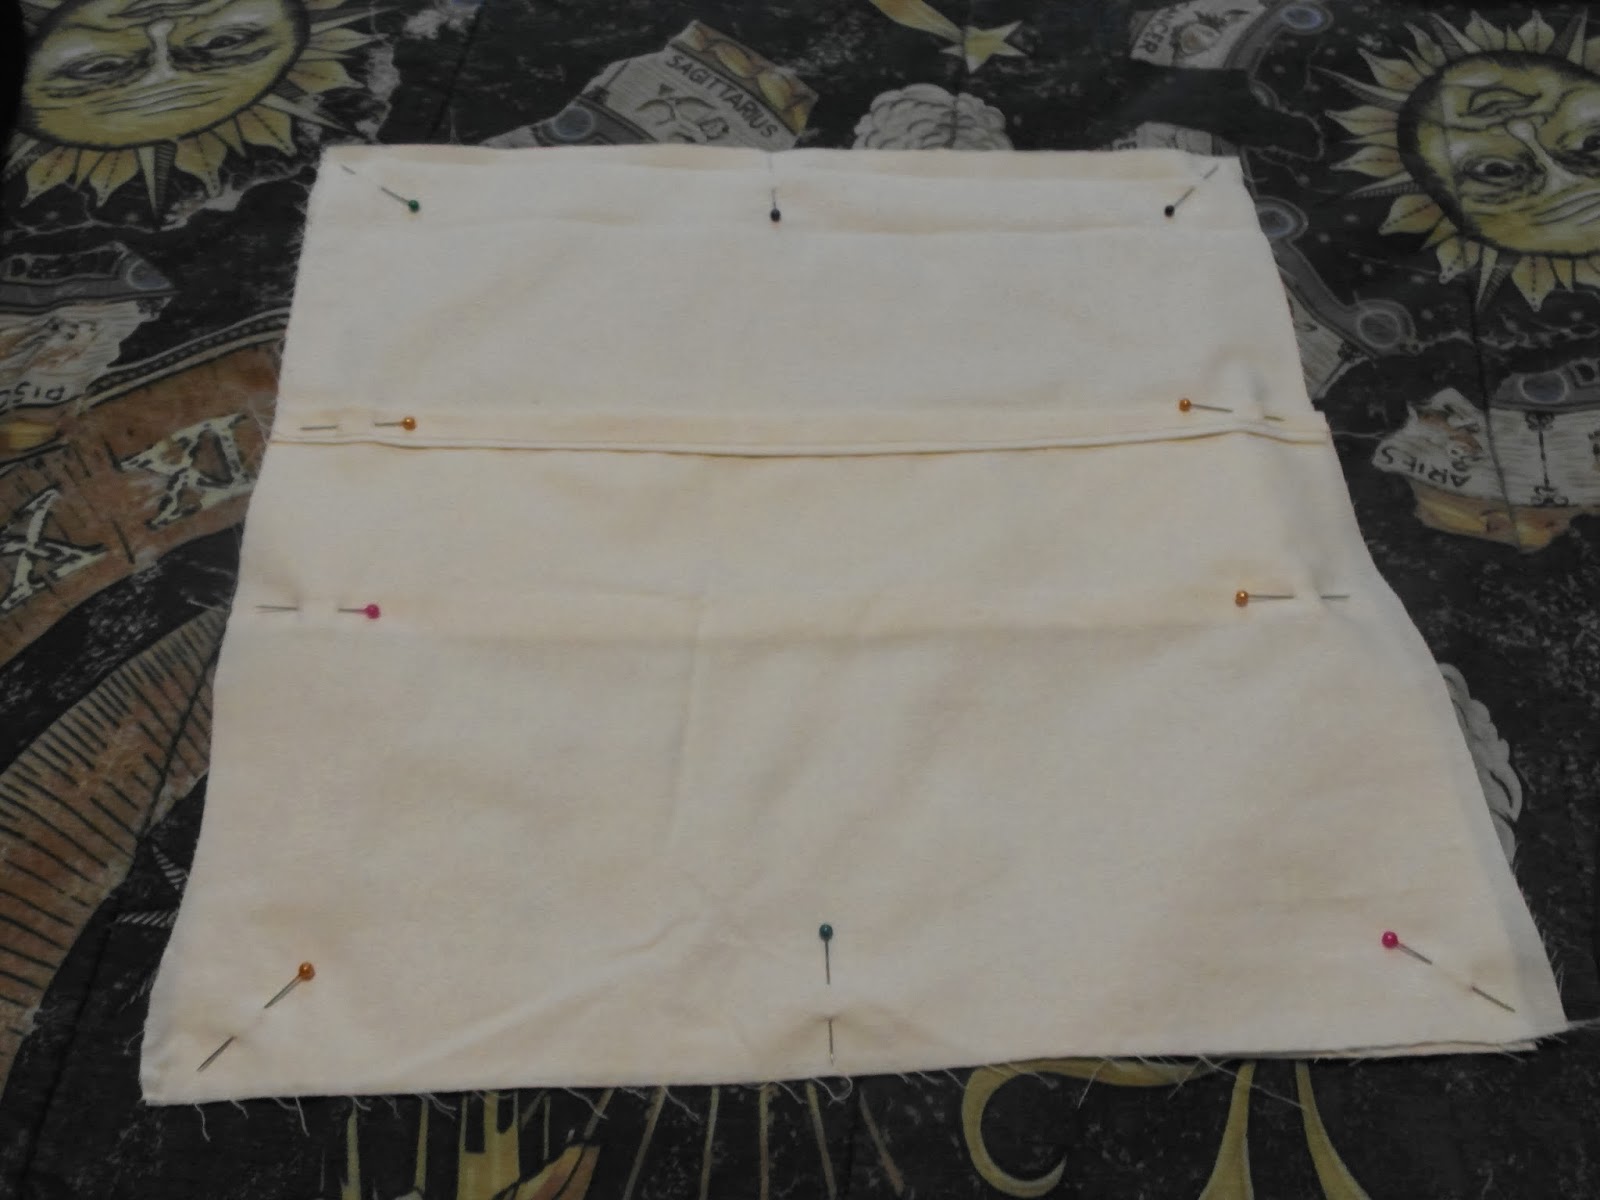
Sew around all four edges using a 1/4 inch seam allowance. Remove your pins & trim the corners.
Turn the pillow case right side out. Using the eraser end of a pencil, push your corners out. The pillow case is done! Put your pillow form into the case.
The back pieces will overlap nicely in the back.
And you’ve got a snazzy new pillow! It’s really that easy.
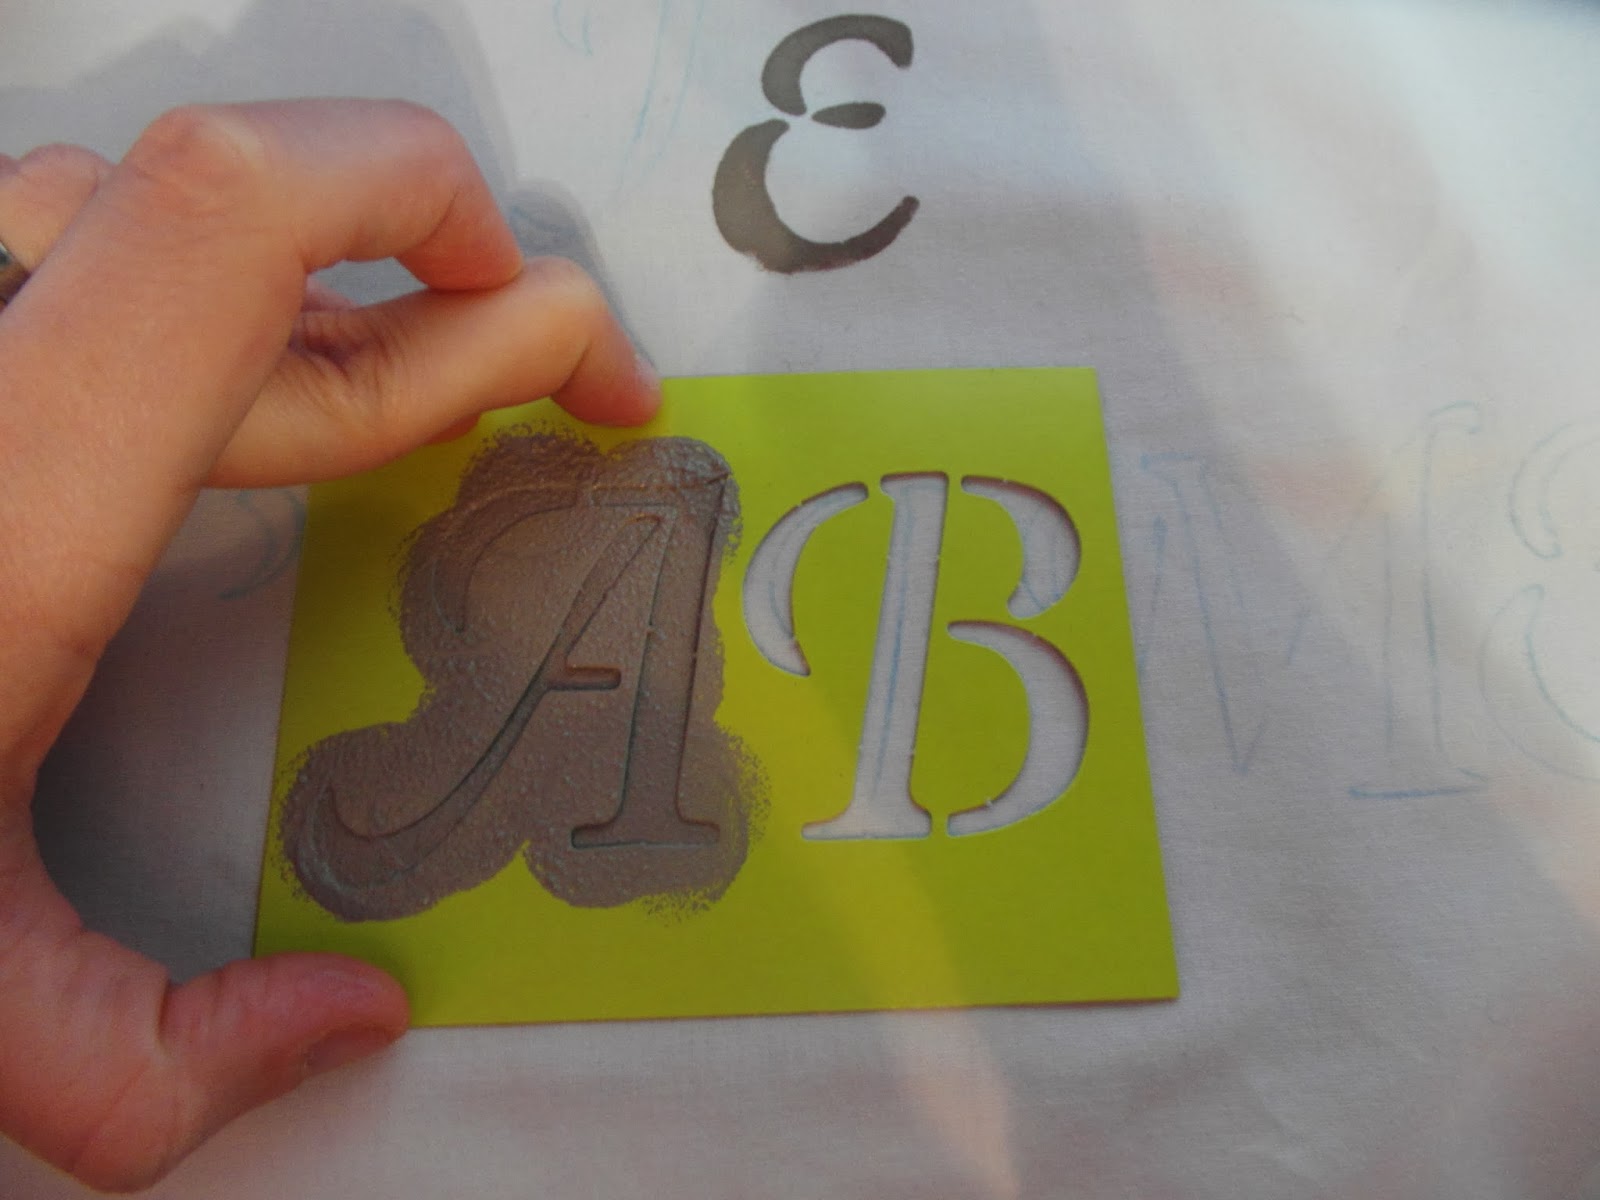
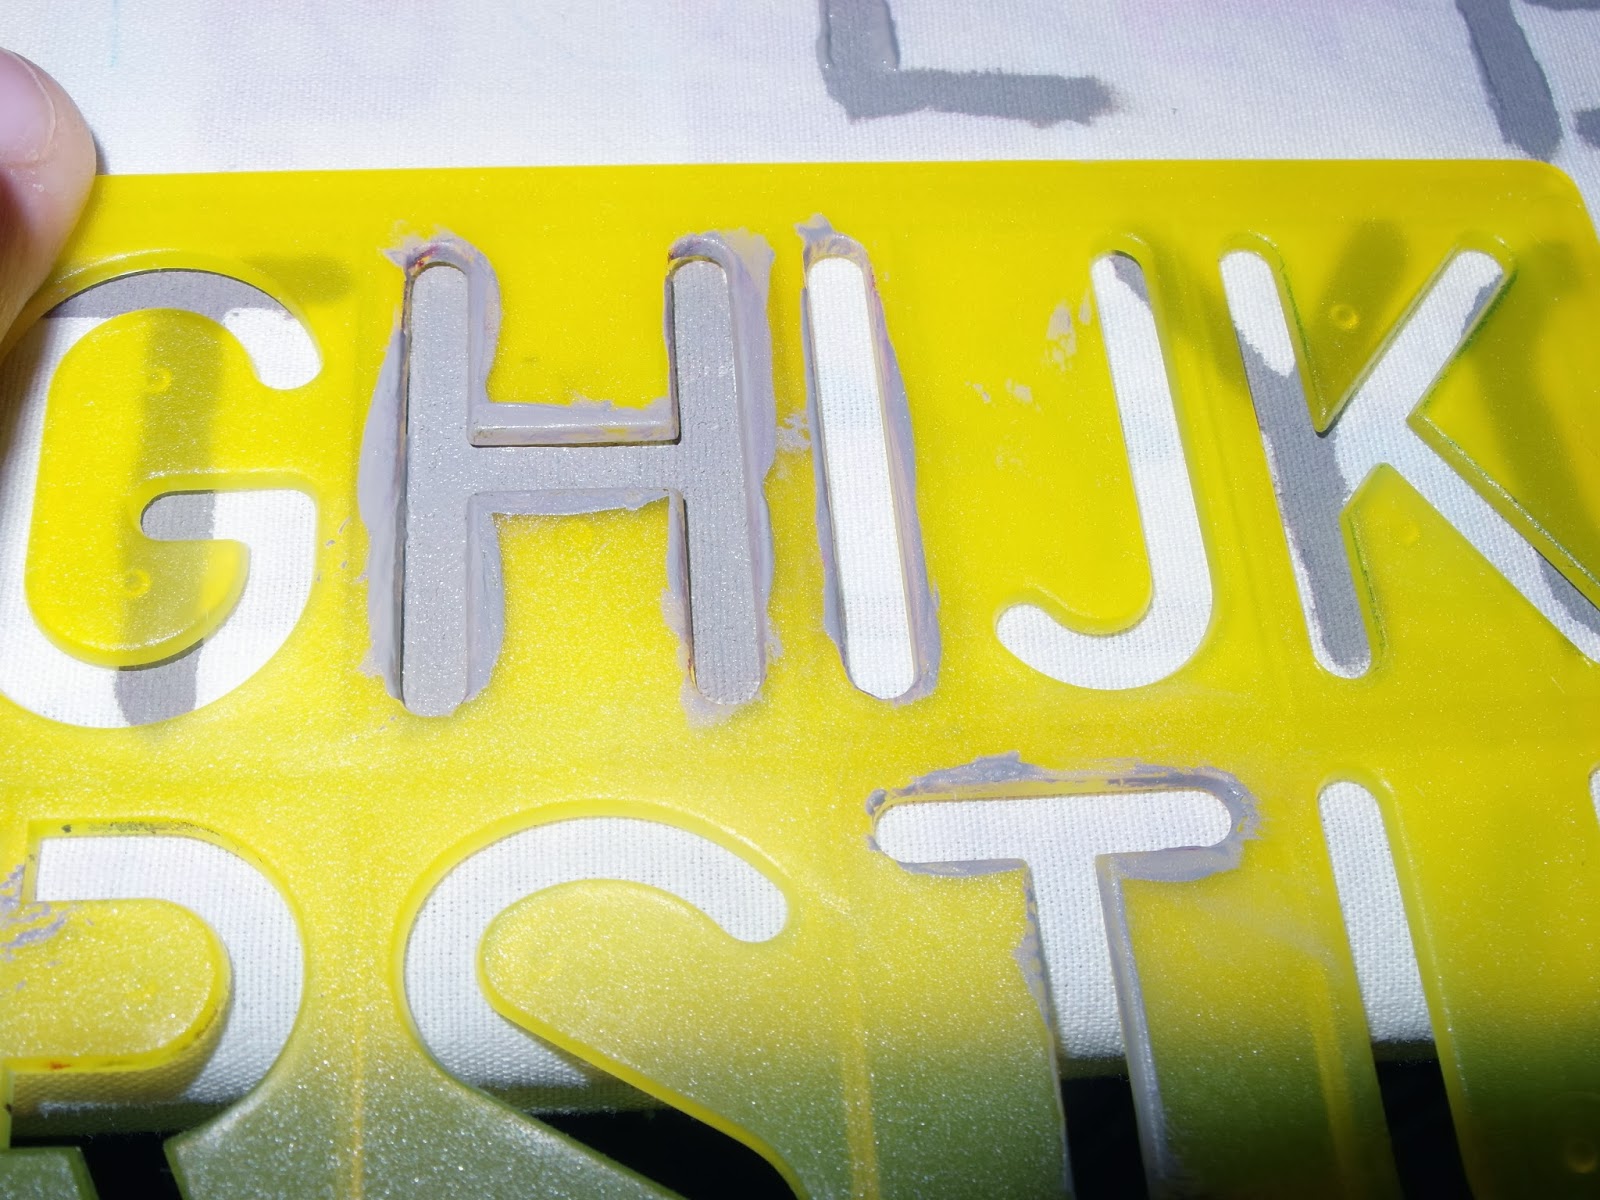
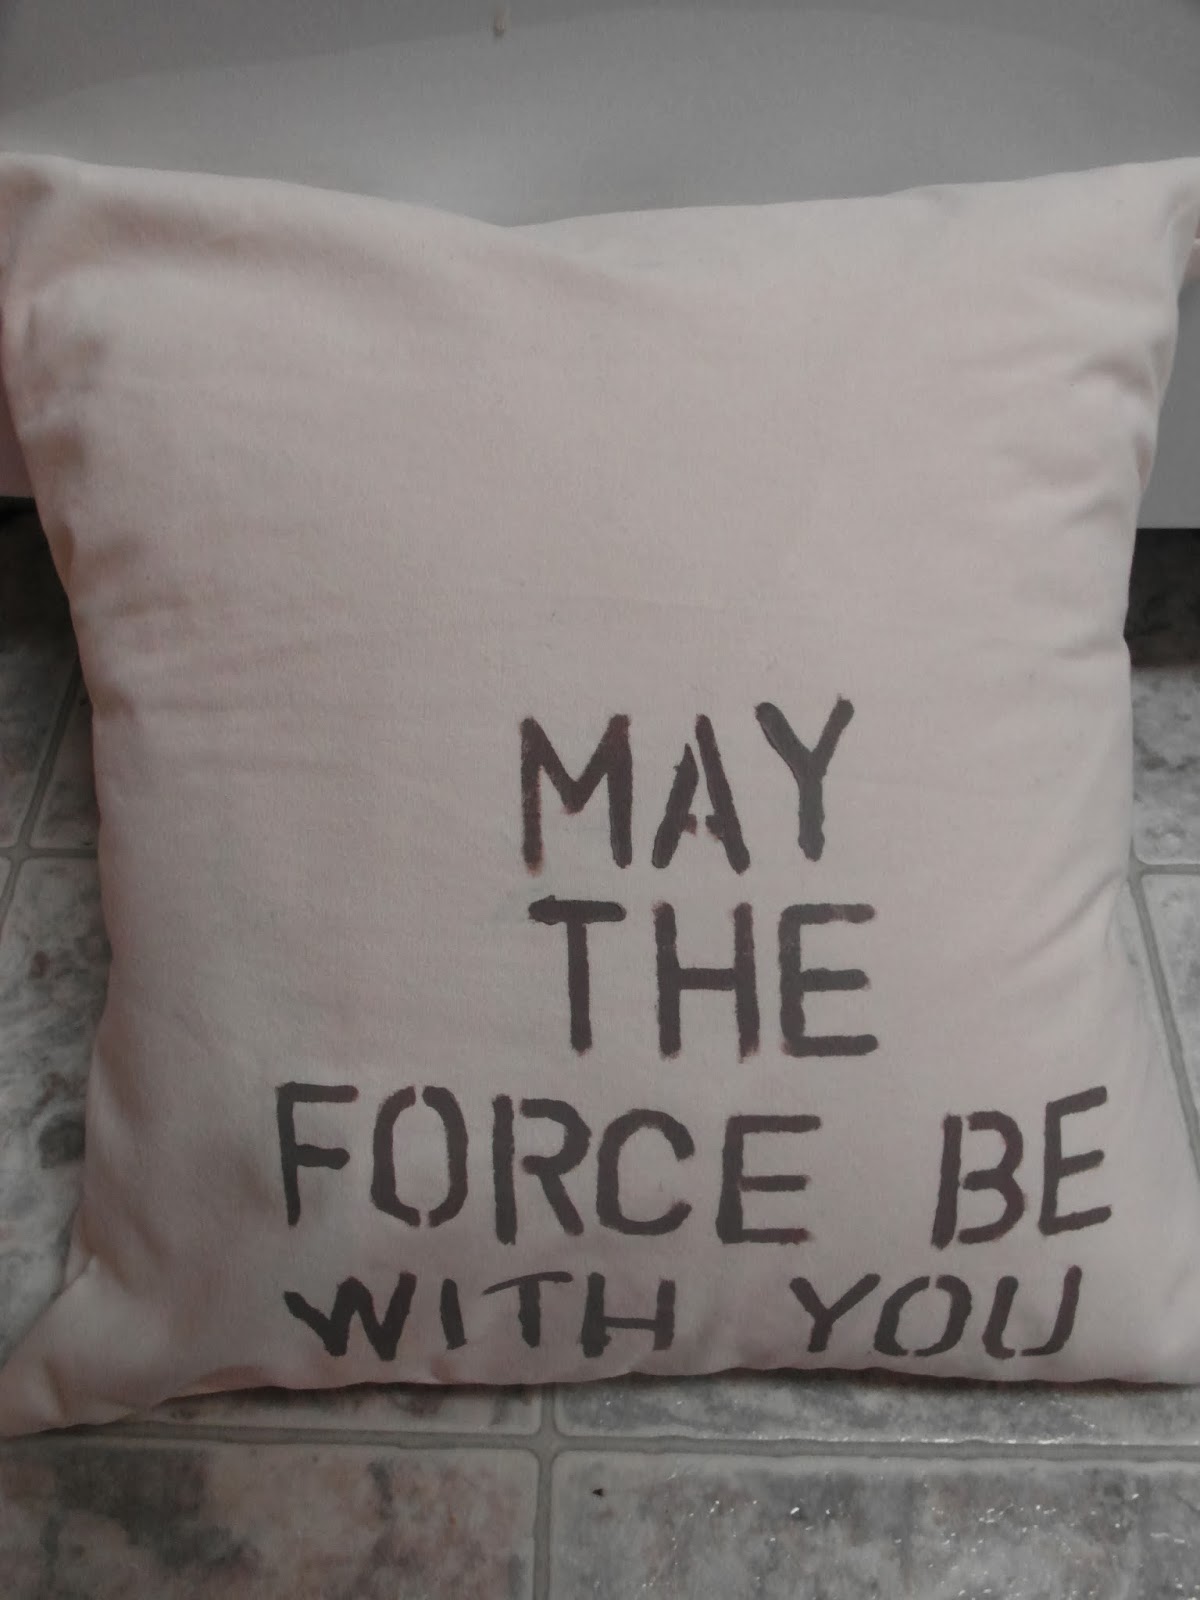
You could use a fabulous pattern for the front and the basic bedsheet for the back OR you could stencil your favorite saying, which is what I did J