
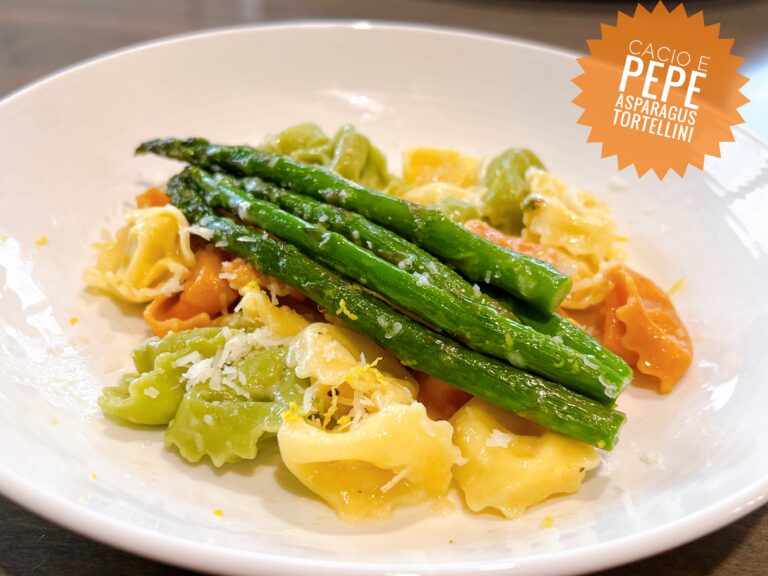
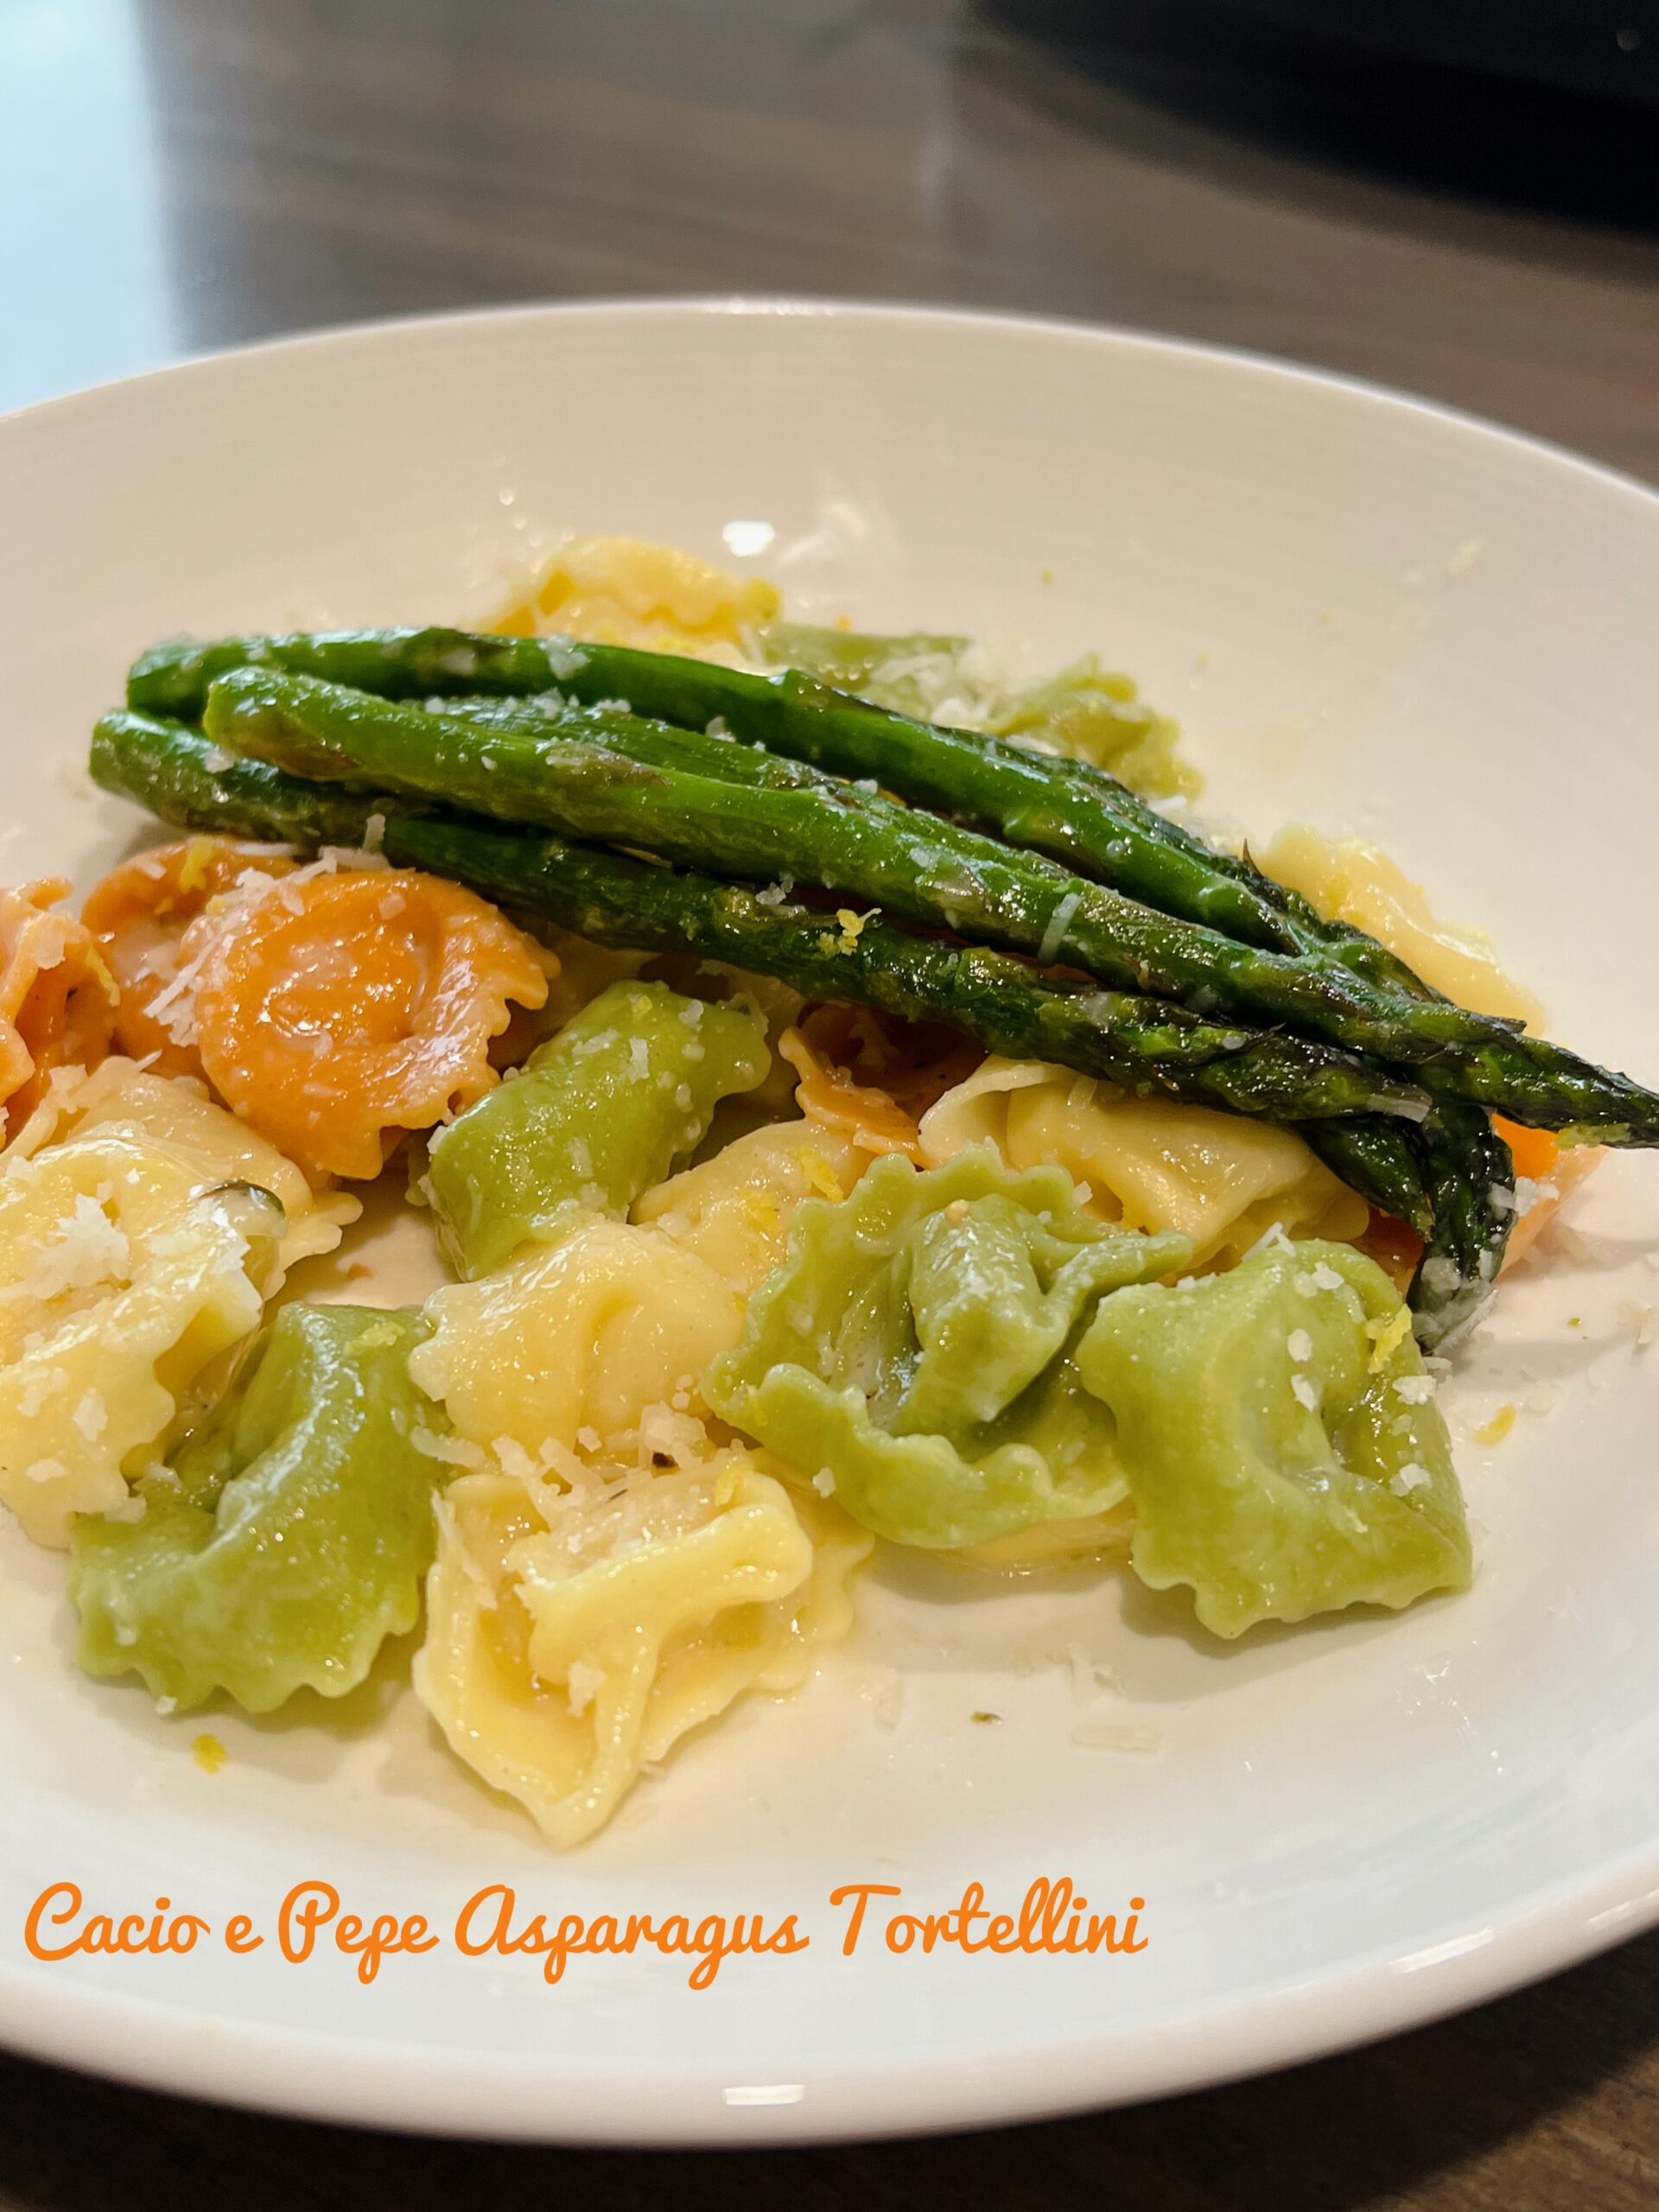
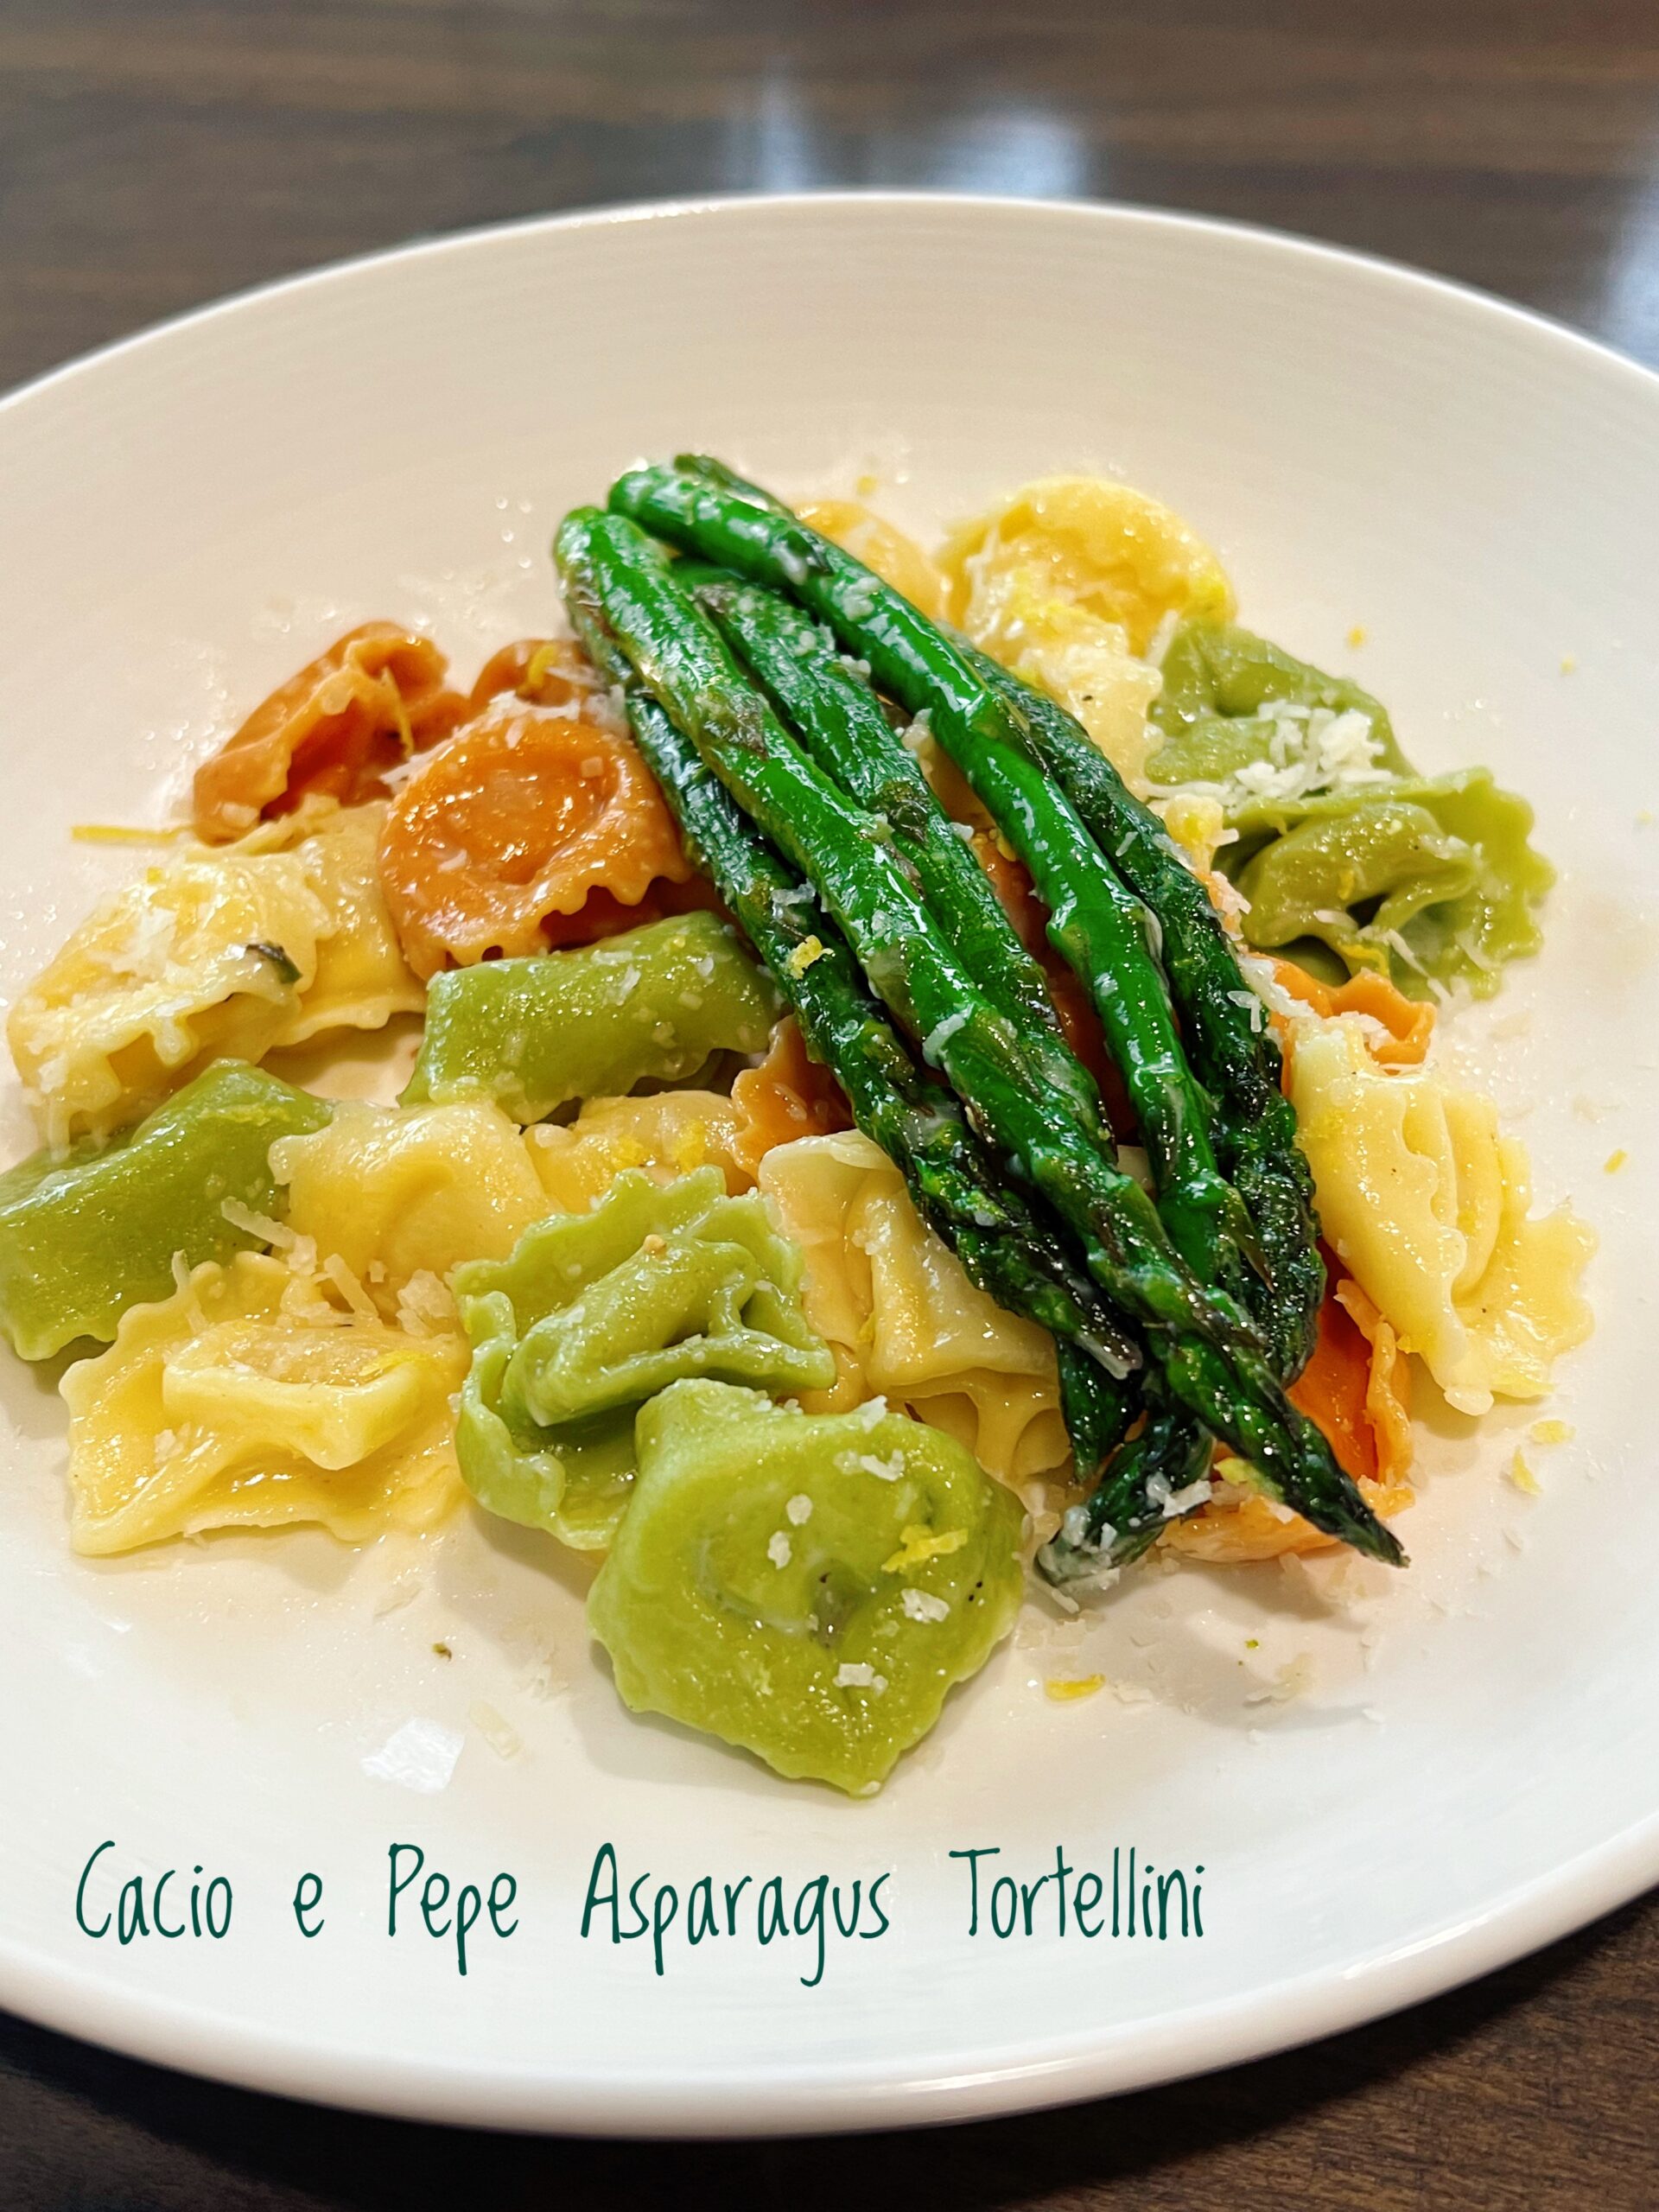
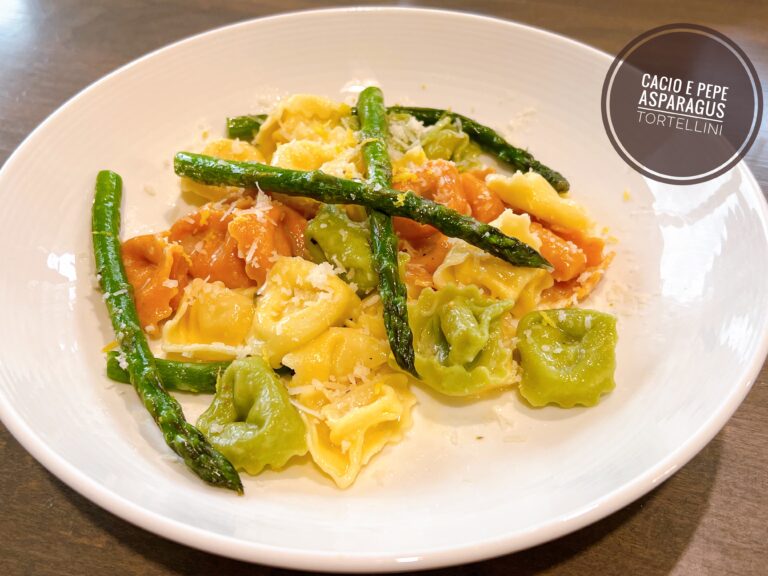
Ingredients
1 package Cheese Tortellini
1/4 cup reserved pasta water
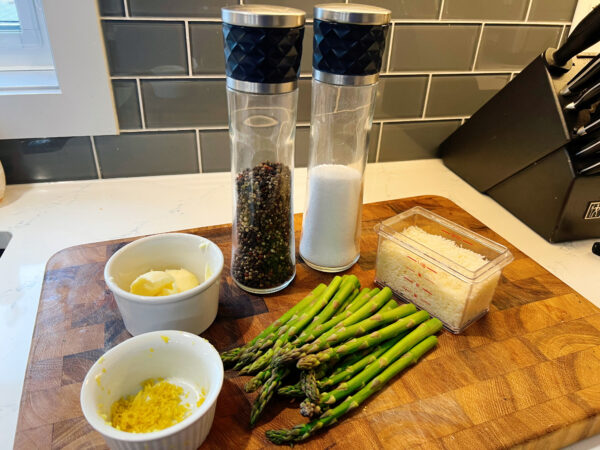
3 tablespoons butter
8oz asparagus, woody ends trimmed off
1/2 teaspoon black pepper
1/2 teaspoon salt
3/4 cup parmesan cheese, grated
1 teaspoon lemon zest
Directions
Bring a large pot of heavily salted water to a boil. Once the water is boiling, add the tortellini. Cook according to the packages instructions.
While the pasta boils, add the butter to a large skillet. Melt over medium heat. Add the asparagus, salt, and pepper. Mix to combine. Cook for about 7-9 minutes.
Once the tortellini is cooked, transfer to the pan with the asparagus. Add in a little bit of reserved pasta water, about 1 tablespoon at a time.
Mix in 3/4 of the cheese. Turn the burner off. Keep tossing until the cheese melts. Top with remaining cheese, more black pepper, and a little bit of lemon zest.

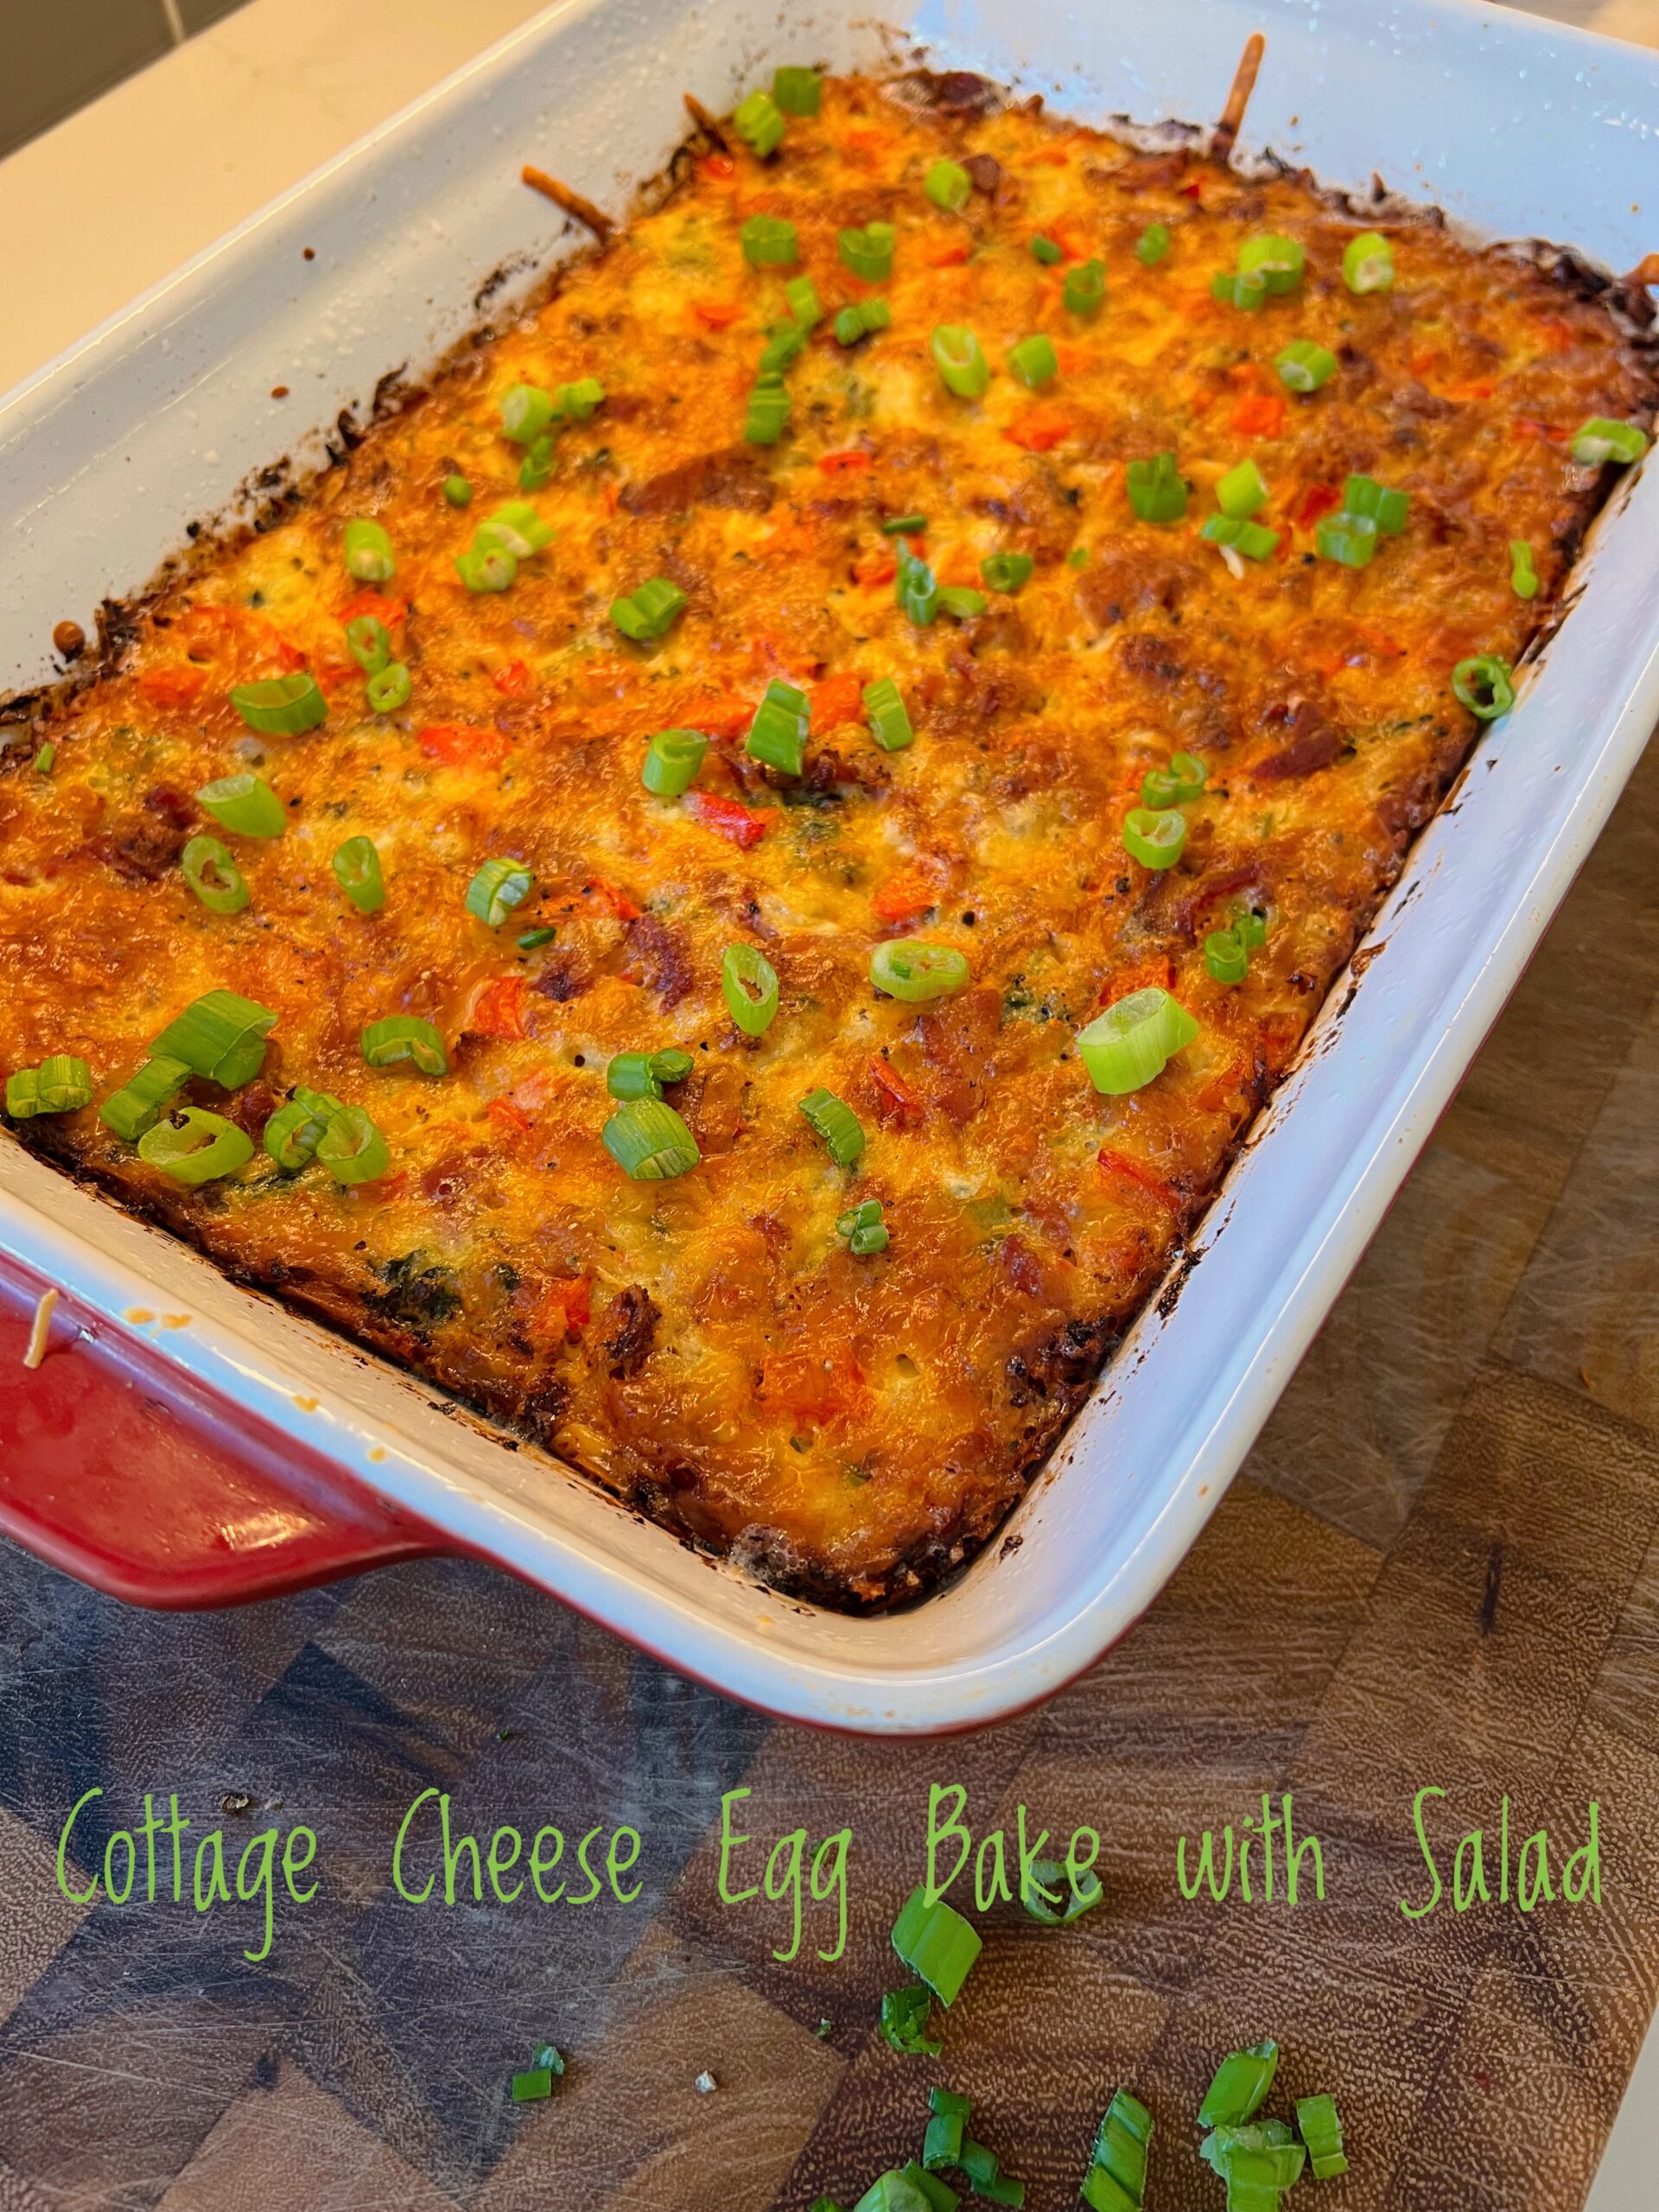
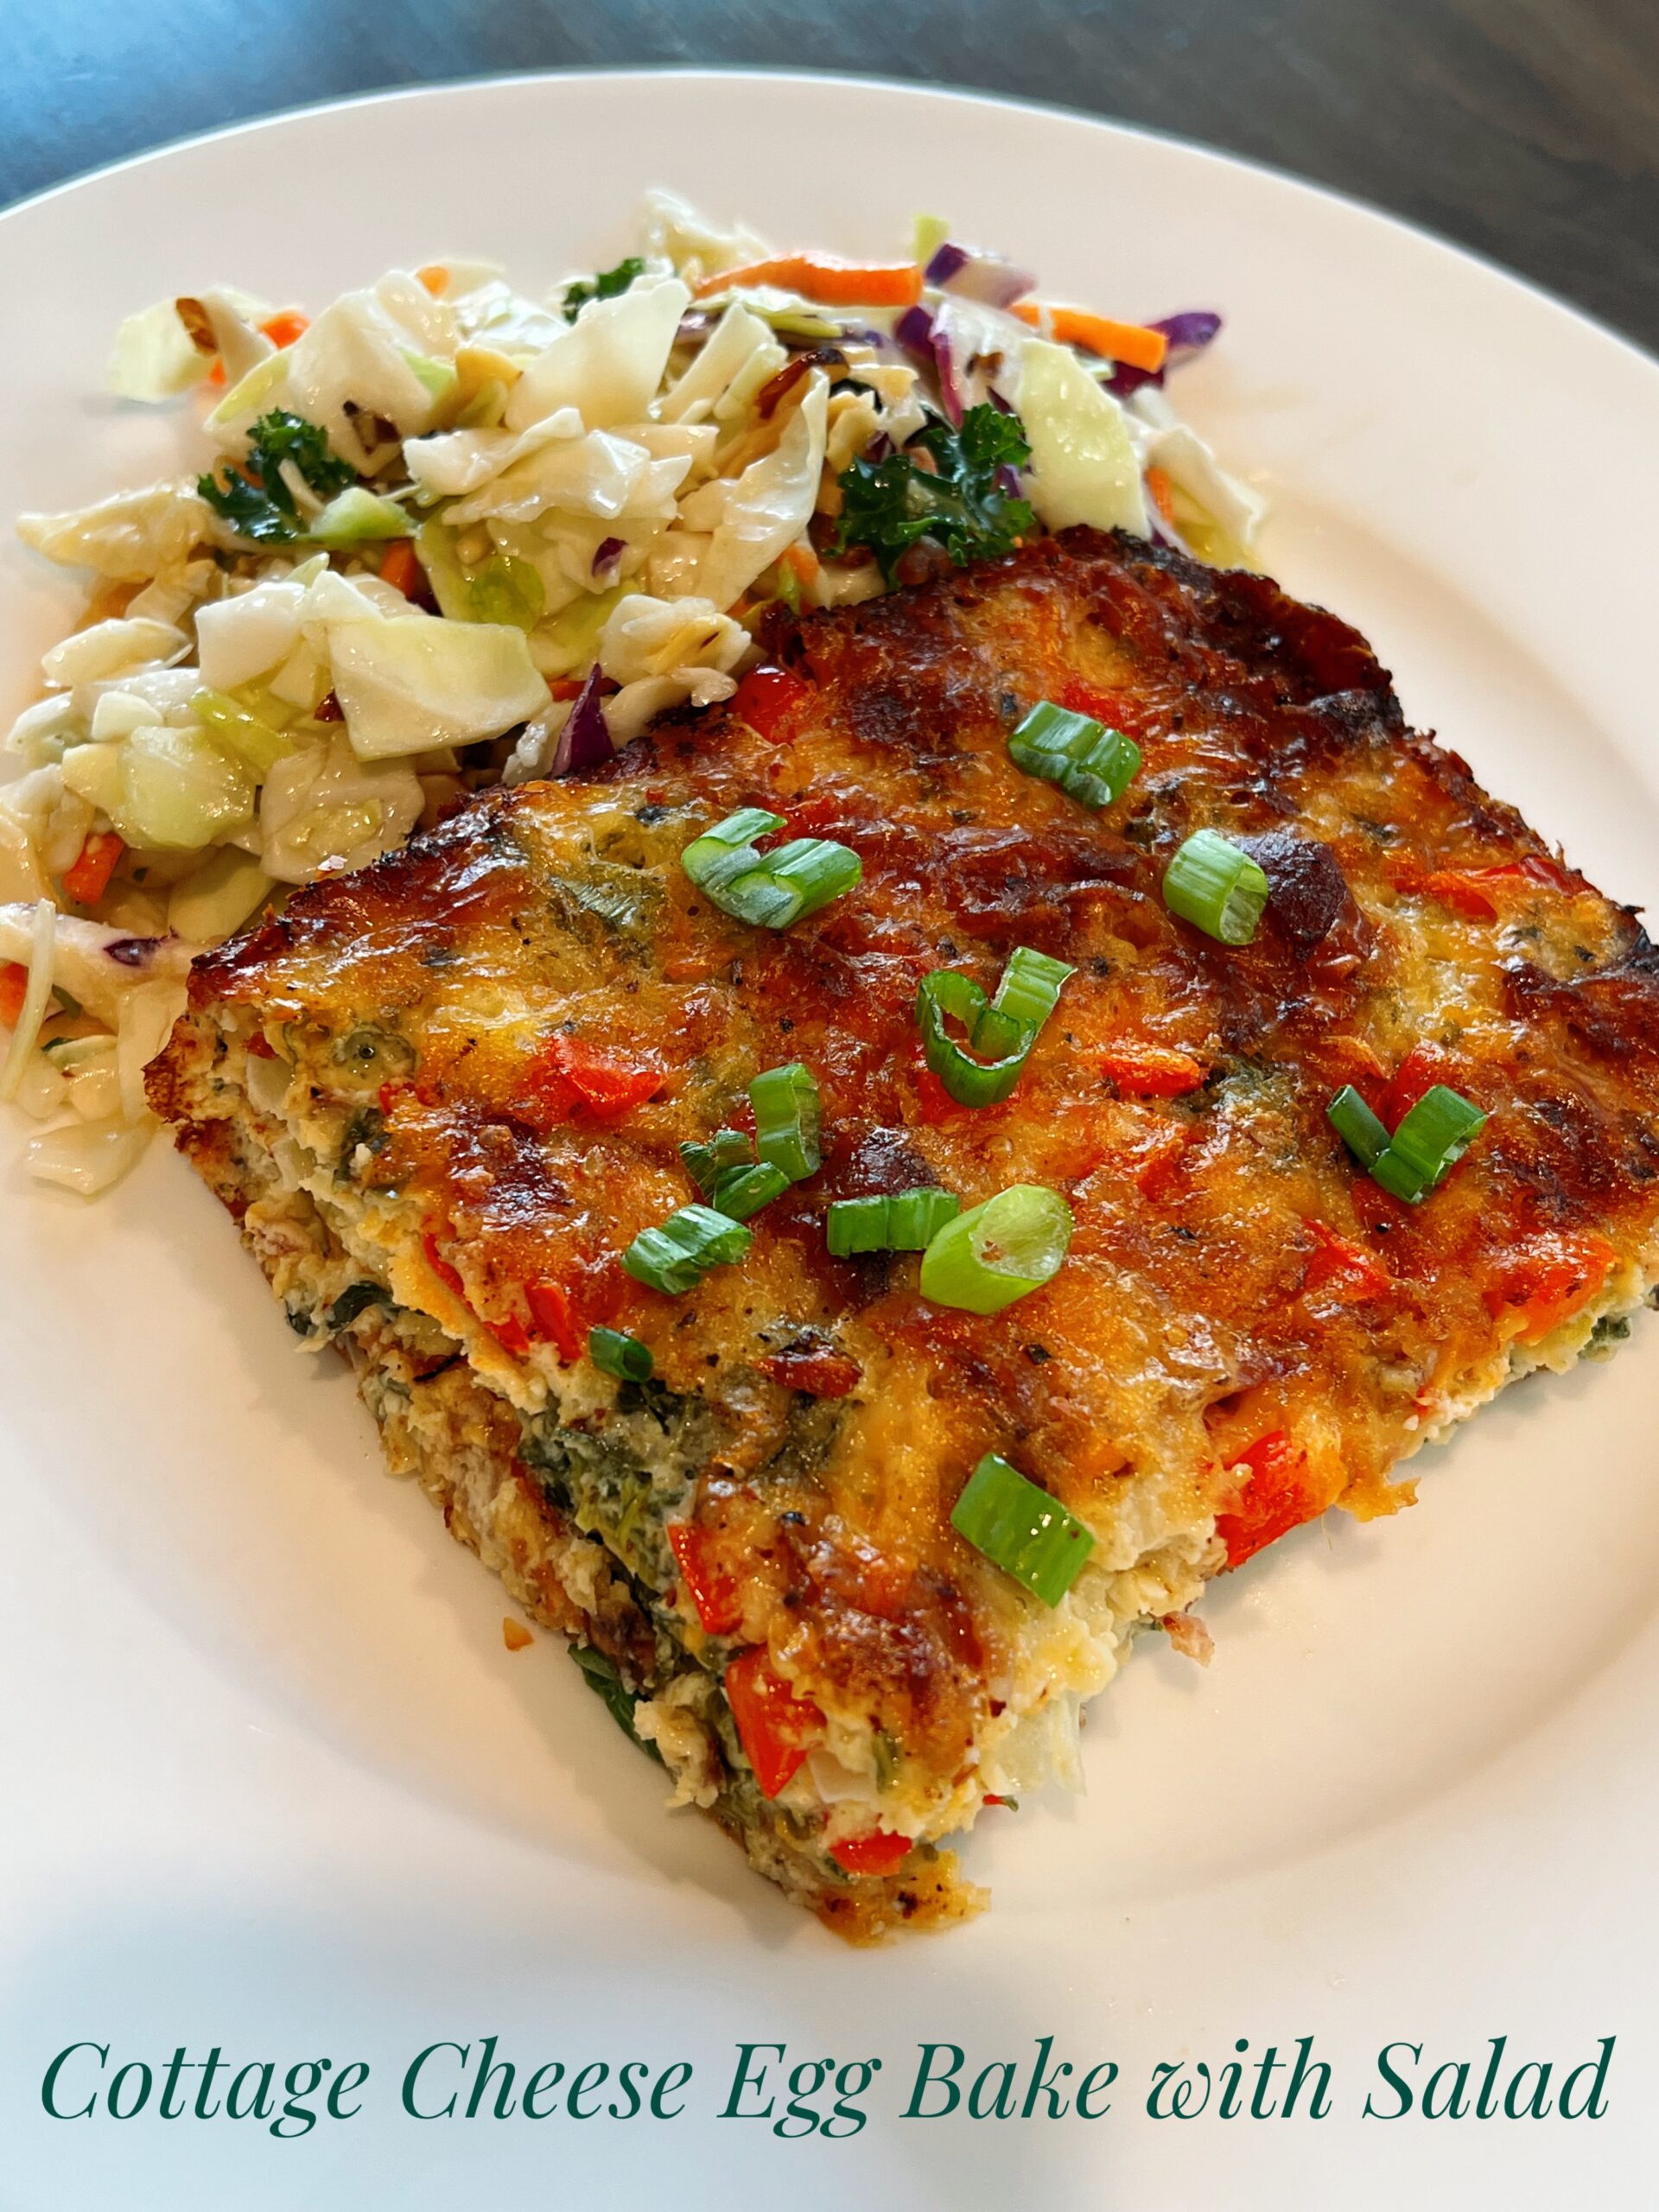
Ingredients
8 pieces bacon, divided
10 eggs
2 cups Monterey Jack cheese, shredded & divided
1 package frozen chopped spinach, thawed & drained
3/4 container cottage cheese
1/3 cup butter, melted and cooled
1 red bell pepper, diced divided
1/2 cup flour
1 teaspoon hot sauce
1 teaspoon seasoning salt
½ teaspoon black pepper
½ cup Parmesan cheese, grated & divided
2 green onion, chopped & separated
Directions
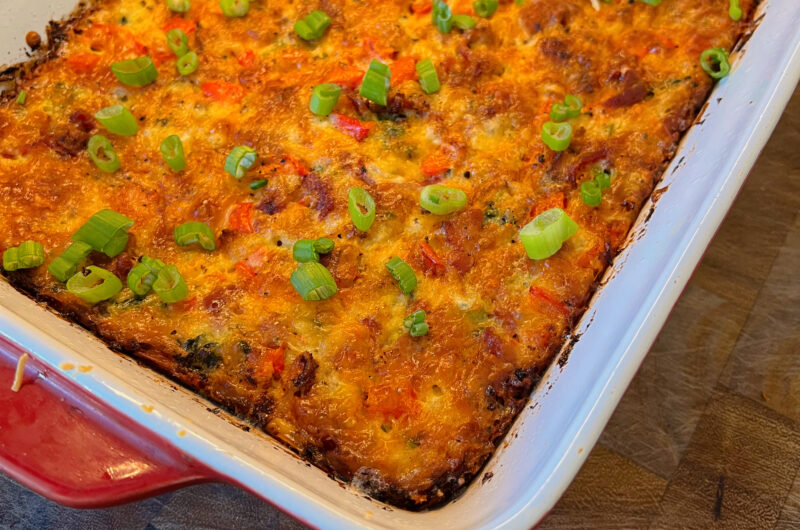
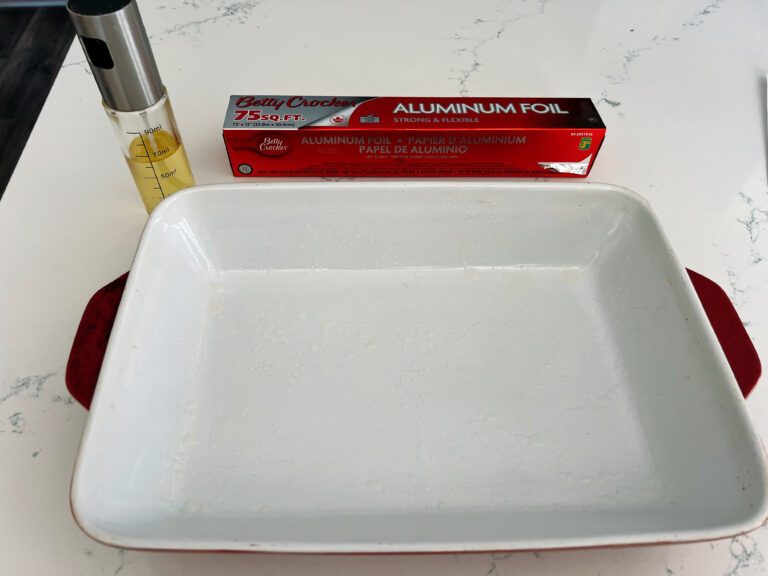
Preheat oven to 350° F. Lightly spray a 9" x 13" pan with oil.
Cook bacon using your preferred method, until chewy-crisp. Remove to a paper towel-lined plate to cool. Chop bacon into bite-sized pieces.
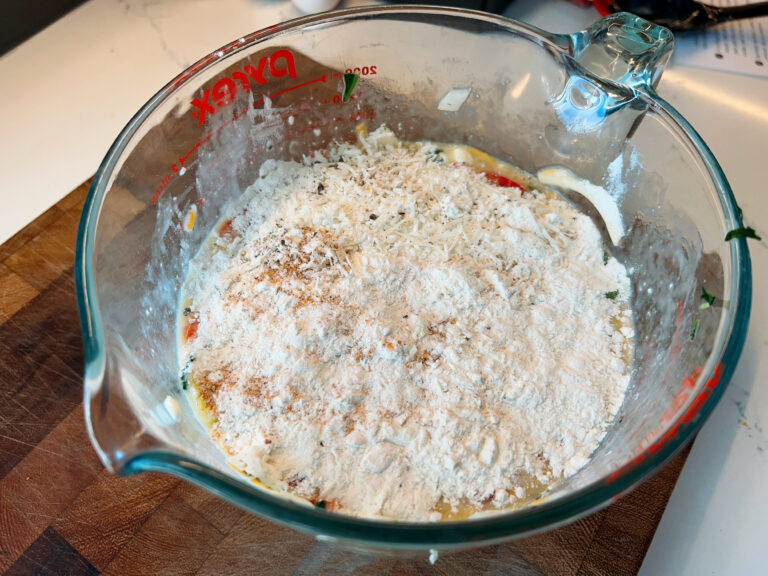
In a bowl, whisk eggs until combined. Set aside ¼ cup of the chopped bacon, then add the rest to the eggs. Set aside ½ cup of the cheese, then add the rest to the eggs. Add the spinach, cottage cheese, melted butter, half of the red pepper, 1/2 the green onions, and all of the yellow onion. Stir to combine.
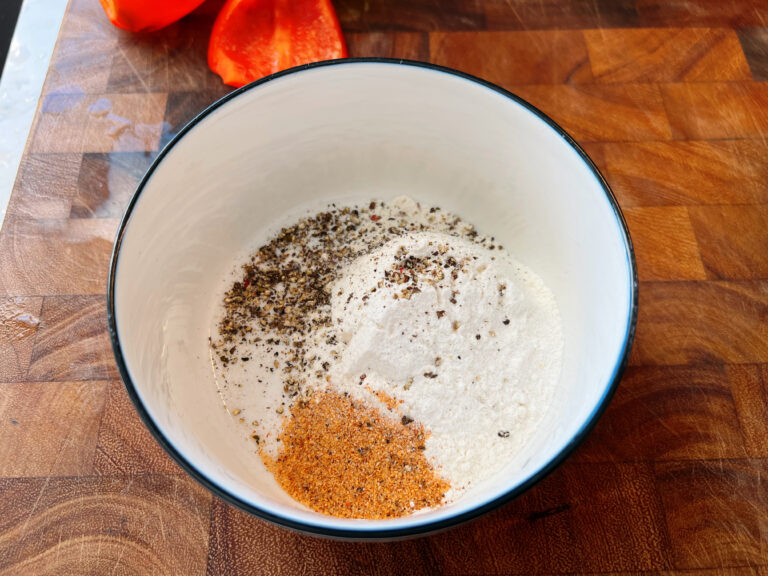
Sprinkle the flour, seasoning salt, pepper, and half of the Parmesan over the egg mixture. Stir to combine.
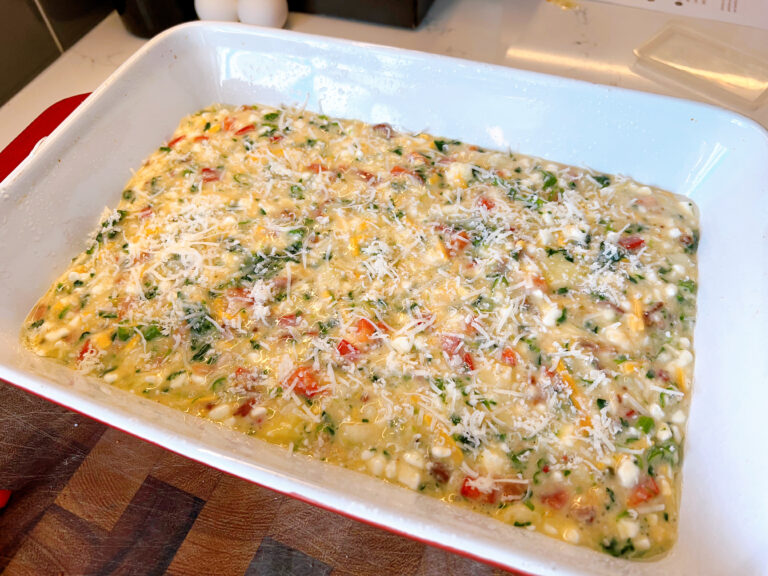
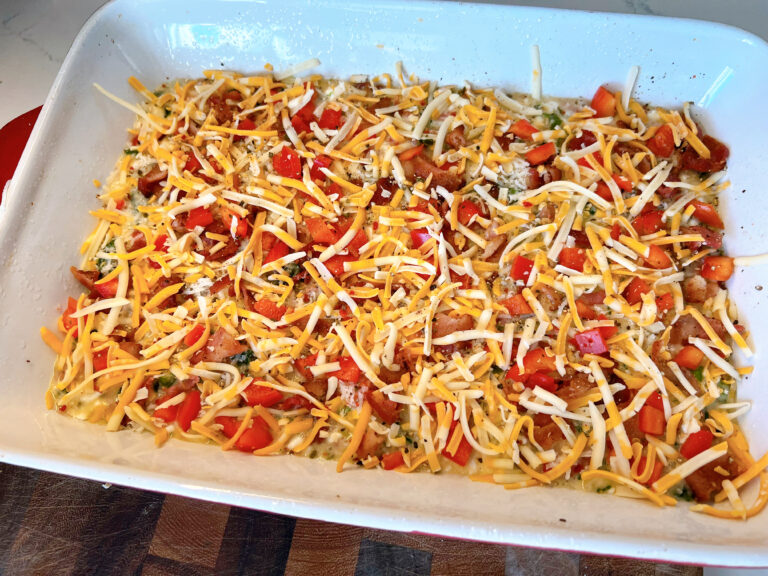
Add the egg mixture to prepped pan. Sprinkle remaining Parmesan, bacon and red pepper over the top. Sprinkle the remaining cheese over the top, plus a generous sprinkle of black pepper.
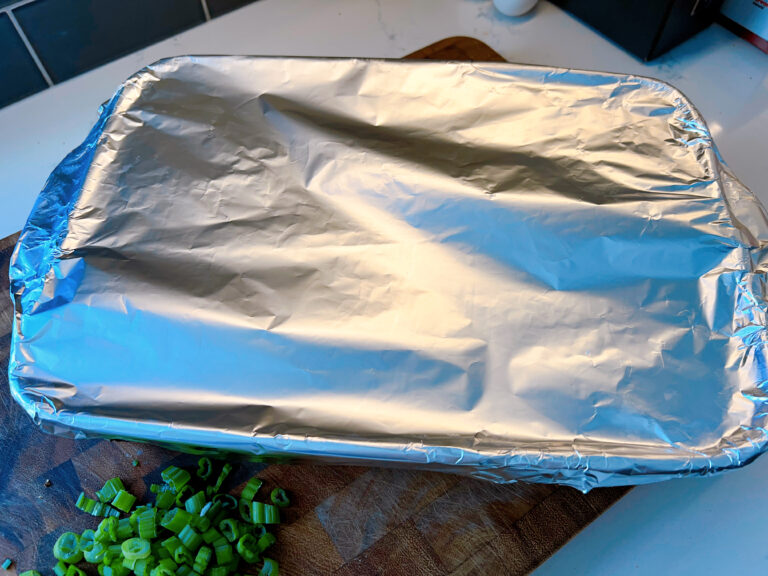
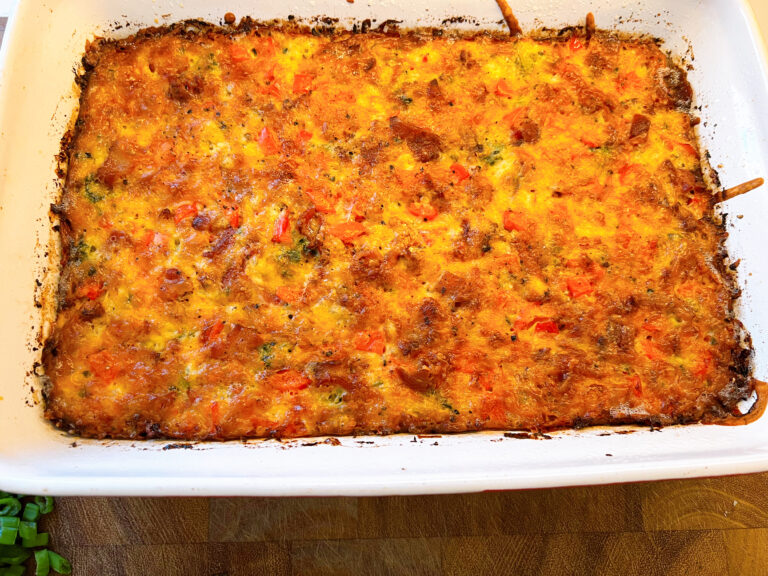
Cover pan with foil and bake for 40 minutes. Remove cover and bake 20-30 minutes more, or until center is firm. If the top starts to brown more than you like, place the foil back on the pan.
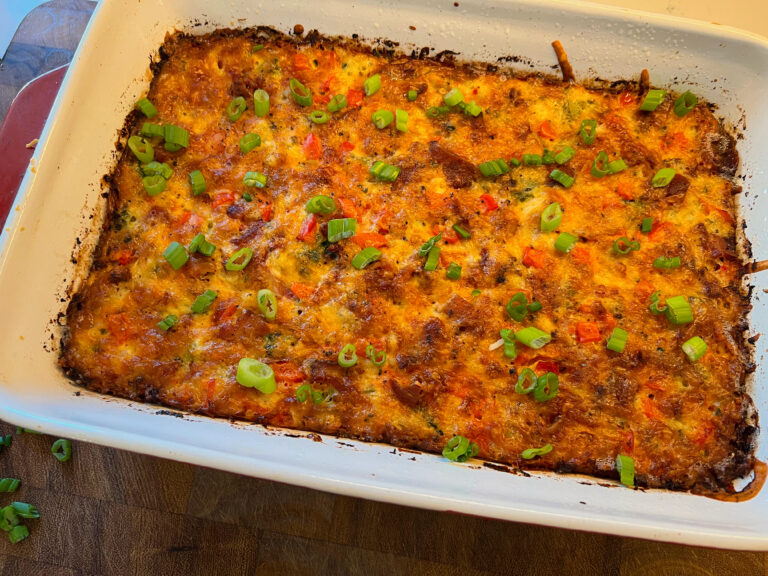
Remove the pan from the oven and let sit for 10-15 minutes before cutting and serving. Sprinkle with chopped green onion.


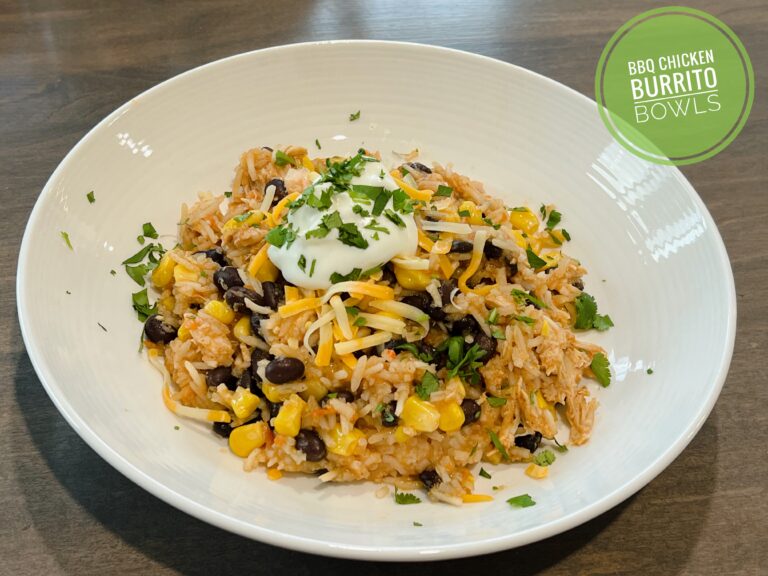
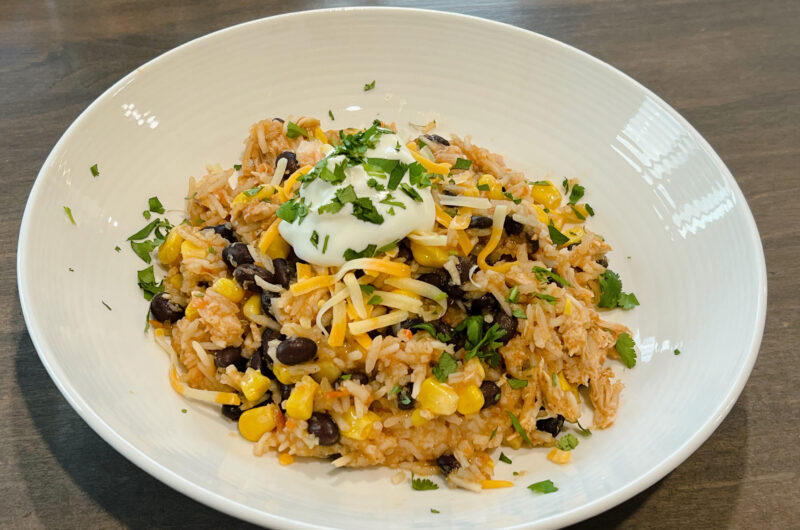
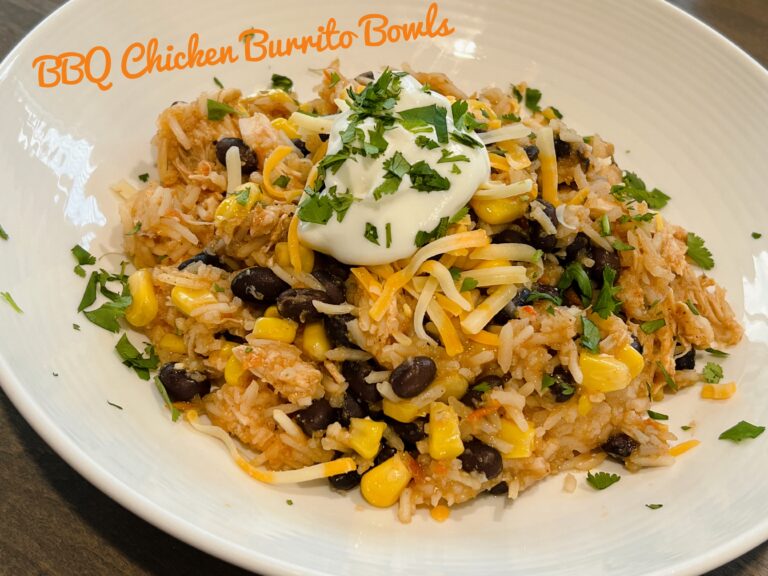
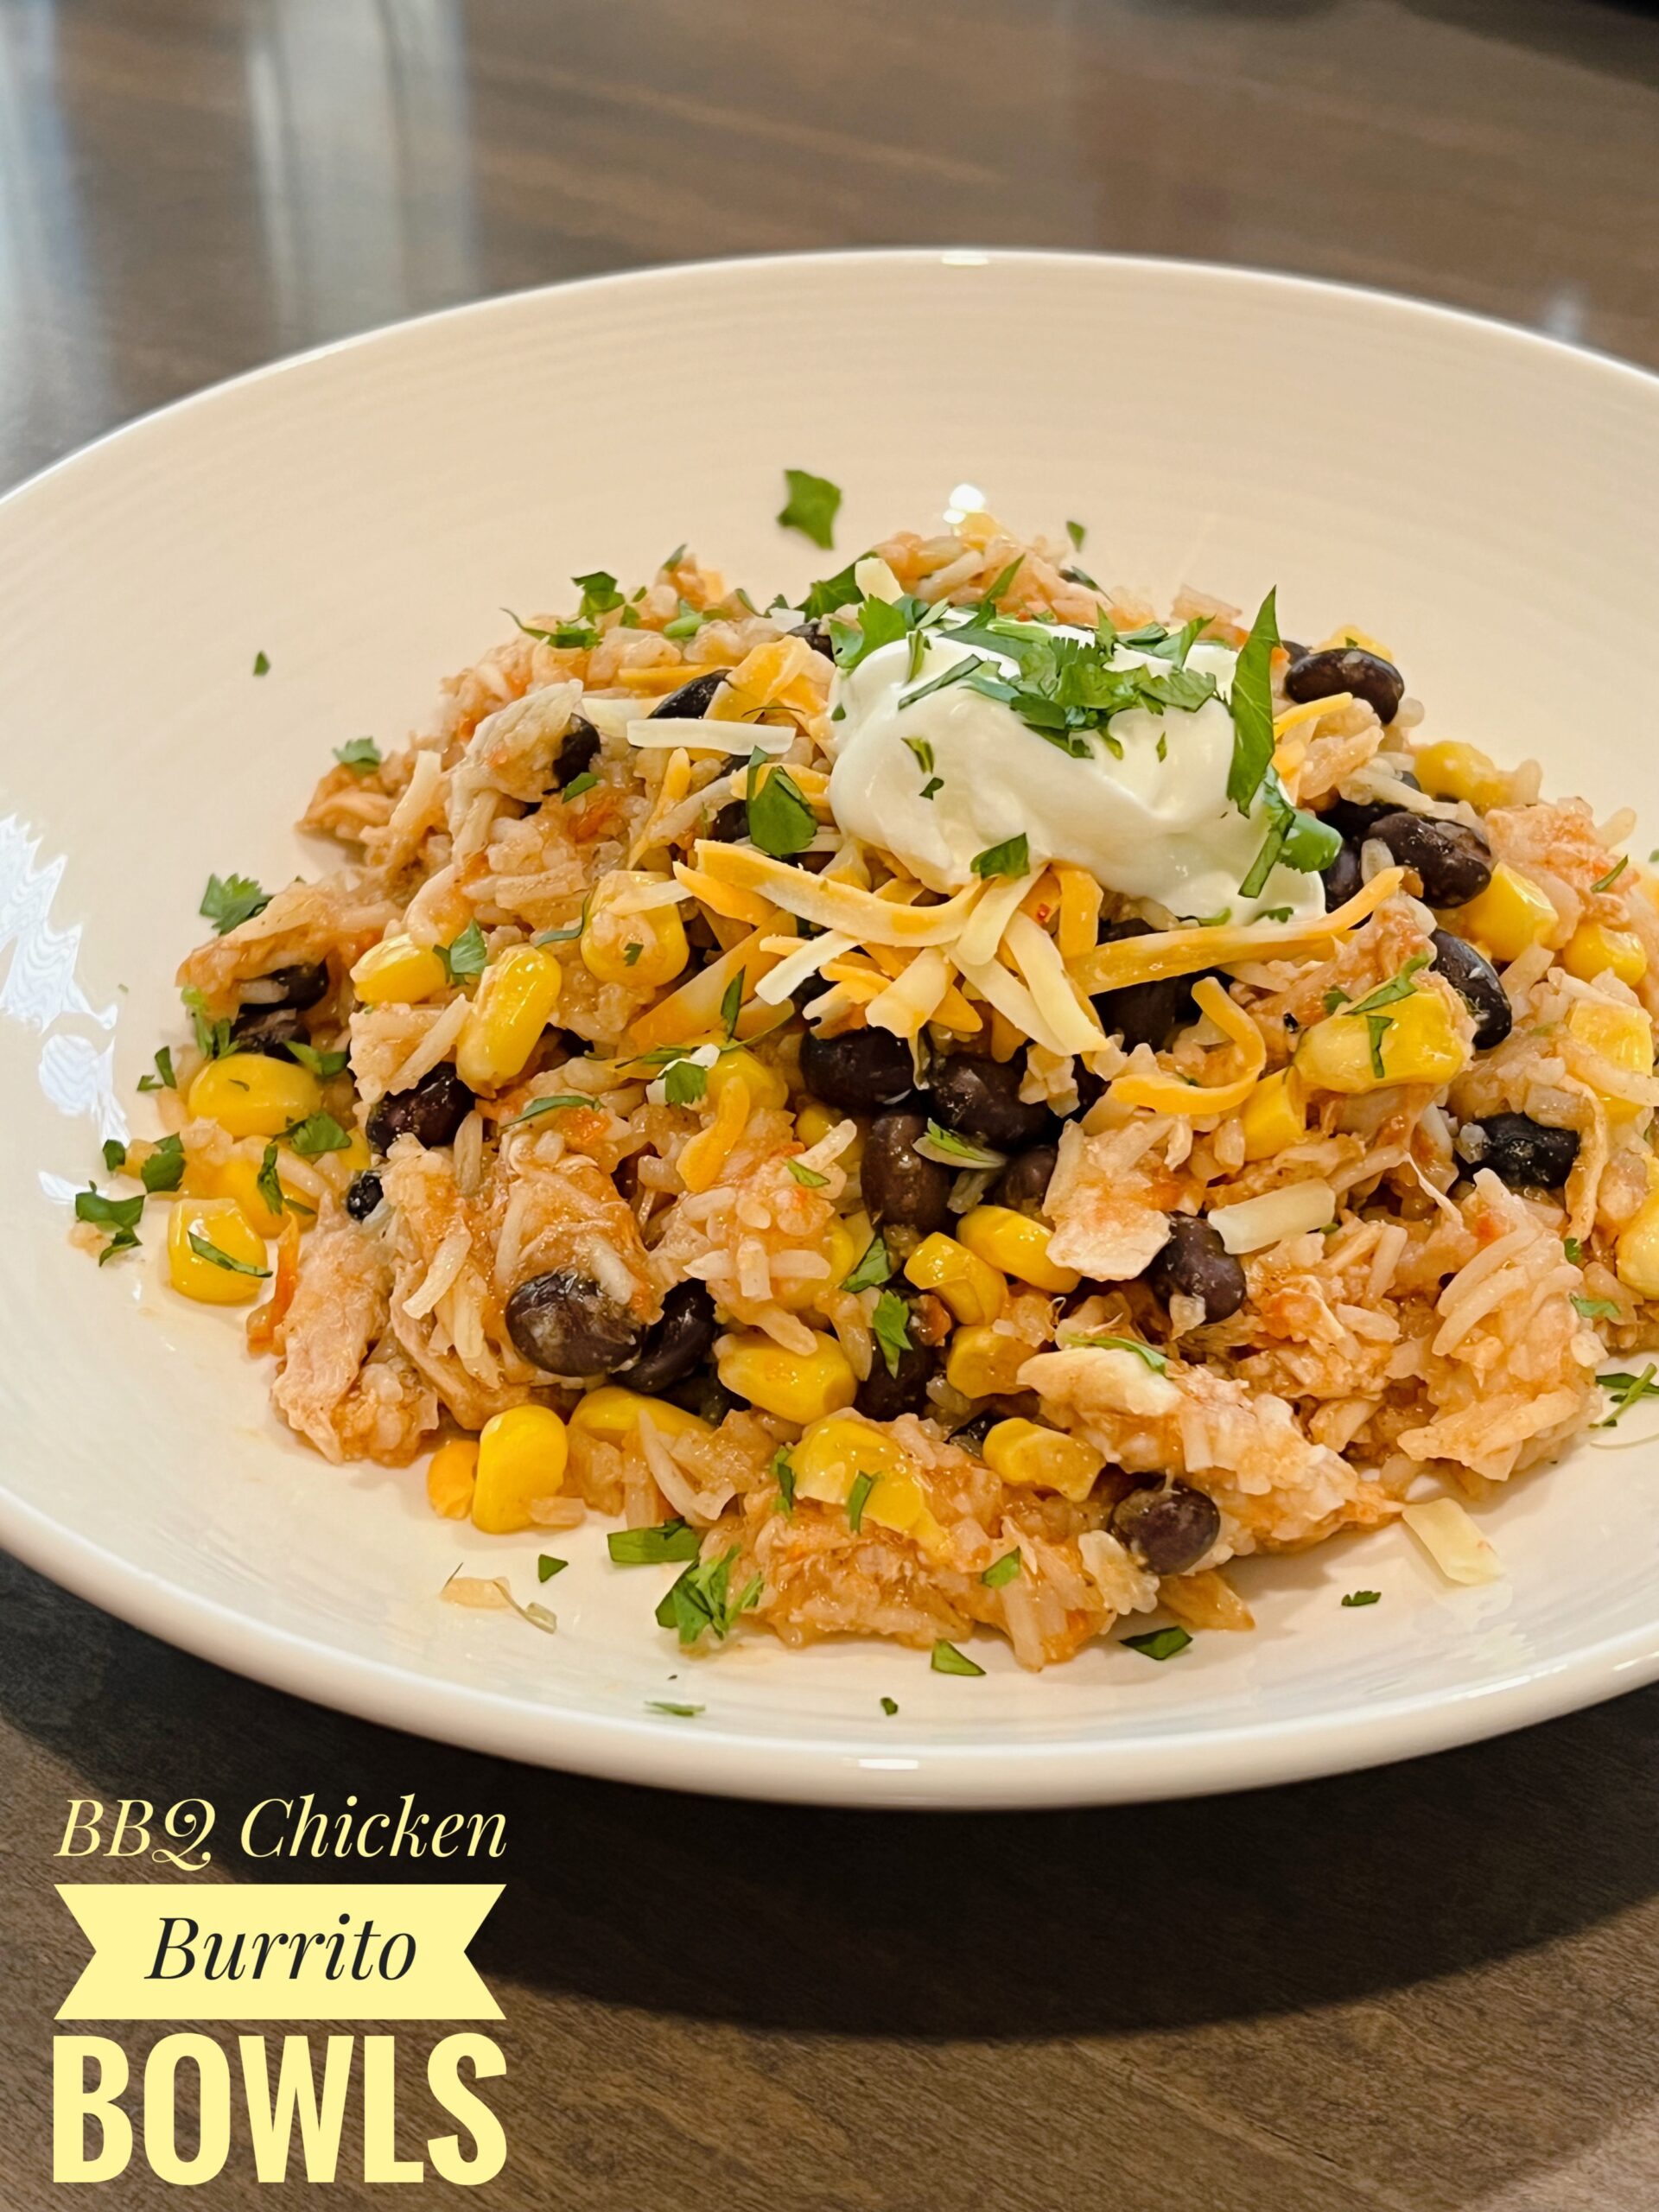
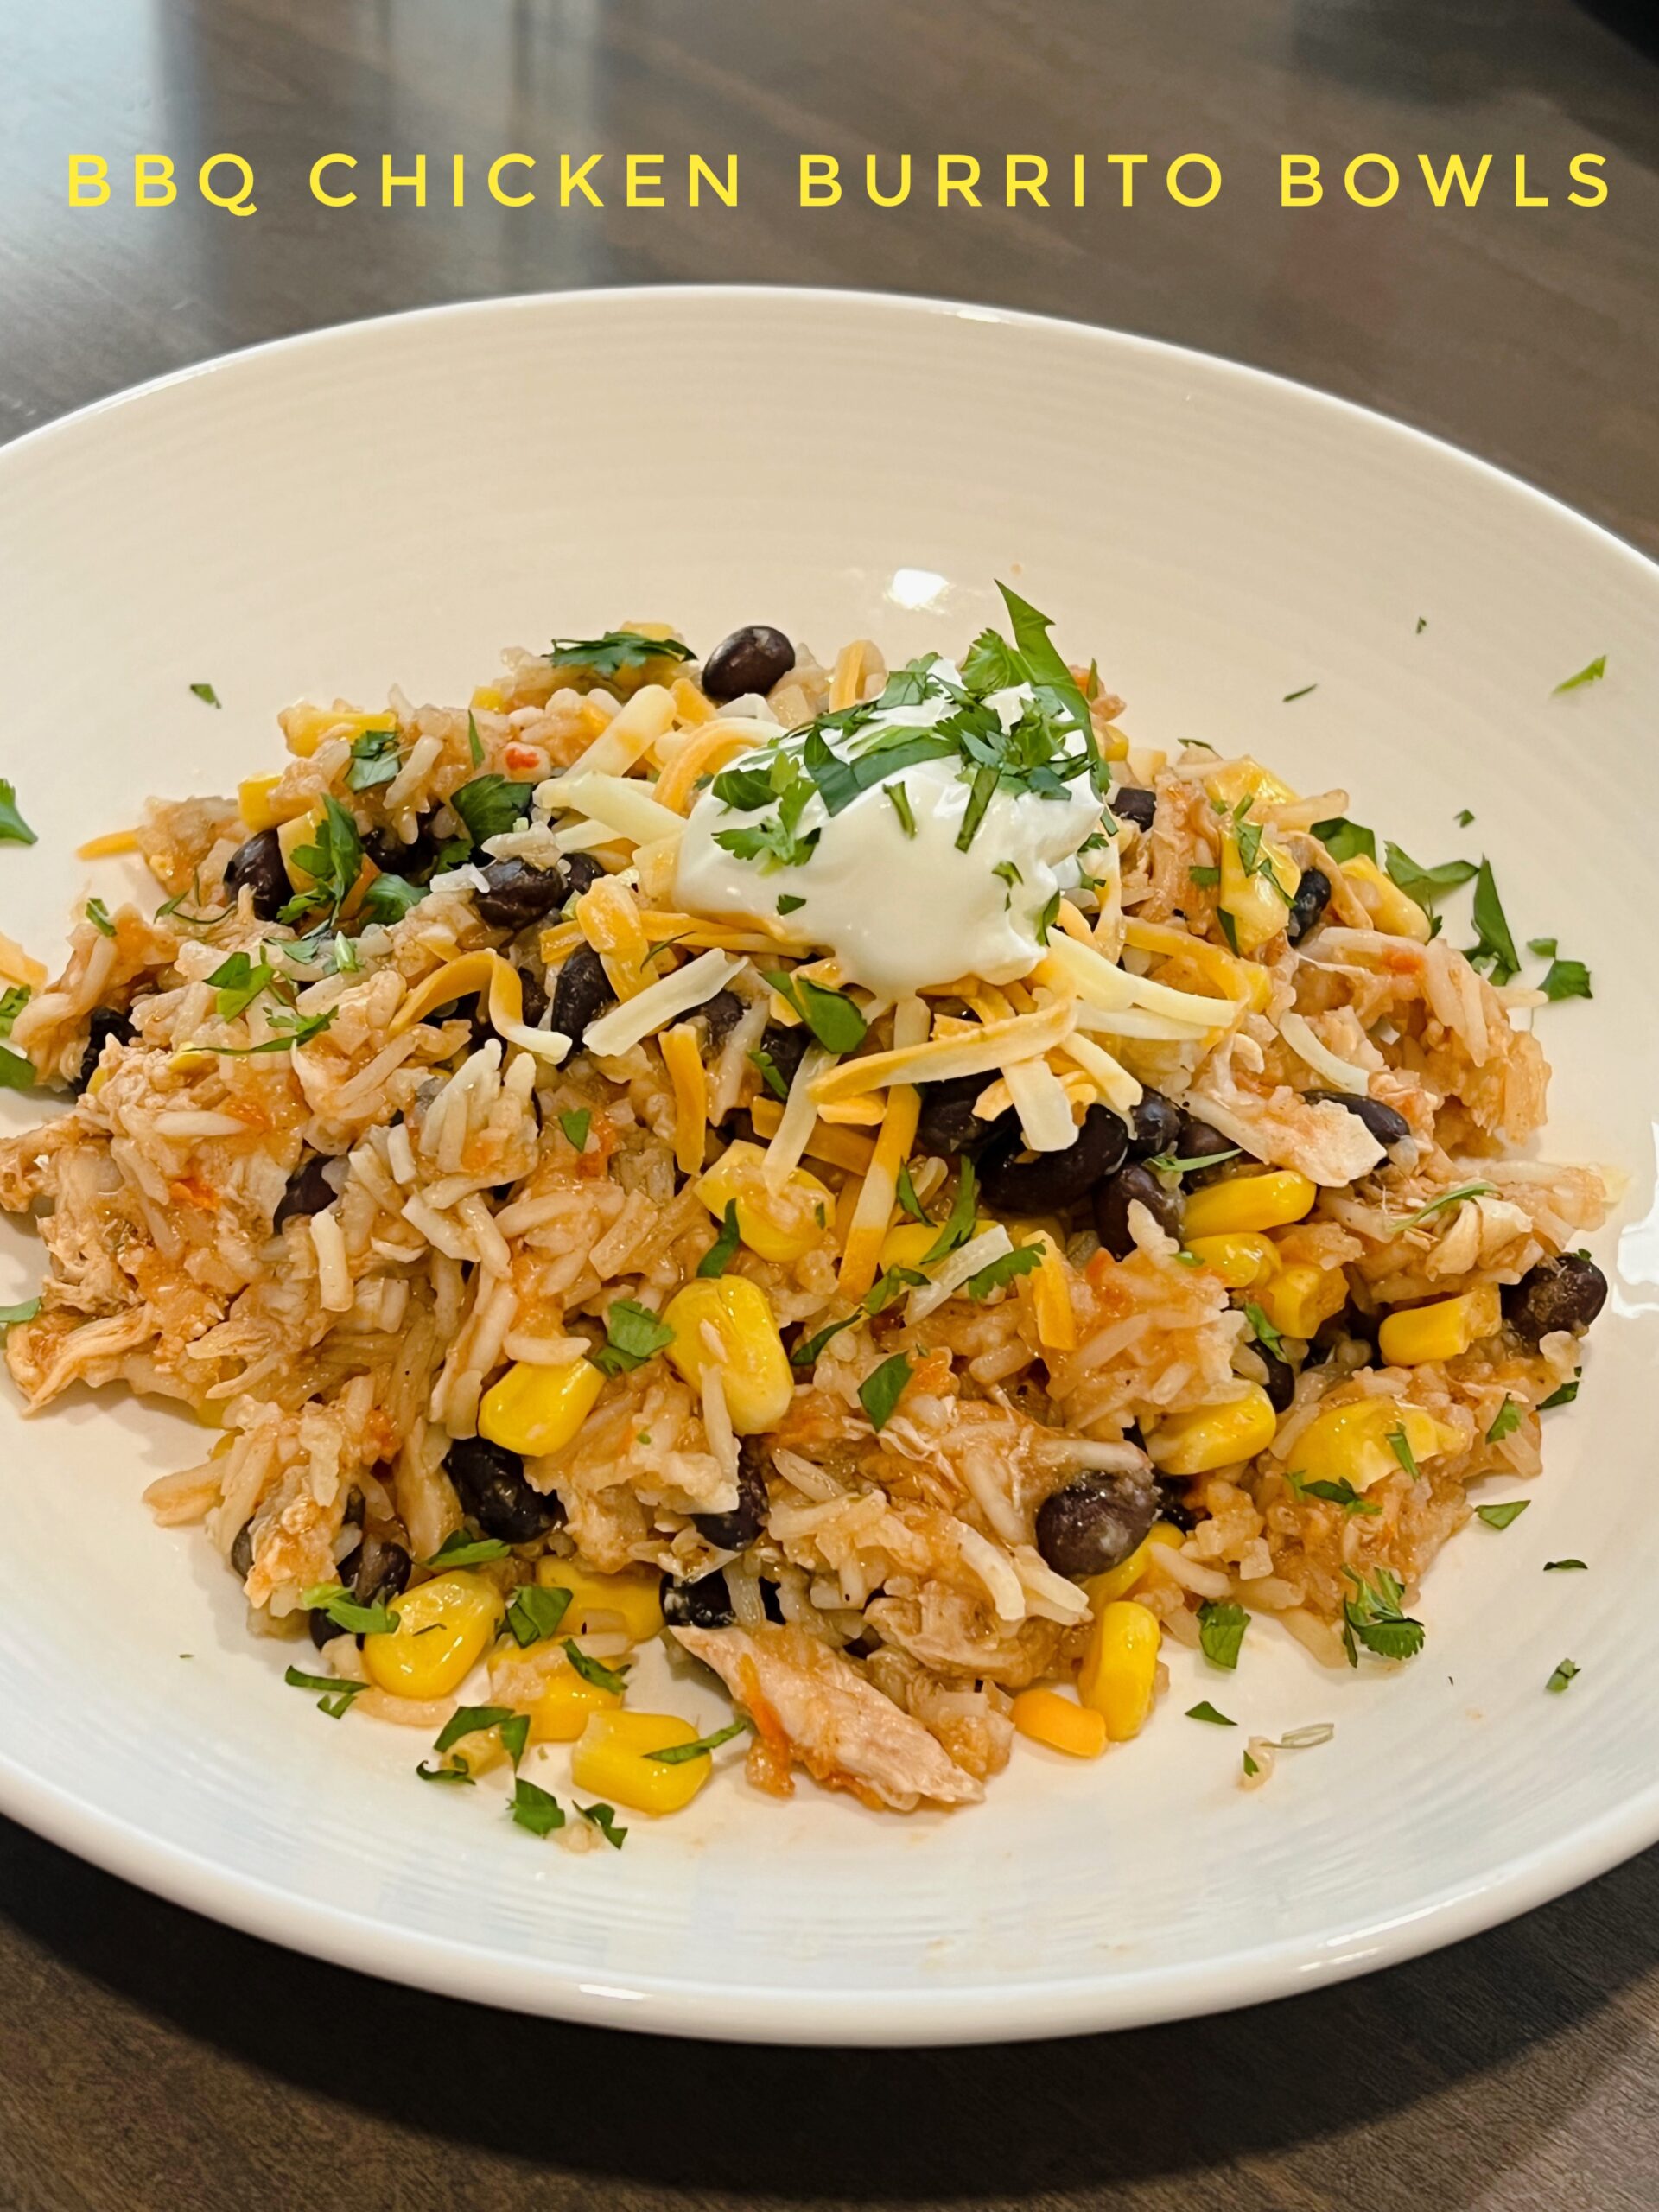
BBQ Chicken Burrito Bowls
4
servings10
minutes30
minutes5
minutesIngredients
3 Roma tomatoes, cored and coarsely chopped
2 cups chicken broth
2 cloves garlic, peeled and smashed
1/2 onion, chopped into quarters
2 teaspoons cumin, divided
3 teaspoons salt, divided
2 tablespoons oil
1 cup basmati white rice
1/2 teaspoon chili powder
1 bay leaf
1 pound chicken breasts, cut into 1-inch chunks
1/4 cup barbecue sauce, plus more for serving
1 can corn, drained and rinsed
1 can black beans, drained and rinsed
Optional toppings: Shredded cheese, chopped cilantro, sour cream
Directions
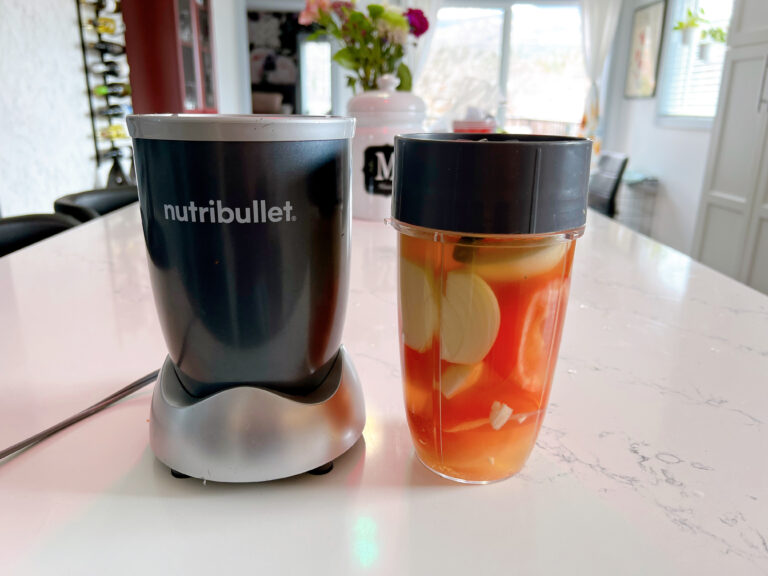
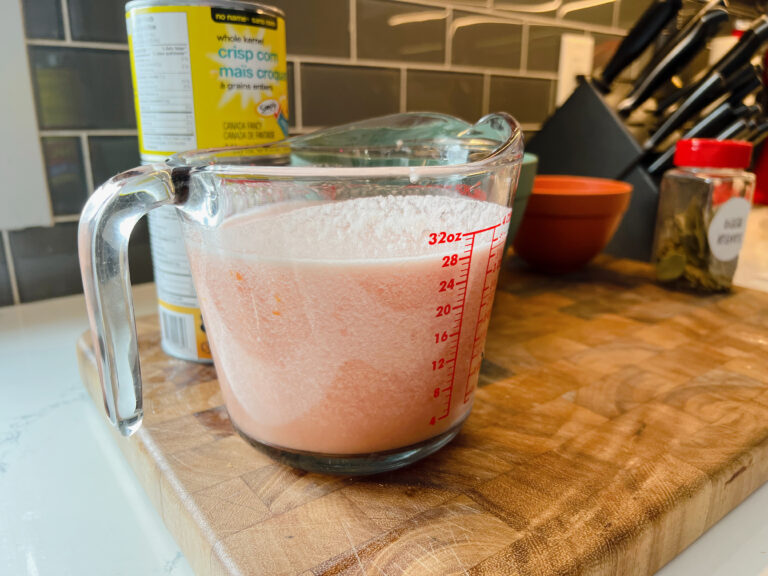
Place the tomatoes, broth, garlic, onion, and 2 teaspoons of the salt in a Nutri Bullet and blend on high speed until smooth.
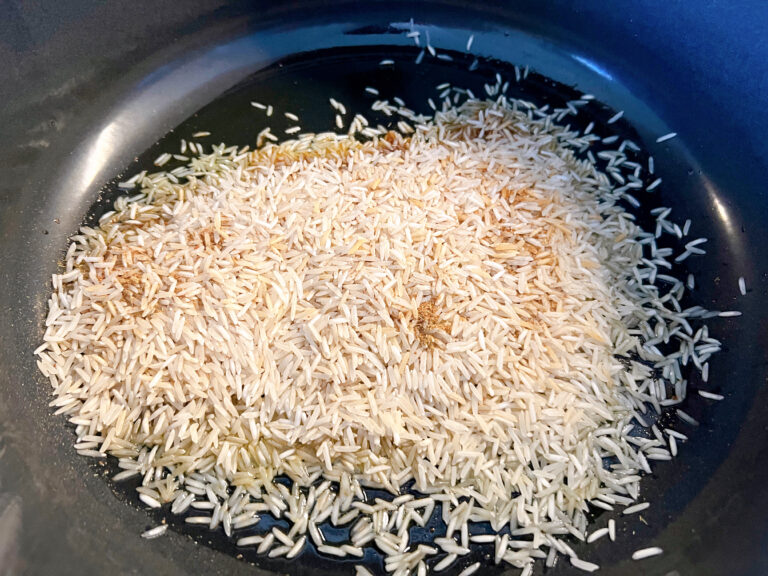
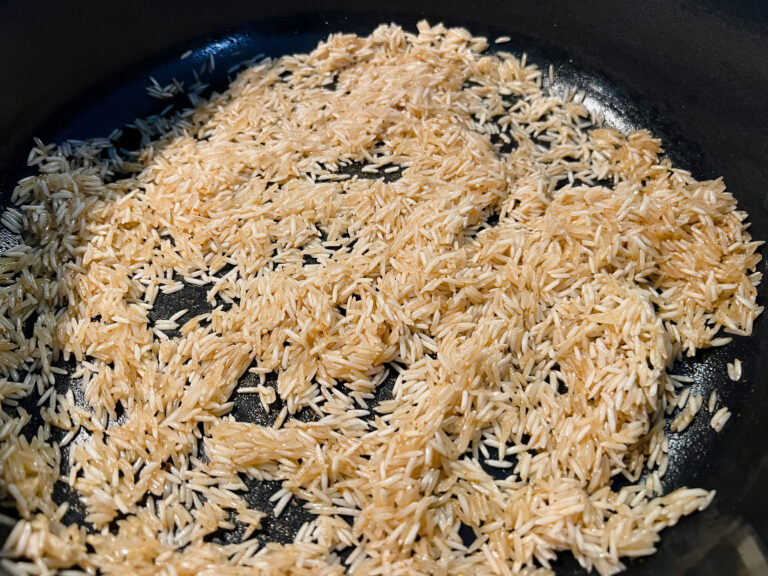
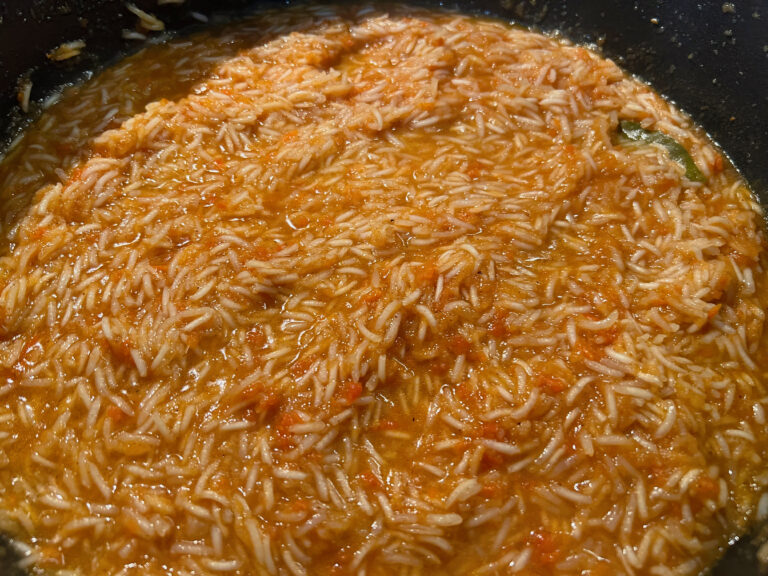
Heat the oil in a Dutch oven over medium heat. Add the rice, 1 teaspoon of the cumin, and chili powder. Cook, stirring occasionally, until the rice starts to make a crackling sound, 3 to 5 minutes. Add the tomato mixture and bay leaf and stir to combine, scraping the bottom of the pot to loosen any stuck grains of rice.
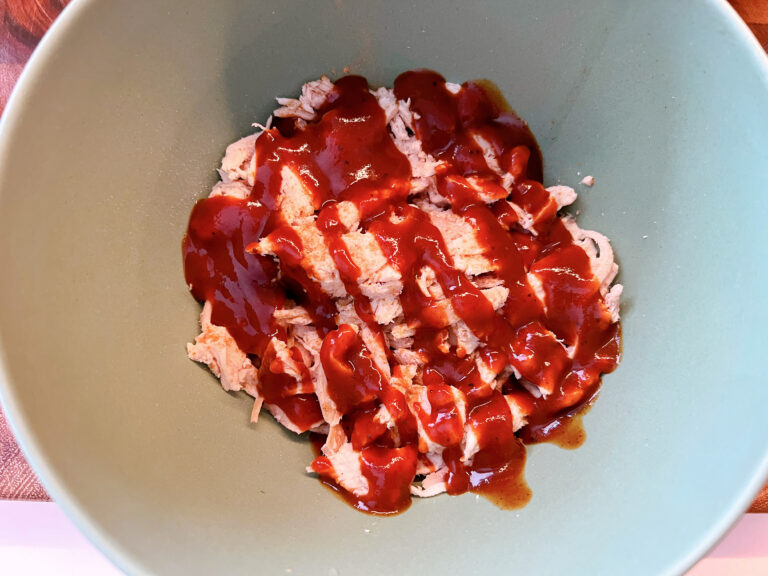
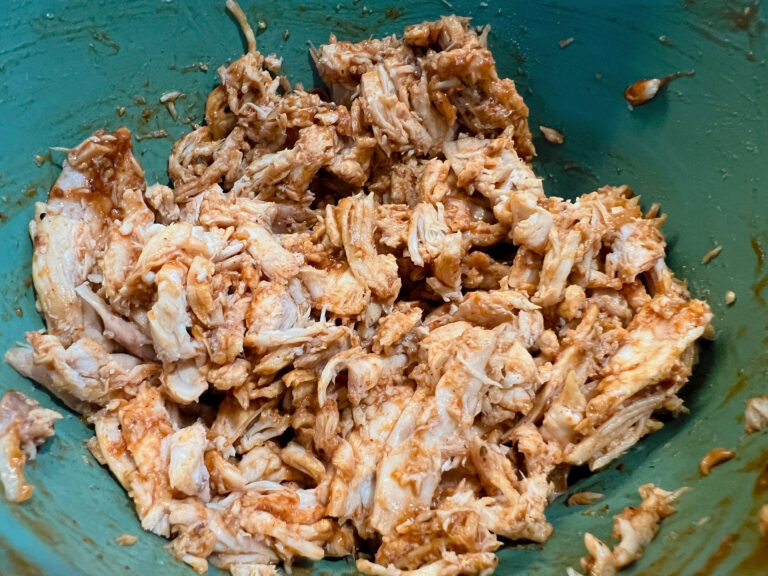
Arrange the rice in an even layer and bring to a full simmer, stirring occasionally. Meanwhile, place the chicken in a medium bowl. Sprinkle with the remaining 1 teaspoon salt and 1/2 teaspoon cumin, drizzle with the barbecue sauce, and toss to combine.
Add the chicken to the rice in an even layer. Reduce the heat to medium-low, cover, and simmer for 10 minutes. Stir, cover again, and continue cooking until the liquid is absorbed and the rice is tender, 10 to 15 minutes more.
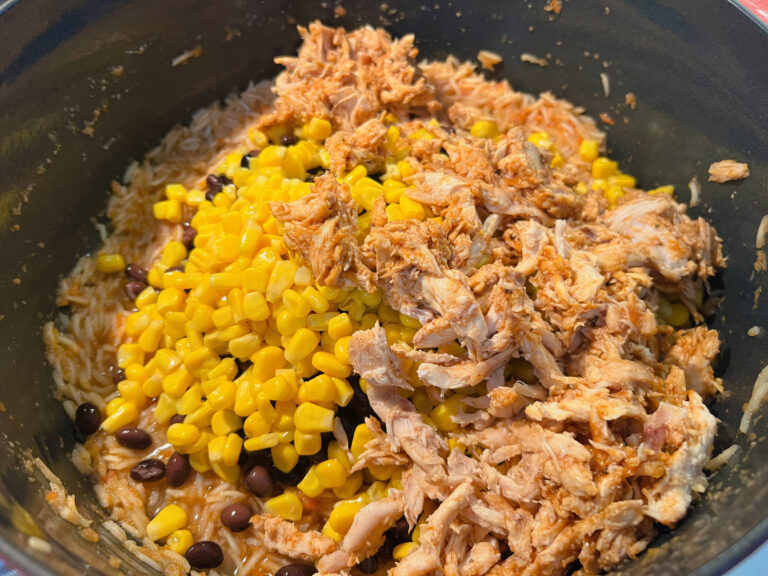
Remove the pot from the heat. Sprinkle with the corn, then the beans (I used leftover rotisserie chicken and I added it now). Cover and let sit covered 5 minutes for the rice to steam and for the corn and beans to heat through. Gently fold to incorporate the chicken, corn, and beans together. Taste and season with more salt and pepper as needed. Serve with desired toppings.


Ingredients
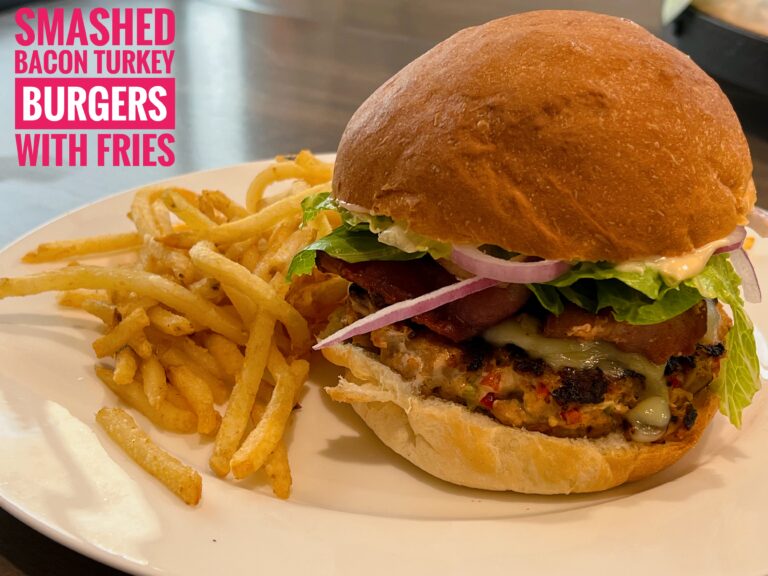
1 lb ground turkey
1 egg
1/4 cup panko
1/3 cup red bell pepper, finely diced
2 tablespoons green onion, diced
2 teaspoons smoked paprika
2 teaspoon cajun seasoning
1 teaspoon salt
1/4 teaspoon pepper
2 cloves garlic, minced
1 tablespoon oil
4 slices Monterey Jack cheese
4 strips bacon, cooked and cut in half
4 buns
1/4 cup mayo
hot sauce, to you liking
1/4 red onion, sliced
A few leaves of lettuce, optional
Directions
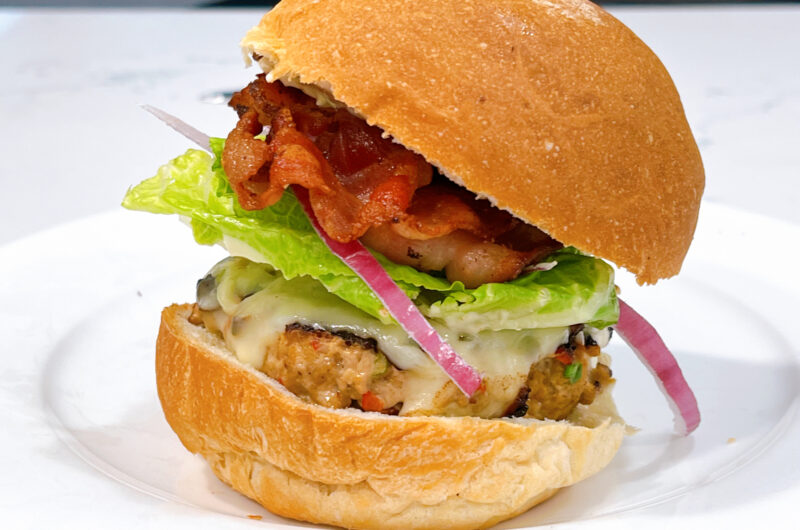
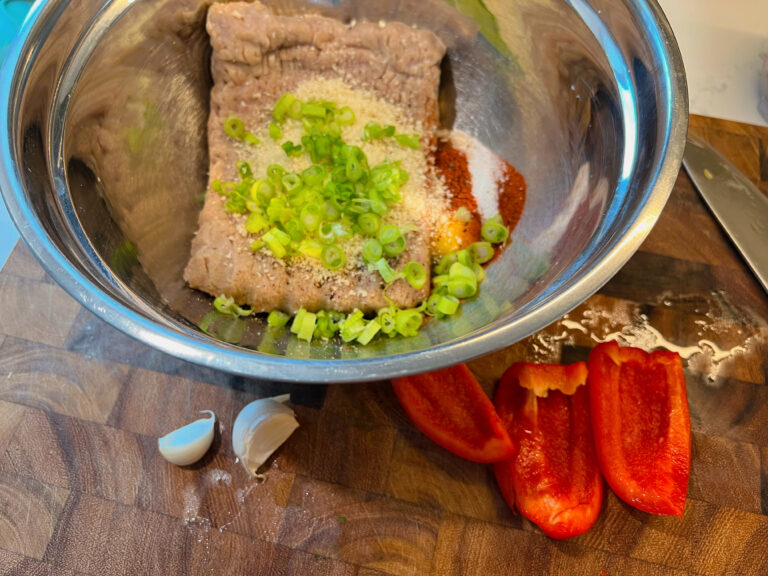
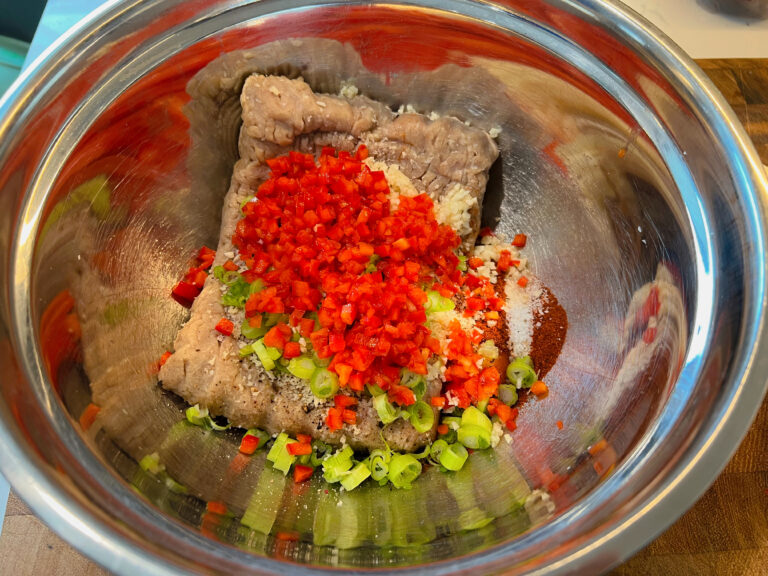
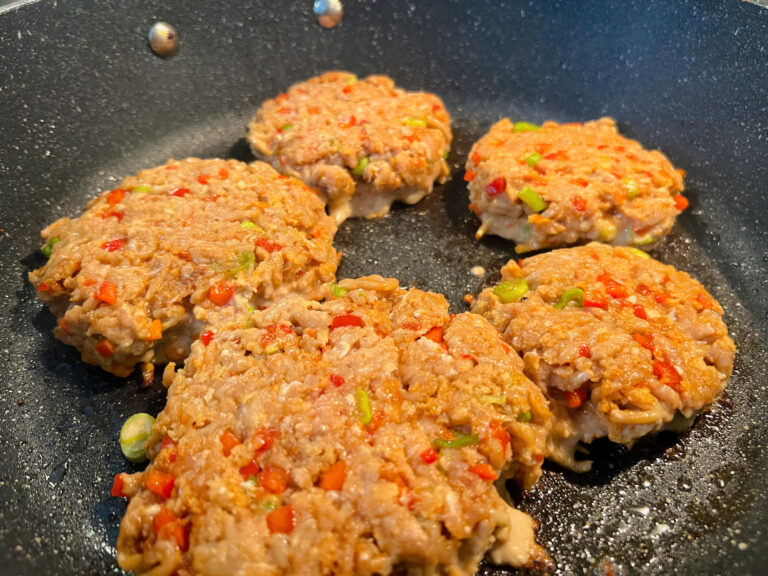
In a mixing bowl combine all of turkey, egg, panko, red pepper, green onions, paprika, cajun, salt, pepper, and garlic give it a good mix. Divide the meat mixture into 4 patties, and roll them into a ball.
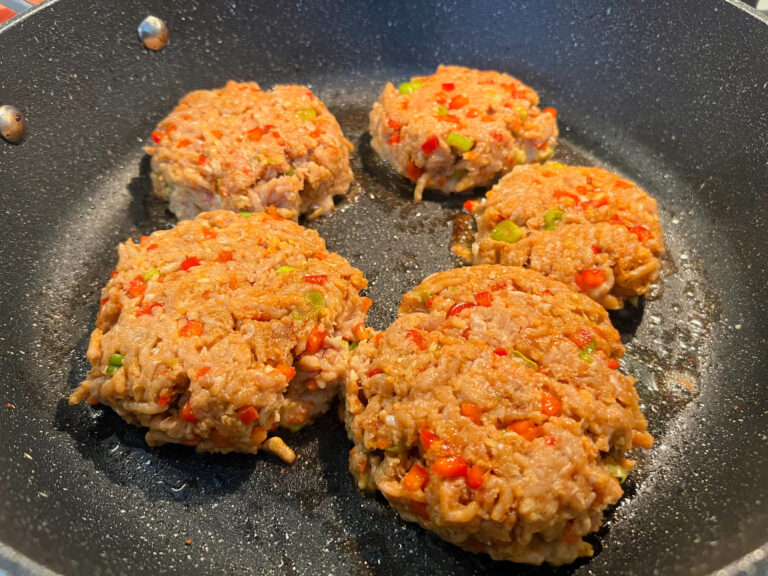
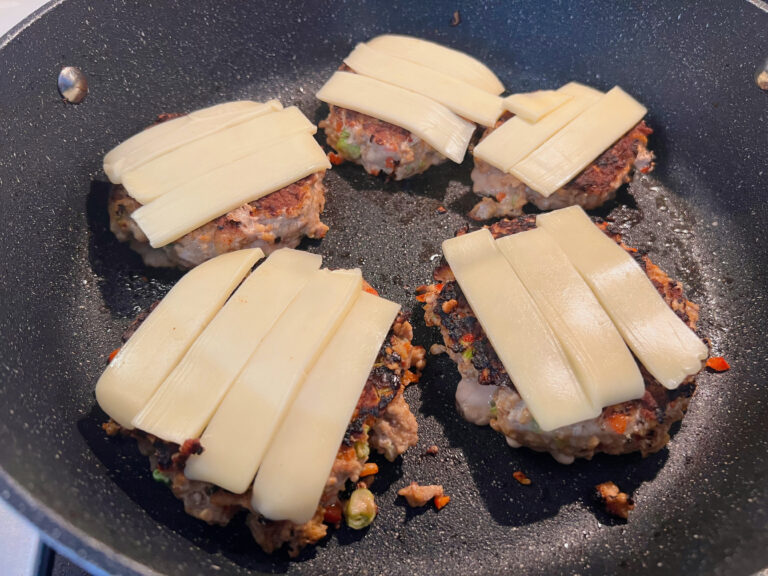
Preheat oil in the skillet over medium heat. Add 4 patty balls and smash them with a spatula, cook for 4-5 minutes, flip on the other side. Add cheese and cover the skillet with a lid cook for 3-4 minutes.
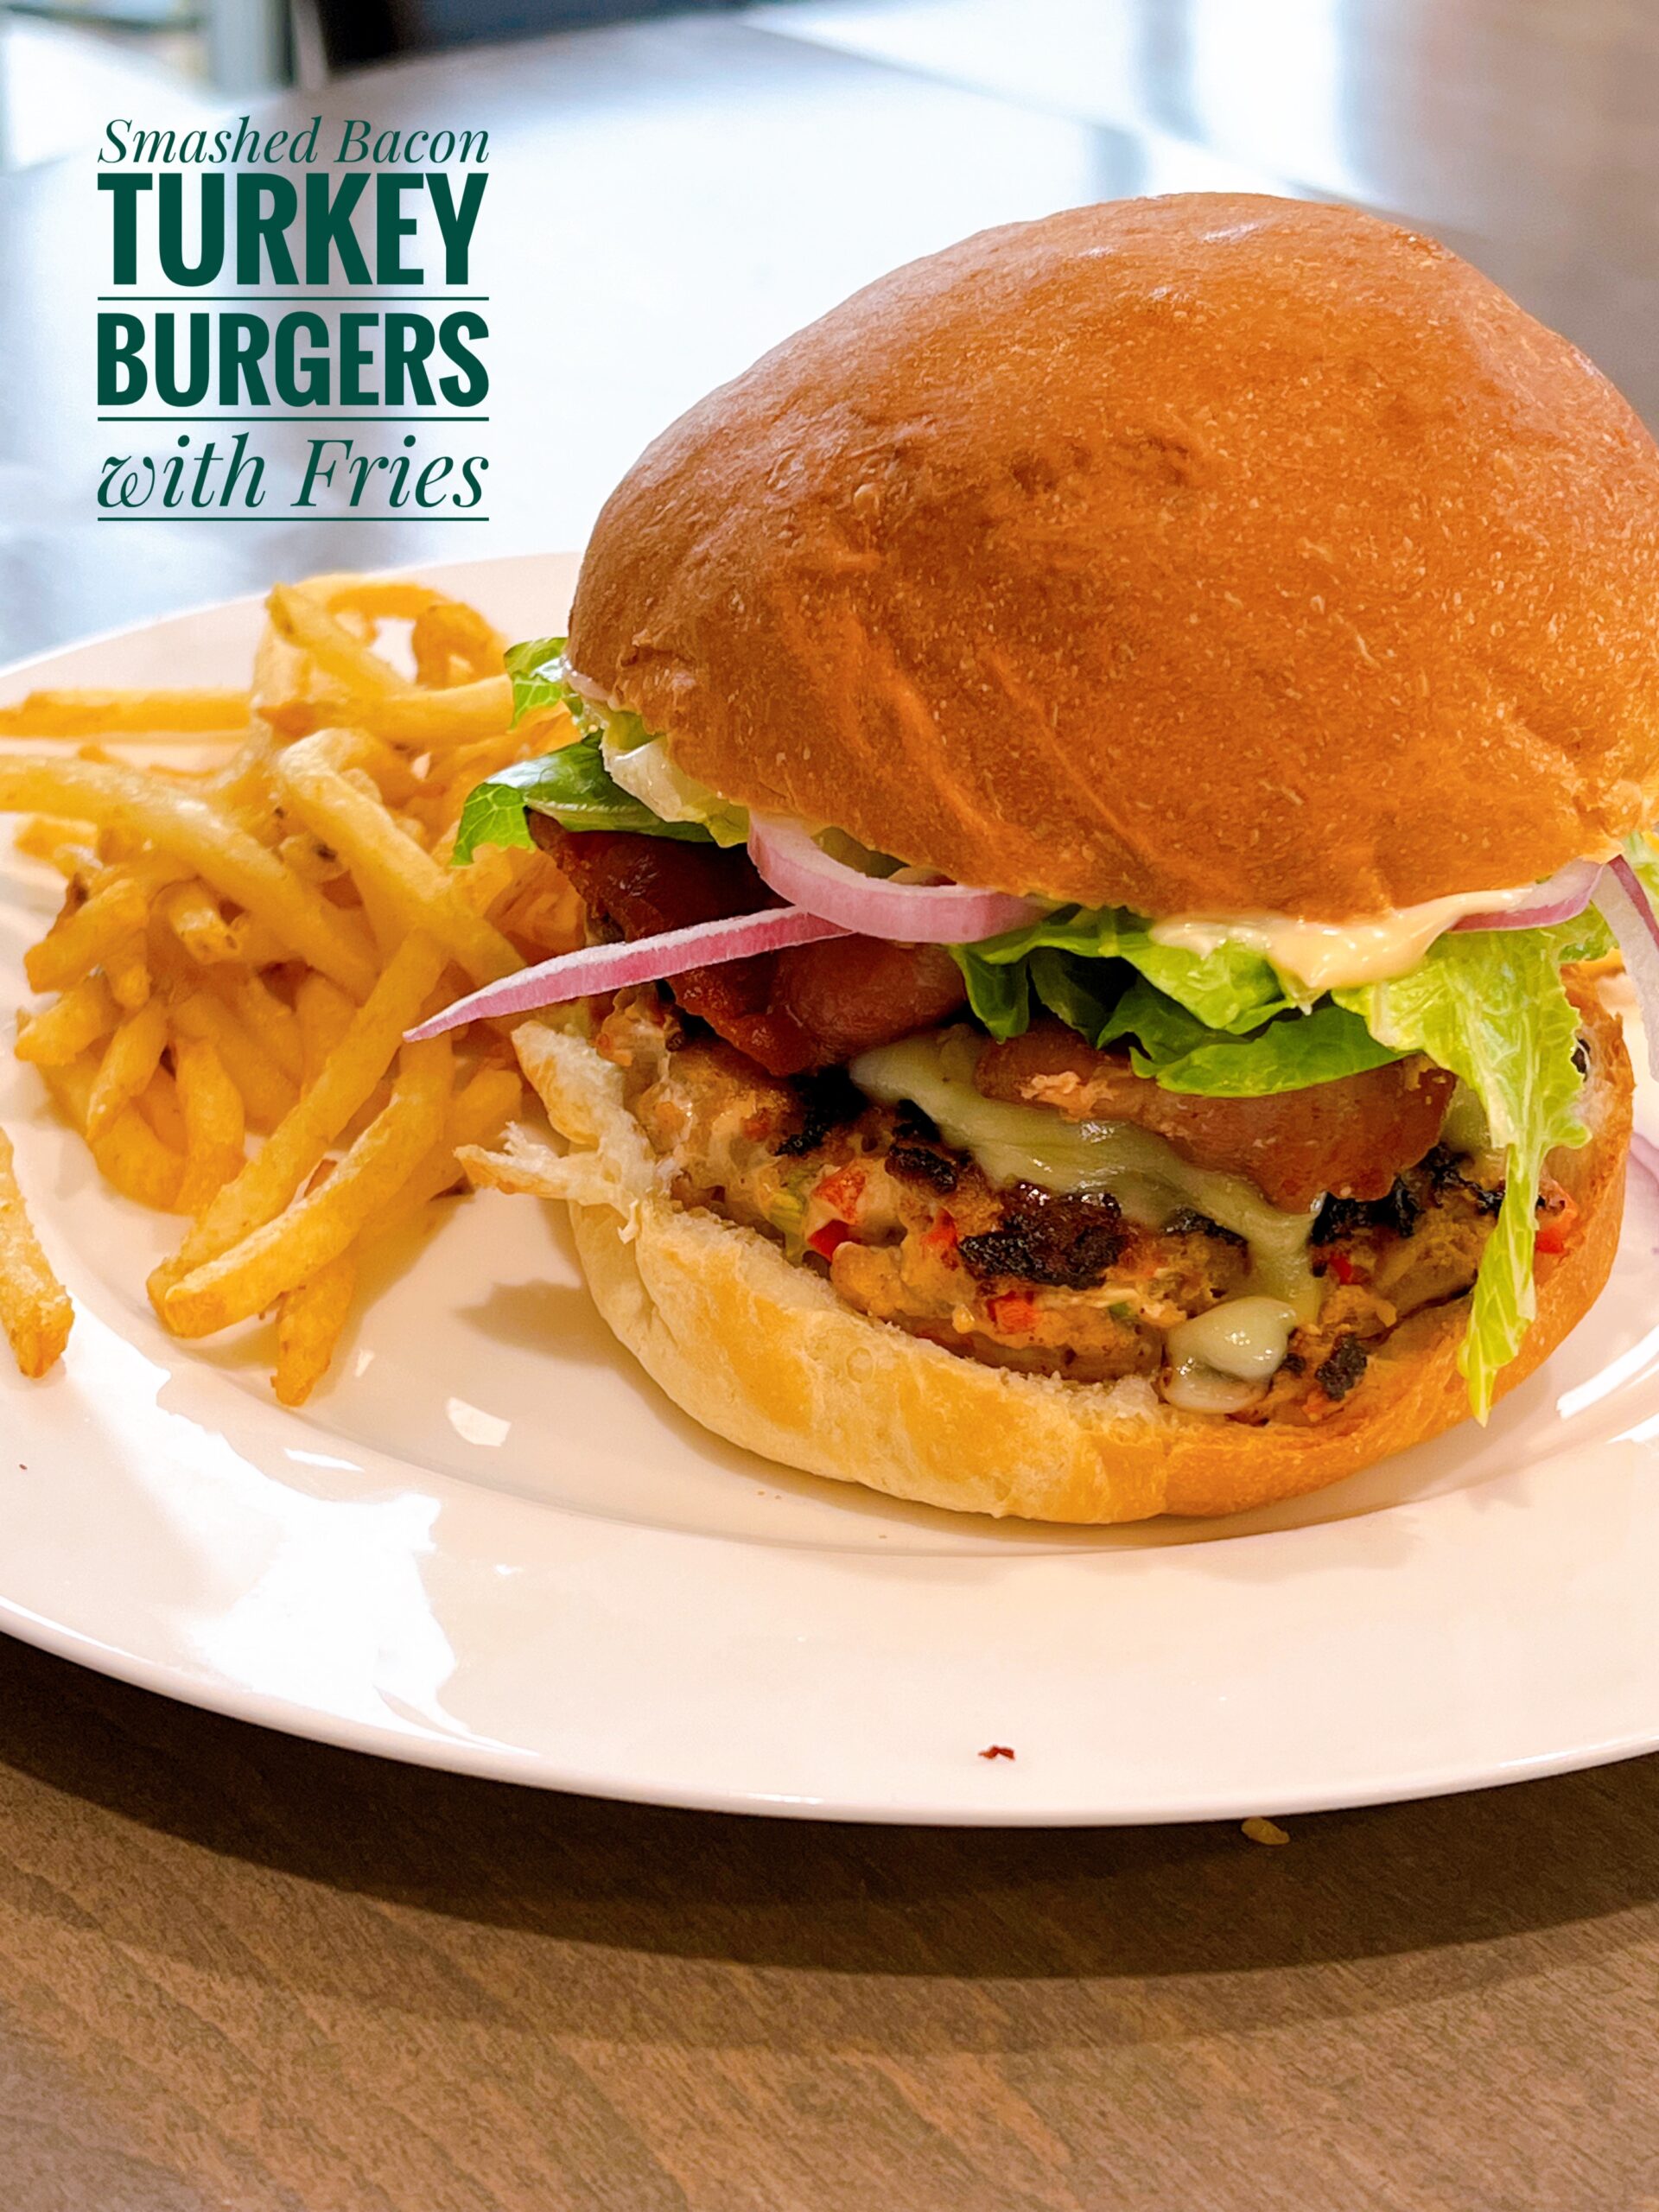
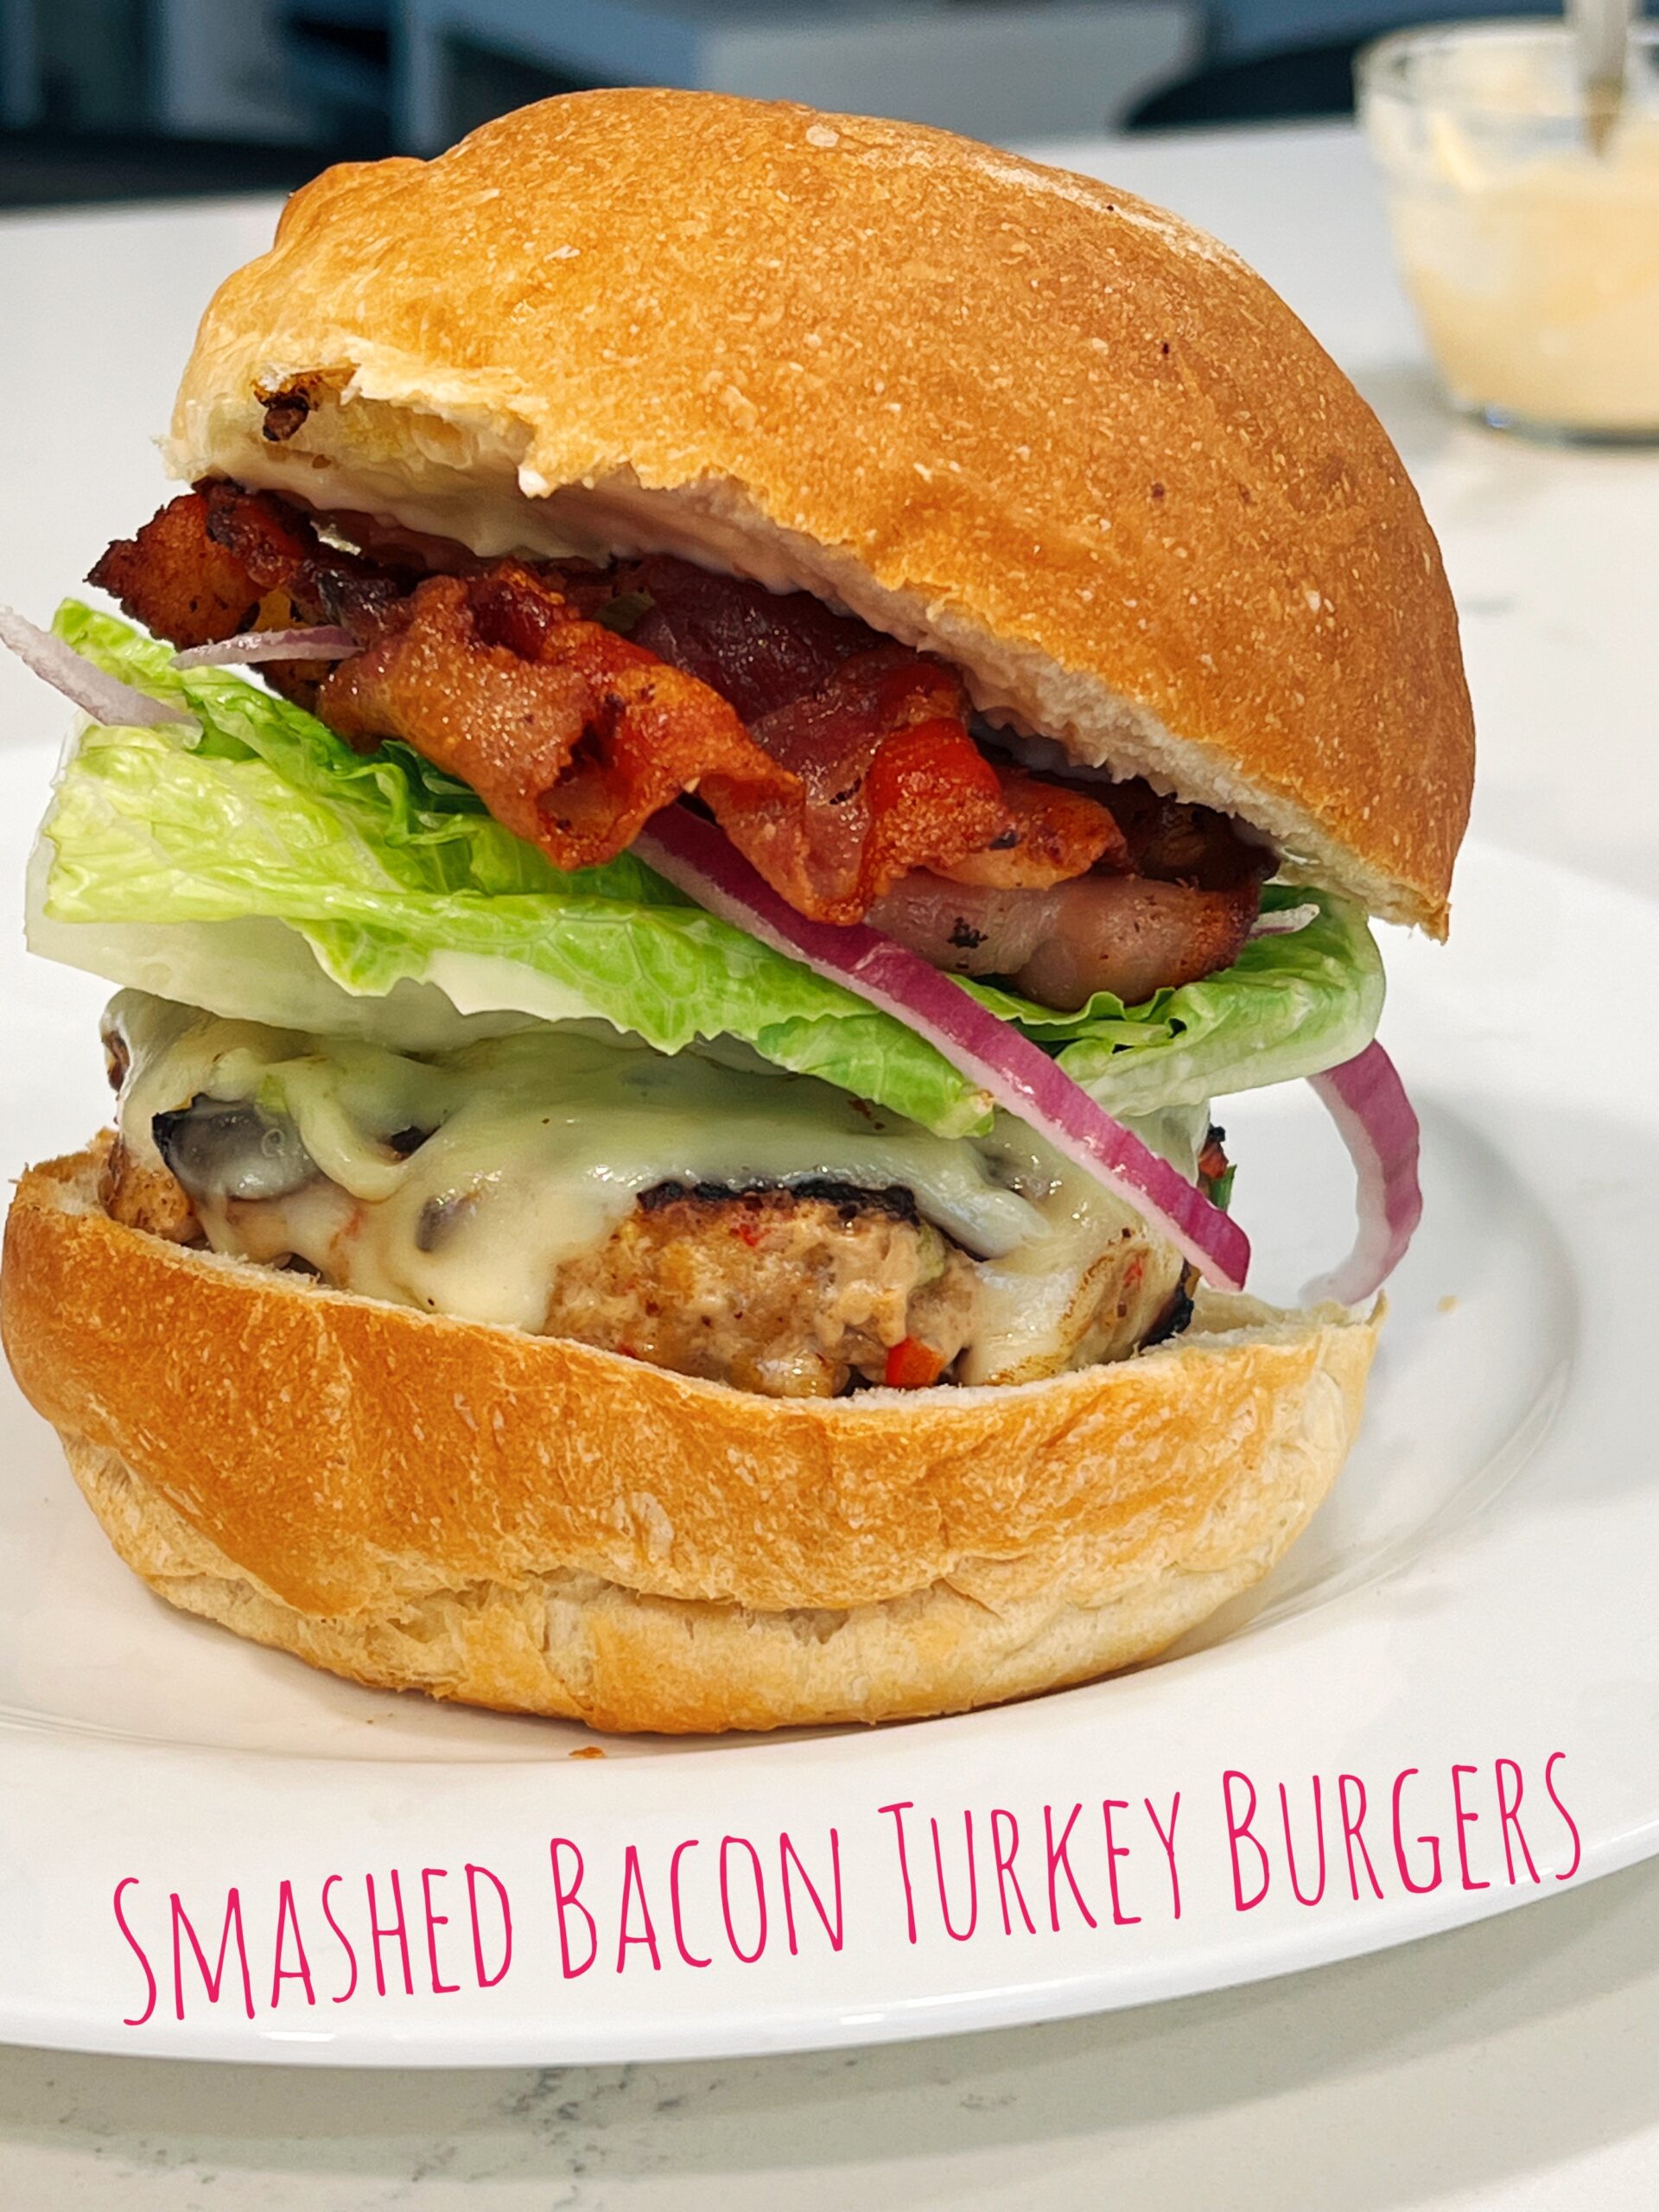
Mix mayo and hot sauce together and spread on the buns, add a cheesy patty, follow by red onion, lettuce and crispy bacon.


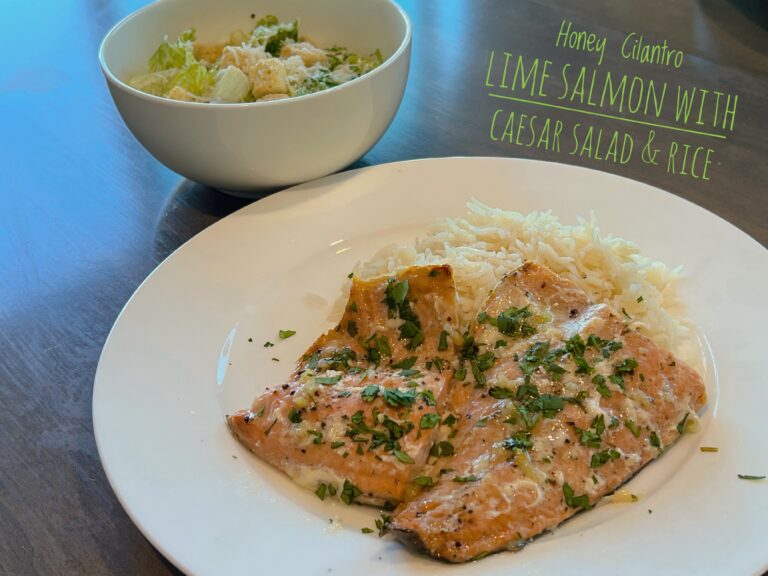
Ingredients
1 large salmon fillet or a couple of medium-sized fillets
salt and pepper, to taste
1/4 cup butter, melted
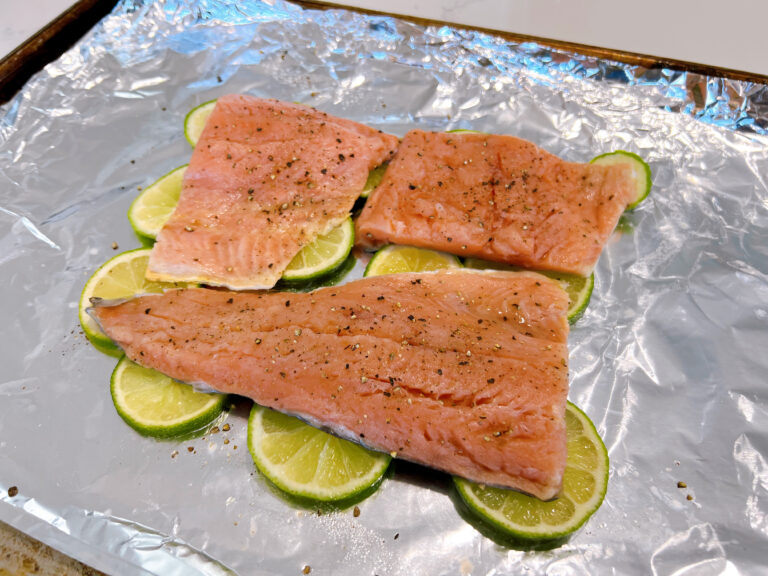
2 limes, 1 lime thinly sliced & 1 juiced
4 tablespoons honey
1 clove garlic, minced
⅓ cup cilantro, roughly chopped
Directions
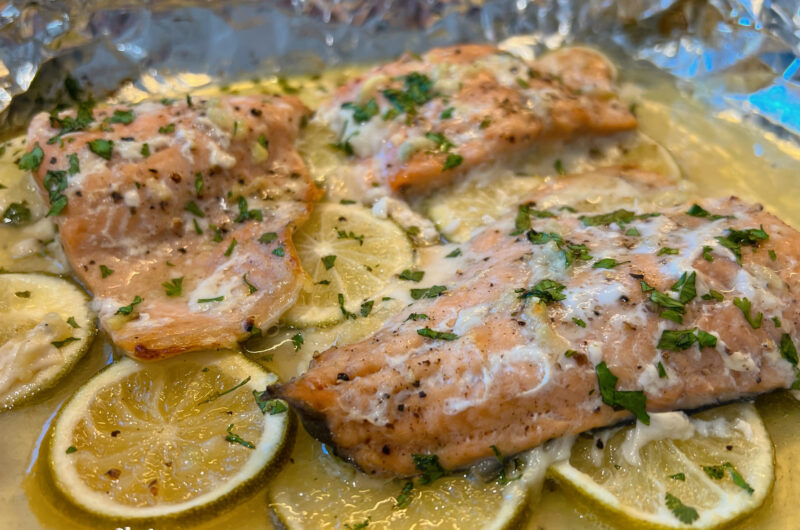
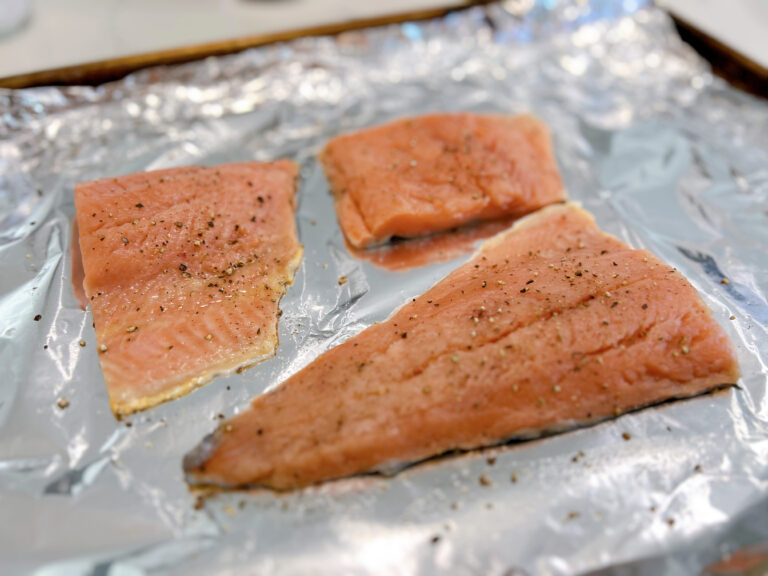
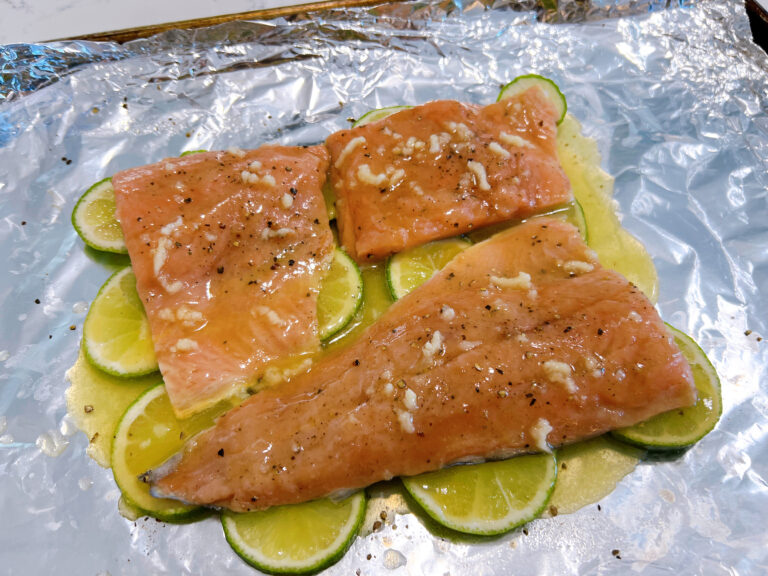
Preheat oven to 350 degrees. Line and grease a large baking sheet with foil. Lay salmon on foil and season with salt and pepper on both sides to taste. Slip lime slices underneath the salmon.
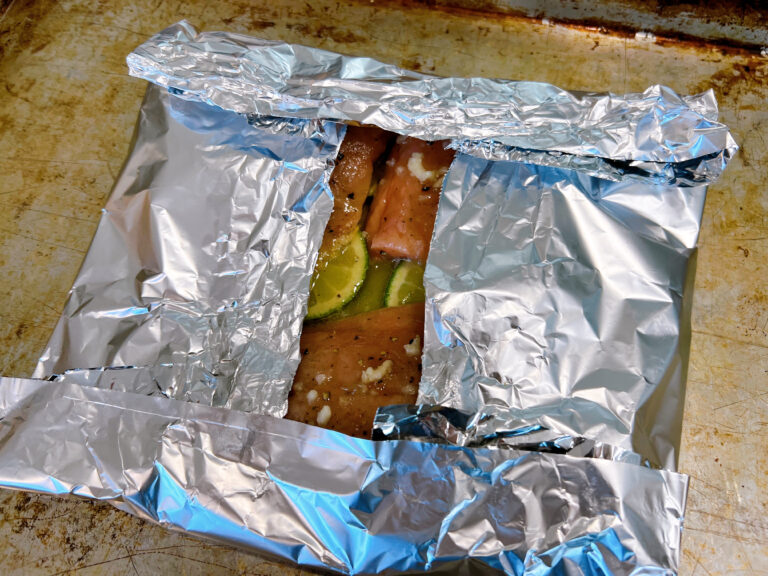
Stir the butter, lime juice, honey, and garlic together. Pour mixture over salmon. Fold sides of foil up over the salmon, it doesn't have to cover the salmon completely.
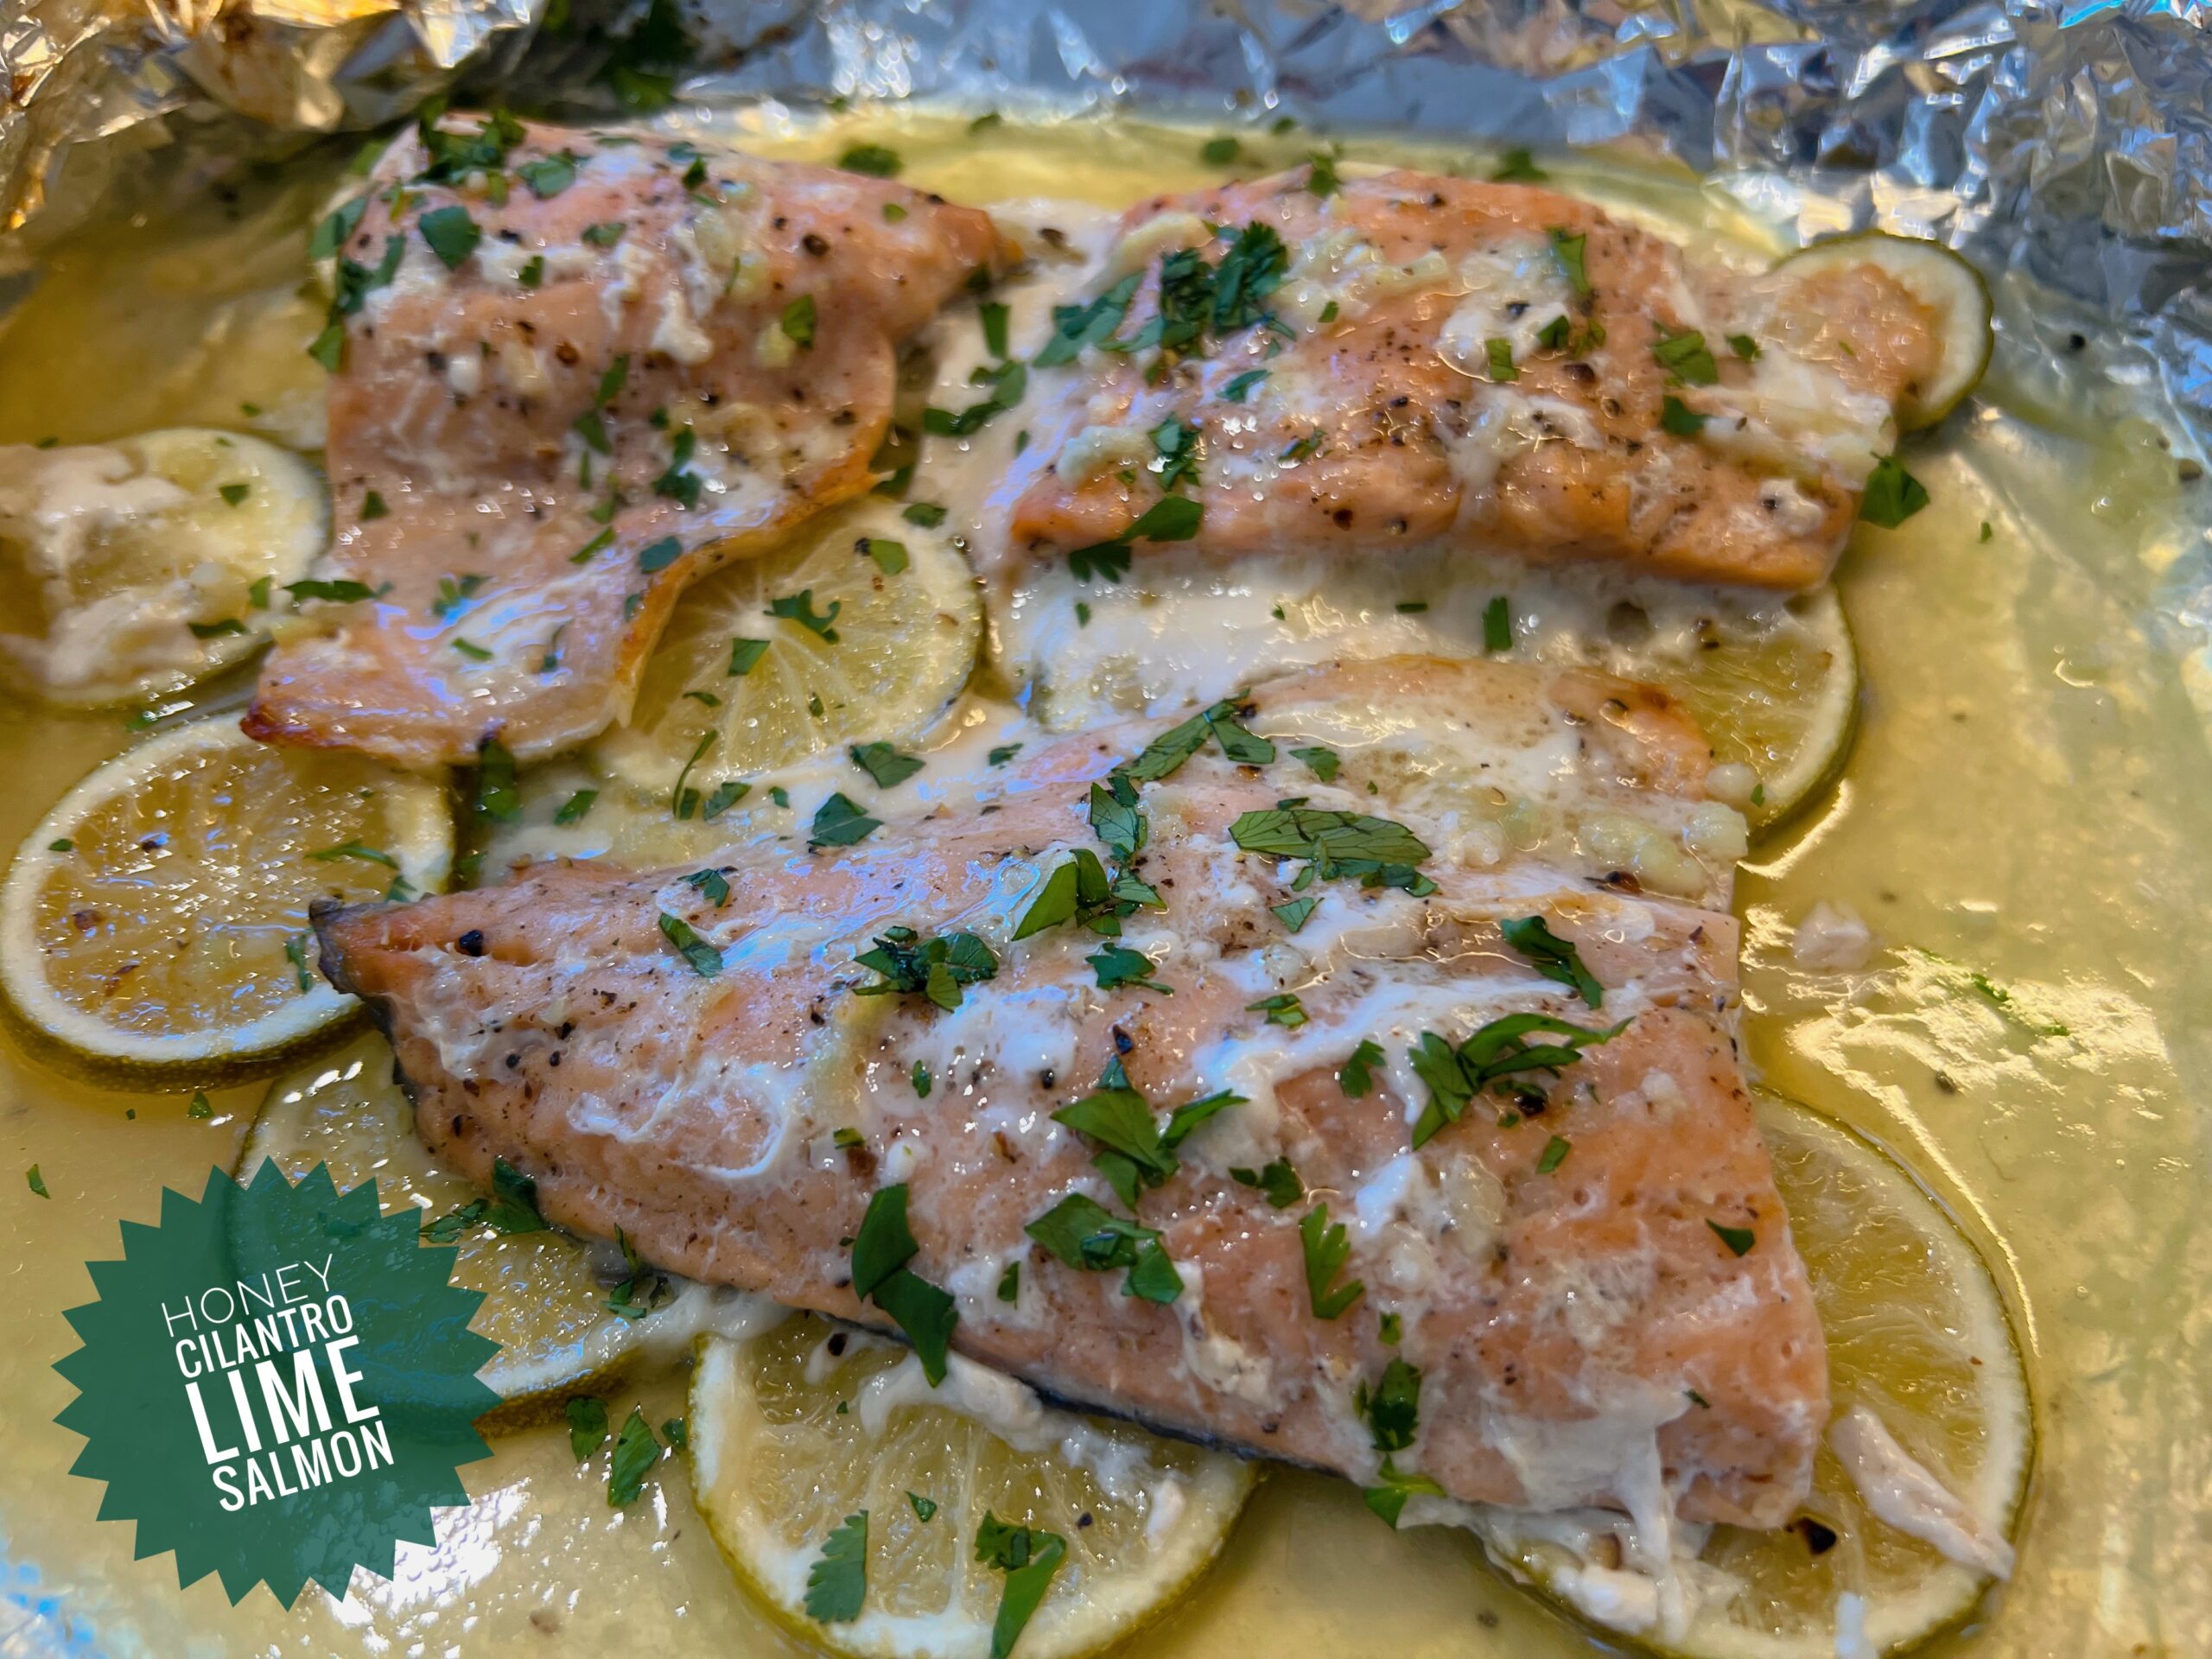
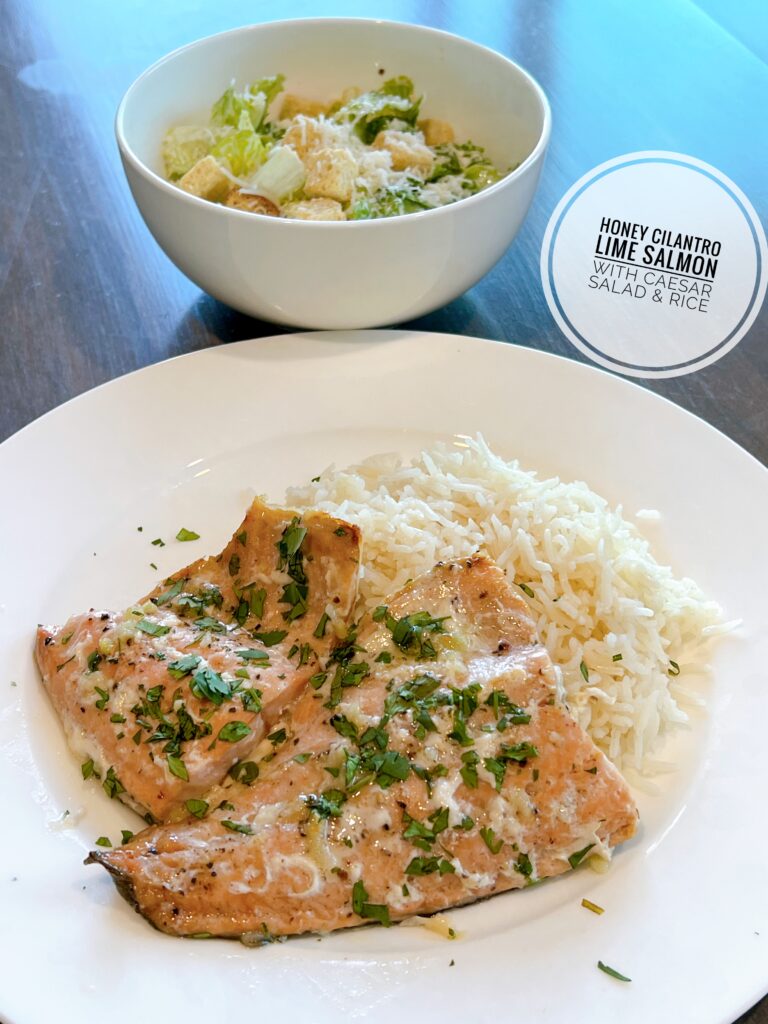
Bake for 15-20 minutes. Switch oven to broil and cook another 2 minutes. Sprinkle chopped cilantro over the top and serve.


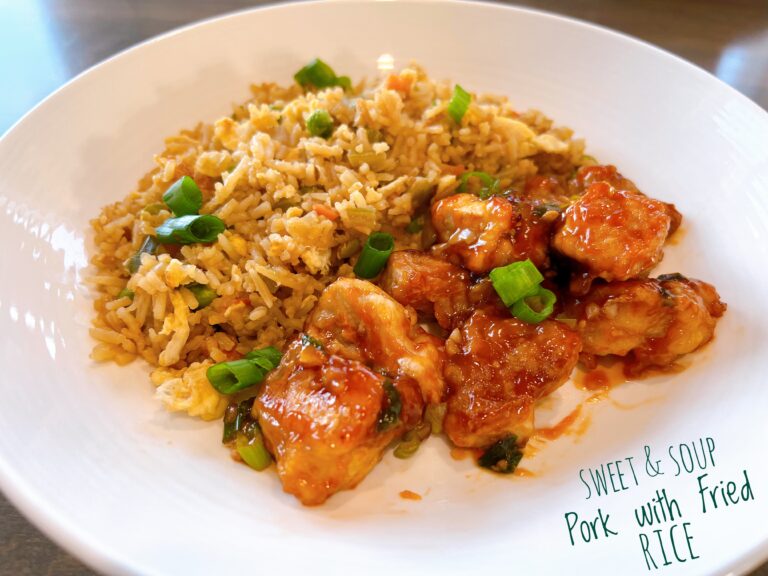
Ingredients
1 pound pork loin, cut to 2-cm pieces
1/2 cup + 2 teaspoons cornstarch
1 egg, beaten
1 teaspoon salt, separated
2 tablespoons ketchup
4 tablespoons apple cider vinegar
2 tablespoons Shaoxing wine
4 tablespoons brown sugar
1/3 cup + 1 tablespoon peanut or vegetable oil
2 green onions, sliced
2 cloves garlic, minced
Directions
Combine the pork pieces, oil, and half the salt in a big bowl. Mix well and let marinate for 15 minutes.
Mix ketchup, apple cider vinegar, Shaoxing wine, brown sugar, 2 teaspoons cornstarch, and rest of the salt in a small bowl and set aside.
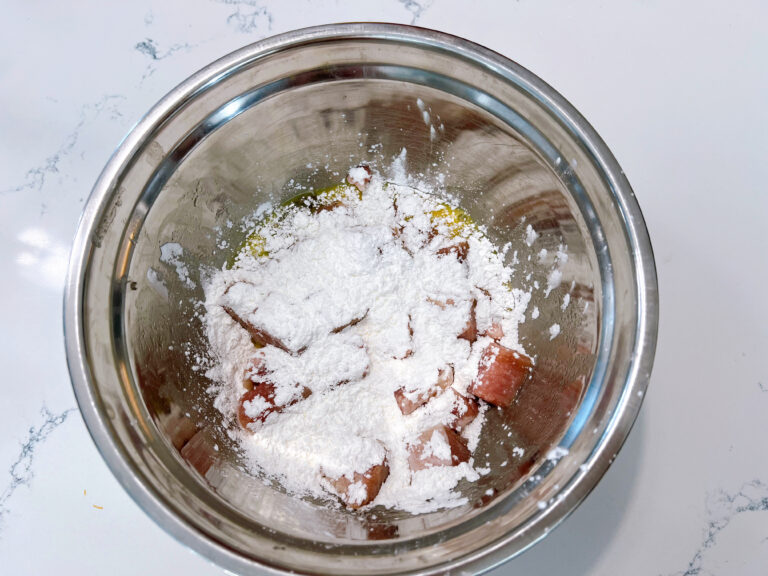
Add the beaten egg into the bowl with the marinated pork. Stir to mix well. Add 1/2 cup cornstarch. Stir to coat the pork until it forms an uneven coating with a little dry cornstarch left unattached.
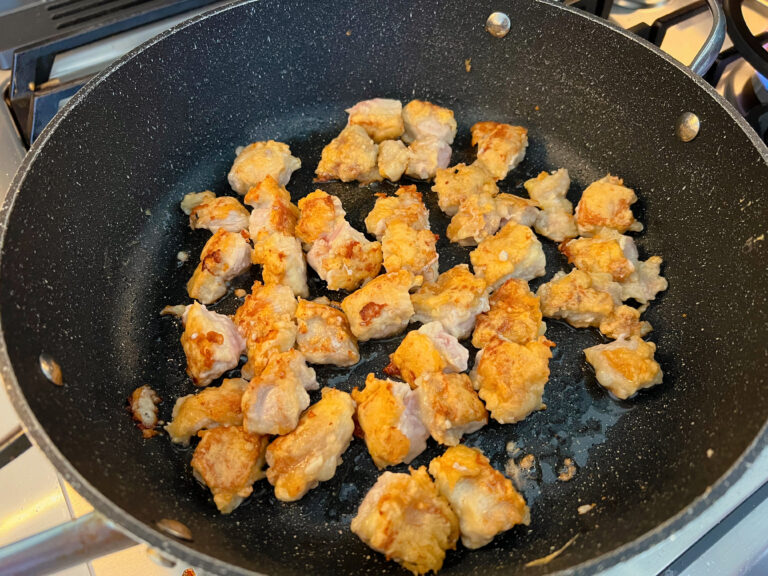
Heat the oil in a heavy-duty skillet until hot. Add the pork all at once and spread it out into a single layer in the skillet. Separate the pork pieces with tongs. Cook without touching the pork for 2 to 3 minutes, or until the bottom turns golden. Flip to brown the other side, 2 to 3 minutes. Transfer the pork to a plate and remove the pan from the stove. Let cool for 2 to 3 minutes.
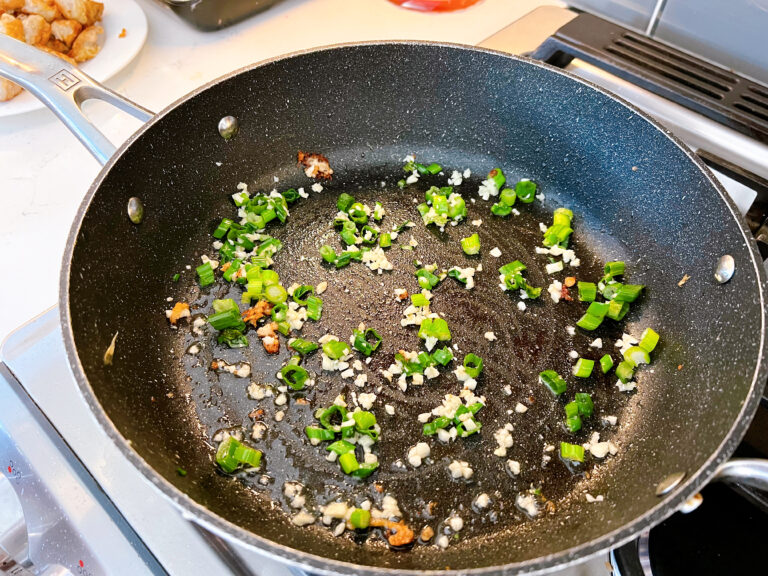
Place the pan back onto the stove and turn to medium heat. Add the green onion and garlic. Cook and stir a few times until it releases its fragrance, a few seconds. Stir the sauce again to dissolve the cornstarch completely. Pour it into the pan. Stir and cook until it thickens, when you can draw a line on the bottom with a spatula without the sauce running back immediately.
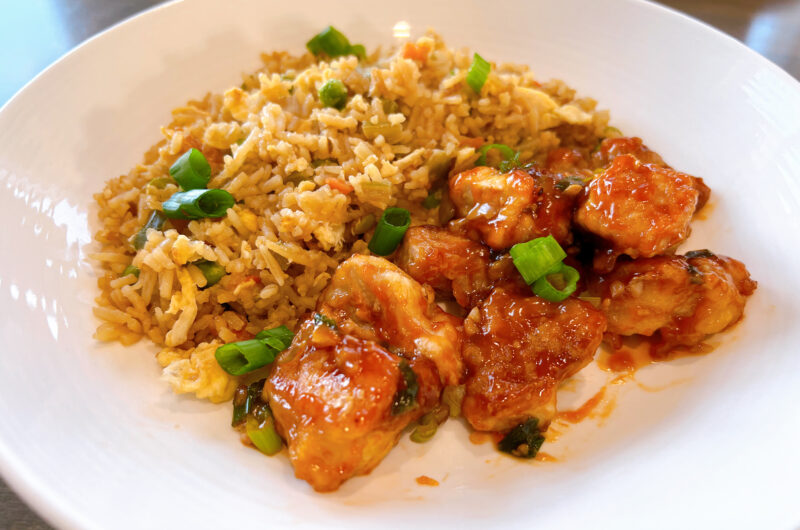
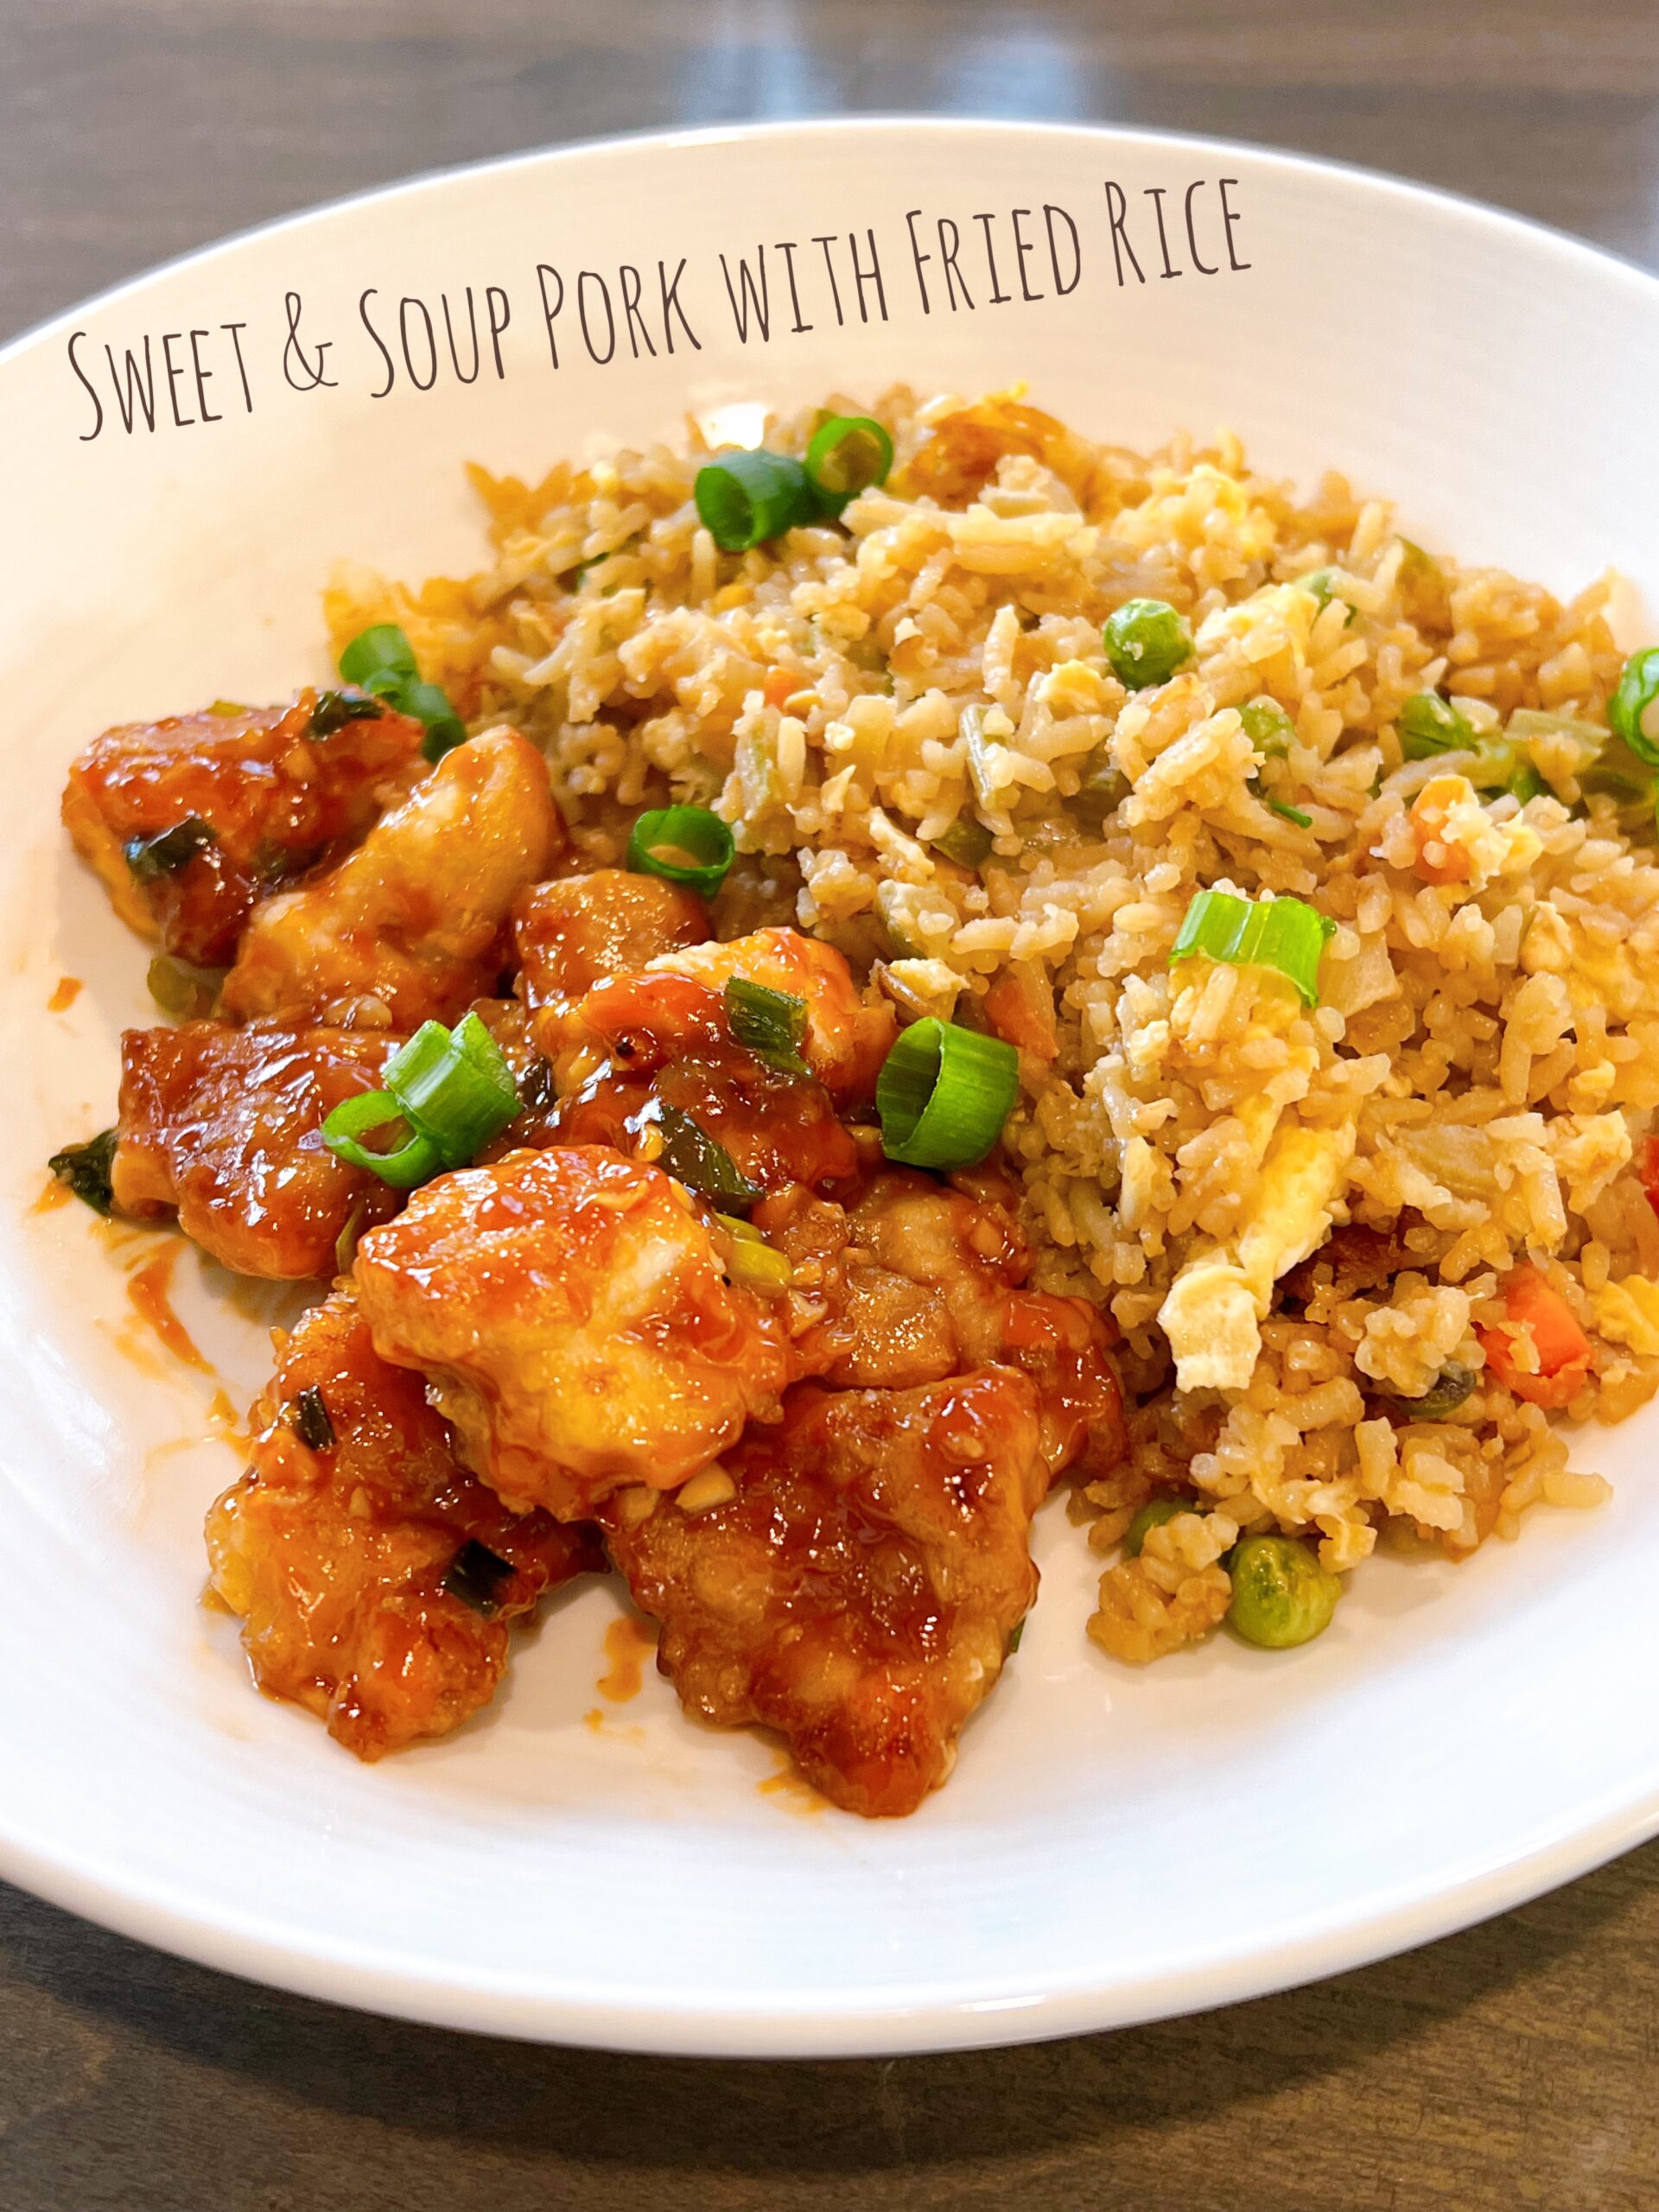
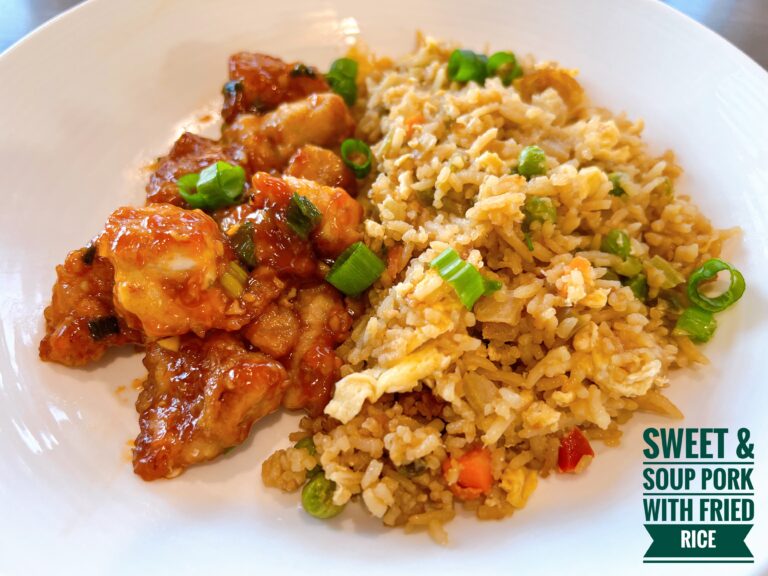
Add back the cooked pork and stir to coat with sauce, about 30 seconds. Transfer to a plate and serve with Fried Rice.


Ingredients
1 tablespoon oil
1/2 onion, diced small
1 clove of garlic, minced
1/2 jalapeño pepper, minced
1 bell pepper, diced
1/2 teaspoon cumin
2 teaspoons chili powder
1 tablespoon tomato paste
1 small can diced tomatoes
1 can of beans, black, red, or pinto, drained and rinsed
1 can corn, drained
1 cup Monterey jack cheese, shredded
4-5 large flour tortillas
Directions
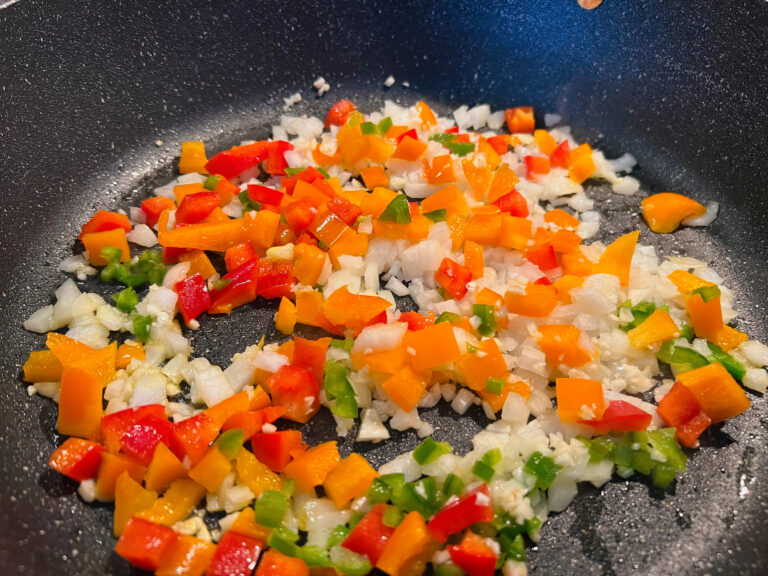
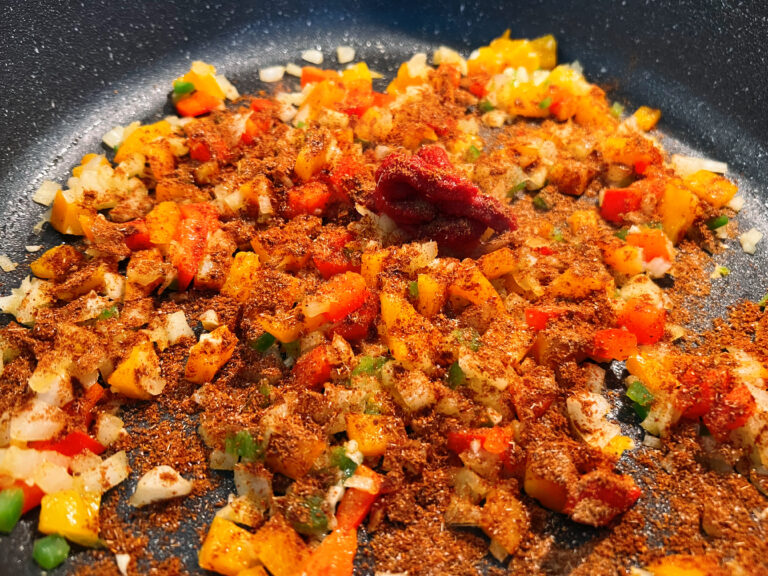
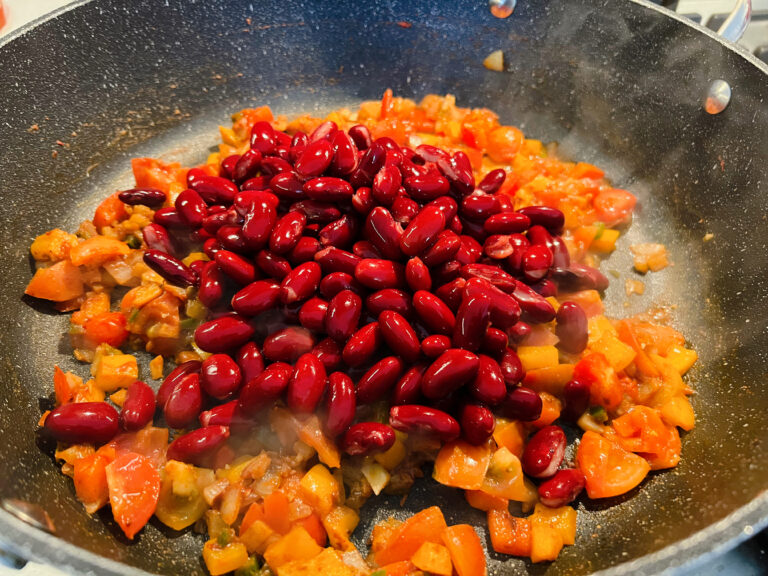
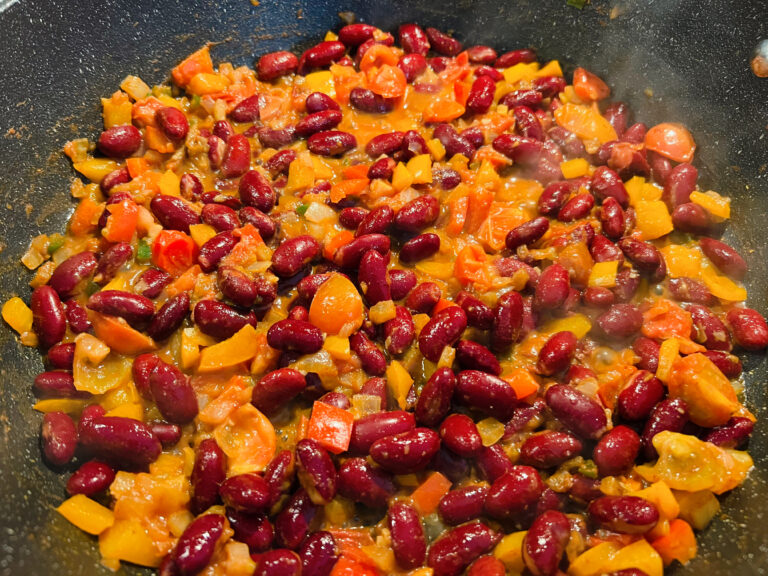
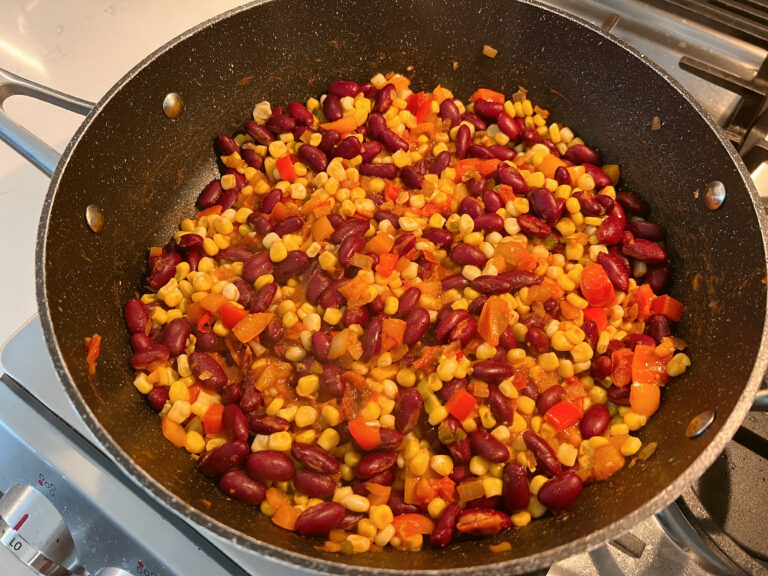
Heat a large skillet over medium-high heat. Add oil, and once the oil is hot, add the onion, garlic, jalapeño, and bell pepper and cook until the the ingredients begin to soften, 3 to 4 minutes. Add the cumin, half the chili powder, and tomato paste, and cook for 1 minute. Add diced tomatoes and let simmer for 1 minute, then add the beans and simmer for 2 to 3 minutes. Taste the mixture and add salt. Add remaining chili powder if needed for your desired heat level. Add the corn and stir until everything is warm.
Remove from heat and squeeze the juice of half a lime over the mixture.
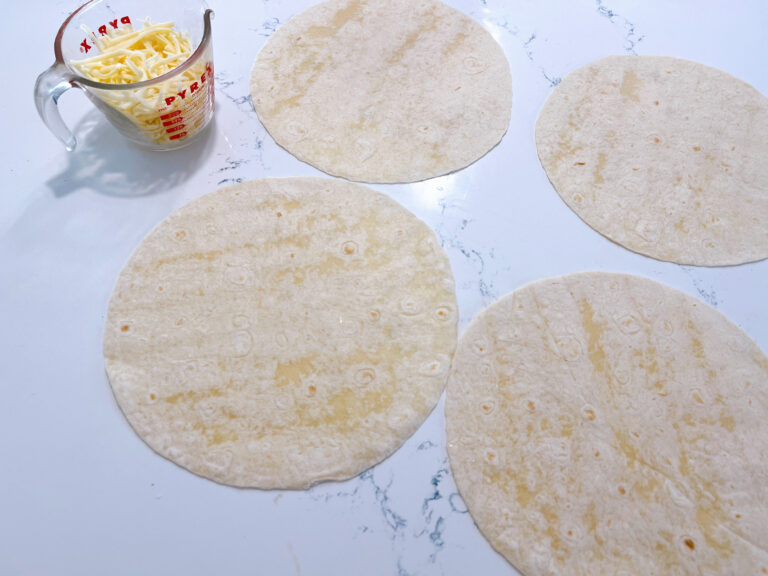
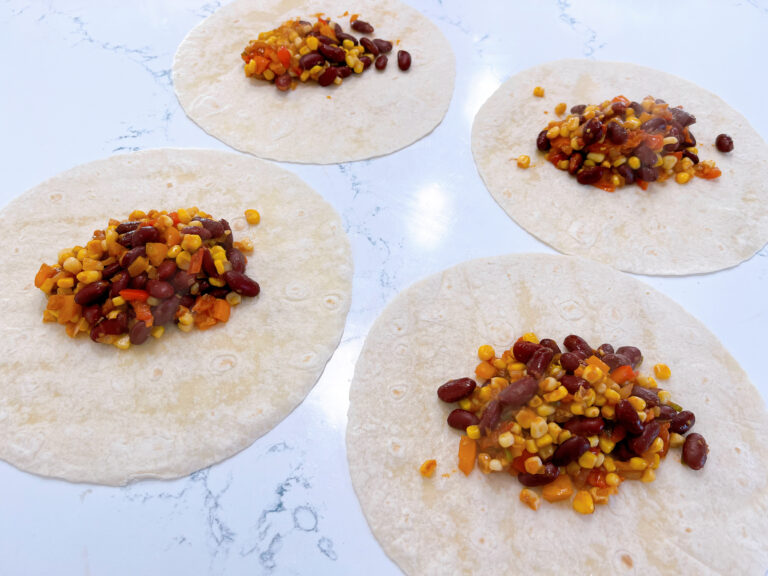
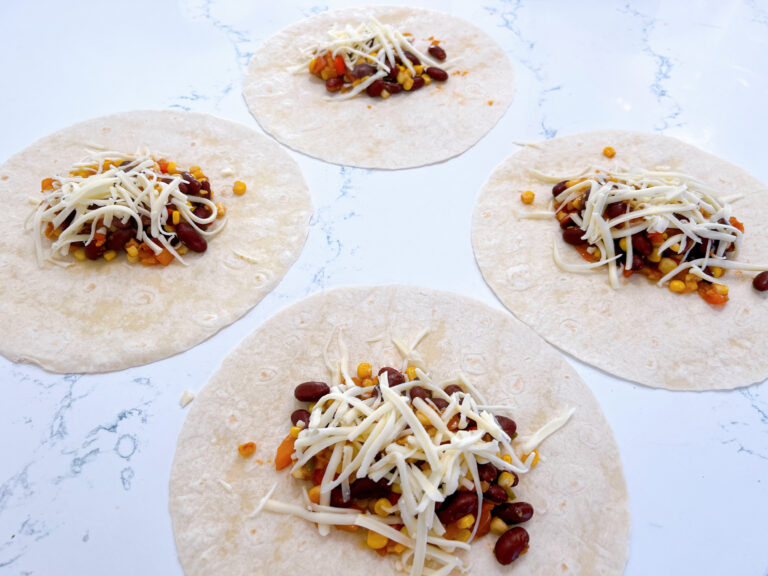
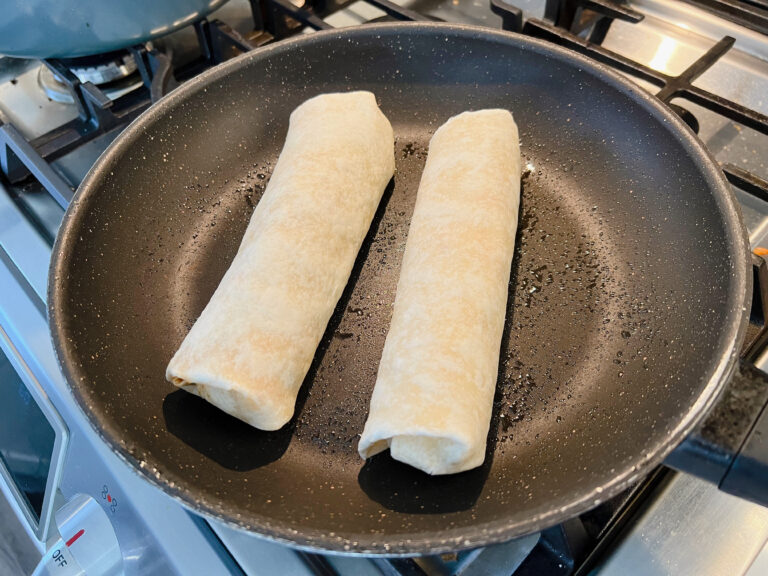
Warm up the tortillas for 15 seconds in the microwave to soften them. If they seem dry, spray them lightly with water before warming. Spoon about 3/4 cup of the filling in the lower third of a warmed tortilla. Sprinkle with 1/4 cup jack cheese. If you want your burritos spicier, you can add hot sauce. Fold the bottom of the tortilla over the filling, fold in the sides, and roll it up, setting it to cool seam side-down. Repeat with remaining tortillas, filling, and cheese.
Heat a skillet with a thin layer of oil over medium heat and add burritos you’re ready to eat. Cook until browned and crisp on both sides.


Check out How Was Your Week, Honey? Ep.375: Dicks, Decks & Dentists. This week, we get together to discuss: podcasting, Lake Breeze cocktail, drinking, communicating needs, Magnolias, the eclipse, and billionaires.

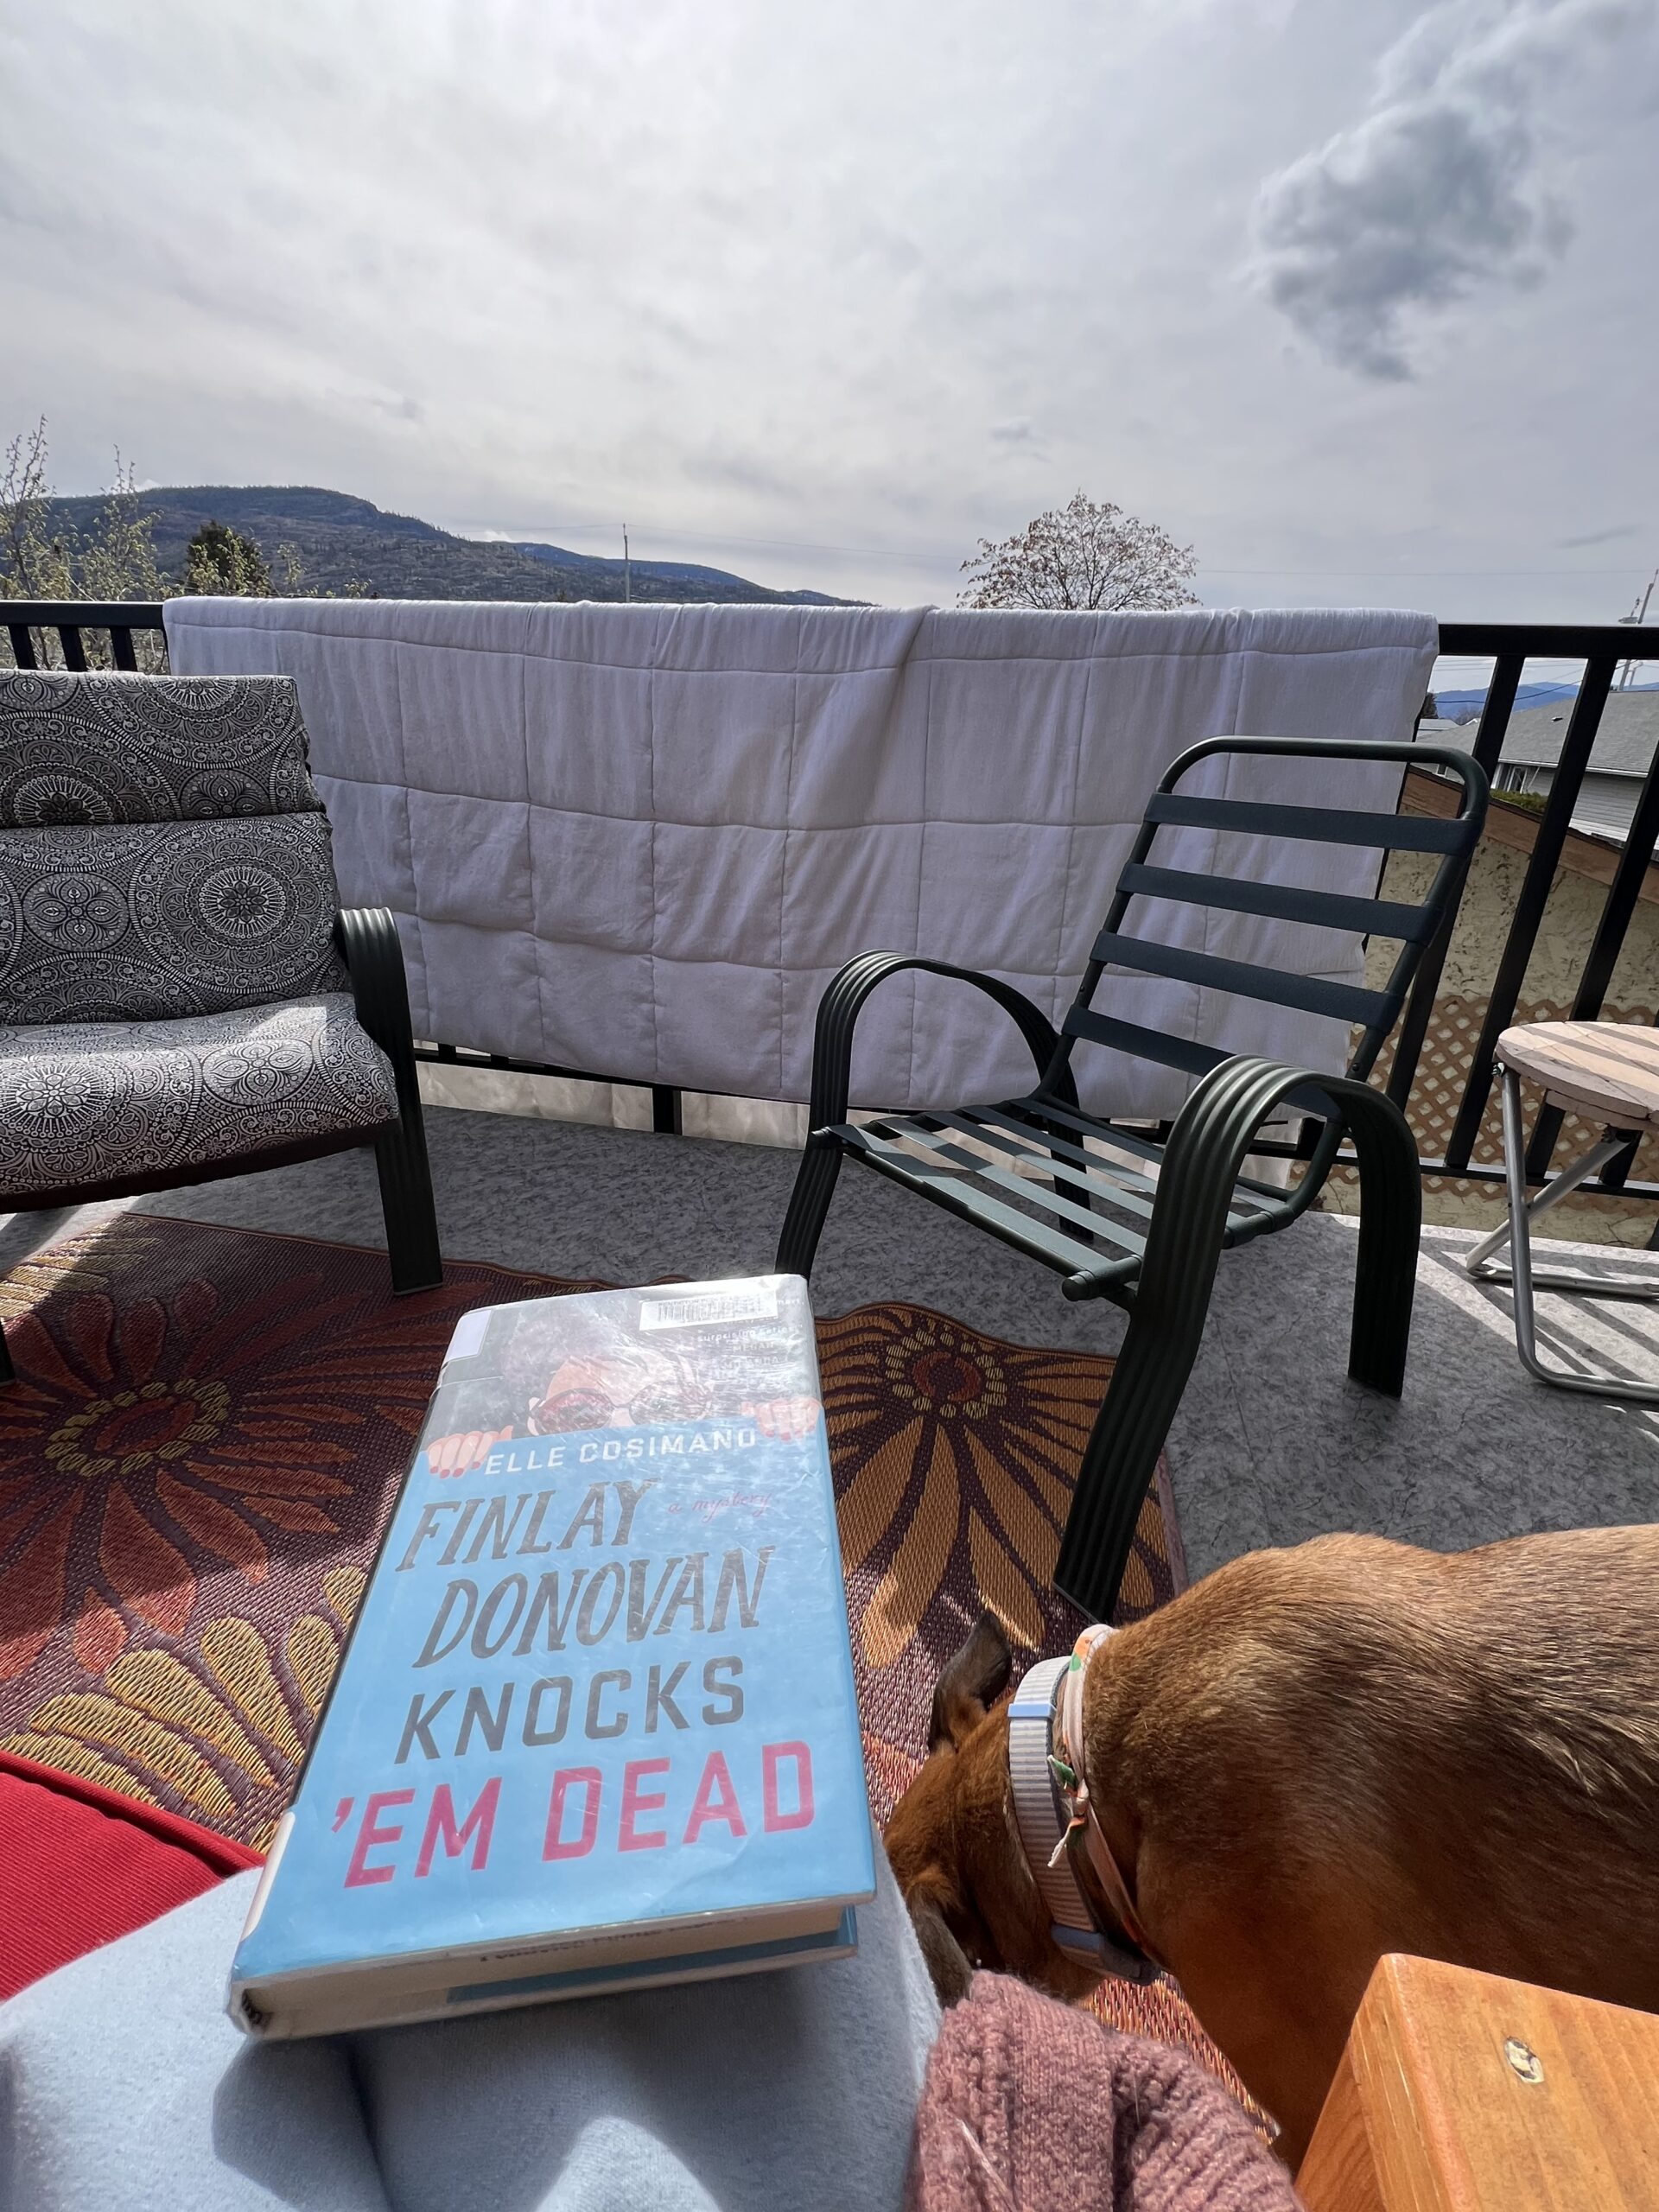
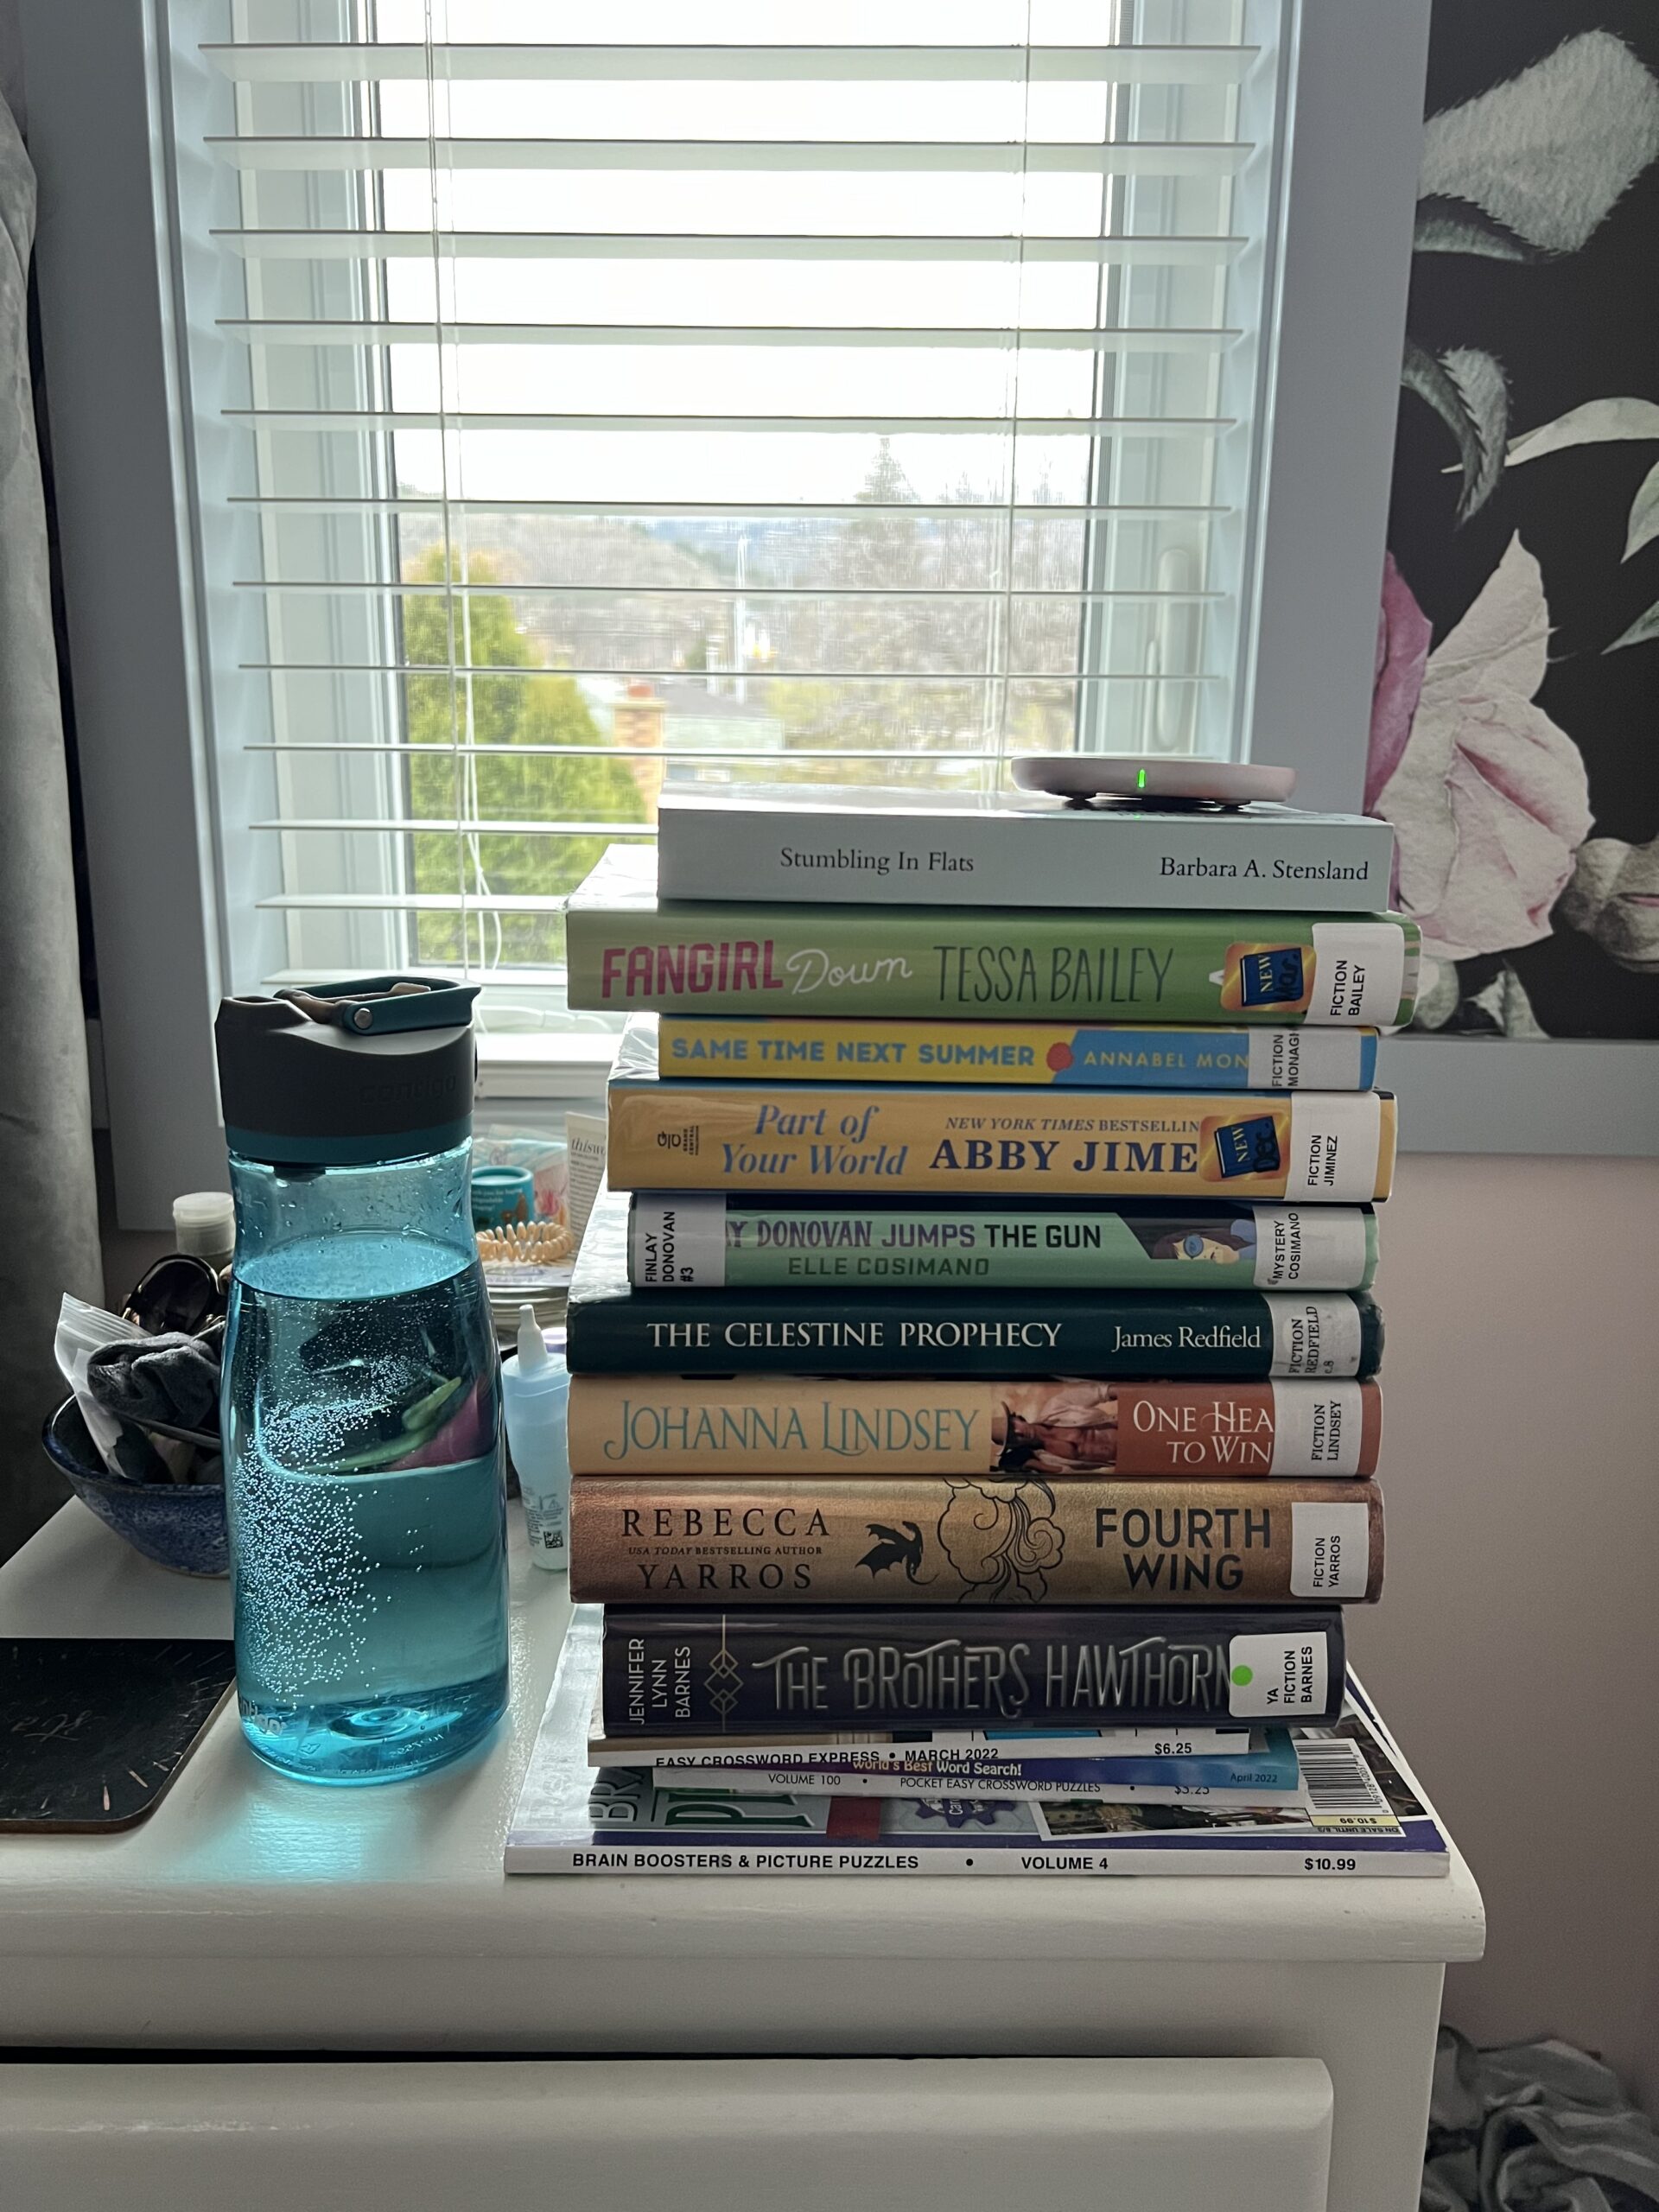
This week was back to school, back to lessons, and back to work. After getting the house back in order after Easter and spring break, I worked, hung out with the dog, and read a few books. Ninja continued to work on the deck with all of us helping as much as we can. He also surprised me at work and came by at the end to finish up my job, just when I’m at my most tired! He carried my equipment back to the van and went back to work himself. I’m SO lucky. SBean had an extra musical theatre class this weekend while HBear stained the fence. We ended our week watching the eclipse on TV… Next week, The Masters!


2 thoughts on “April: Meal Plan on a Budget!”
These recipes look delicious. I will try a few of them this week for my family. Thank you for sharing!
Fantastic! I hope your family enjoys them as much as my family did!