February: 7 Day Meal Plan on a Budget!
According to Canada’s Food Price Report for 2026, a family of 4 will spend $17,571.79 on groceries this year — that’s up $994.63 from 2025!
That’s $1464.32 a month.
That’s roughly $366 a week.
NEW CHALLENGE!!!
Let’s feed me, my husband, our 17 year old and our 13 year old for about HALF that and make a week long menu plan for under $183 a week or $732 a month!
Ninja and I keep a running tab of all our grocery expenditures. This is our spending for January.
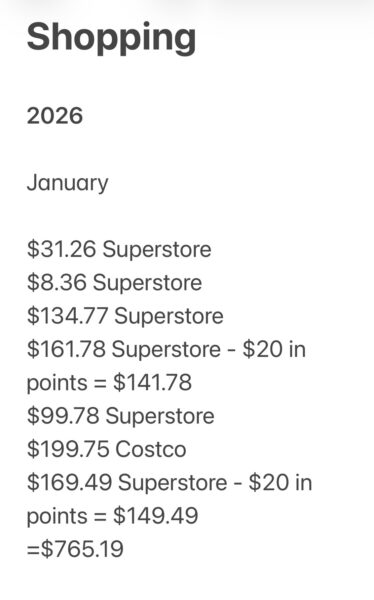
We spent $806.19 and used $40 in points, leaving our monthly spending at $765.19, actually going over our budget by $33.19. We could have used more points at Superstore and kept on budget but because we were restocking after the holidays, I think we can save the points and make up the difference this month.
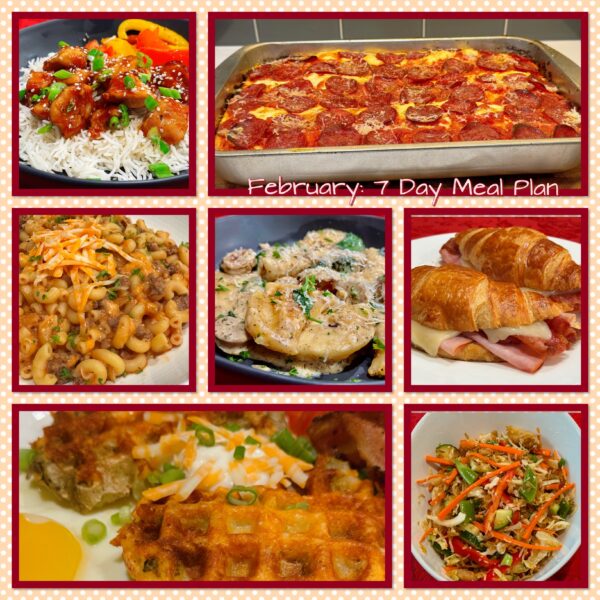
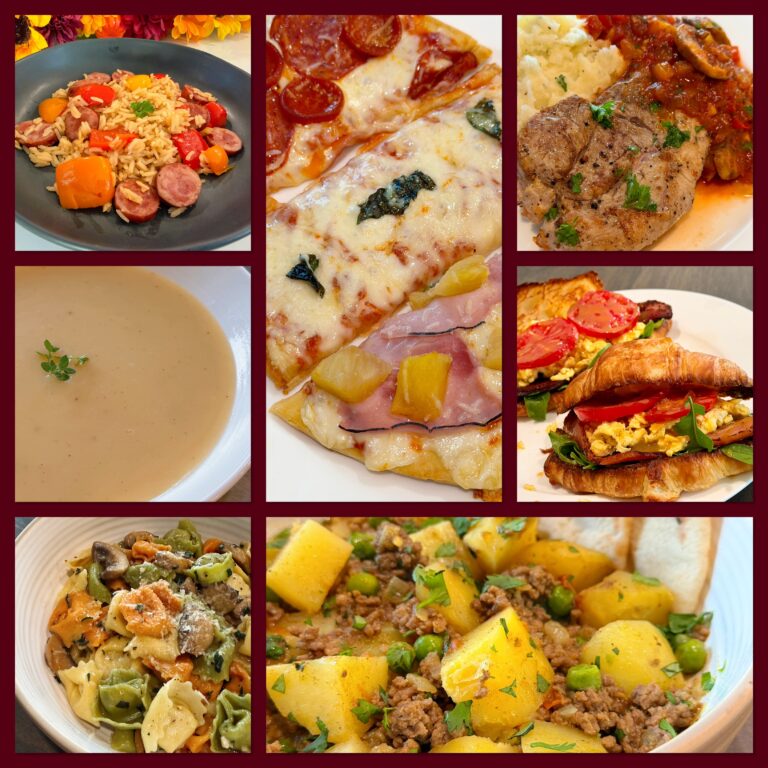
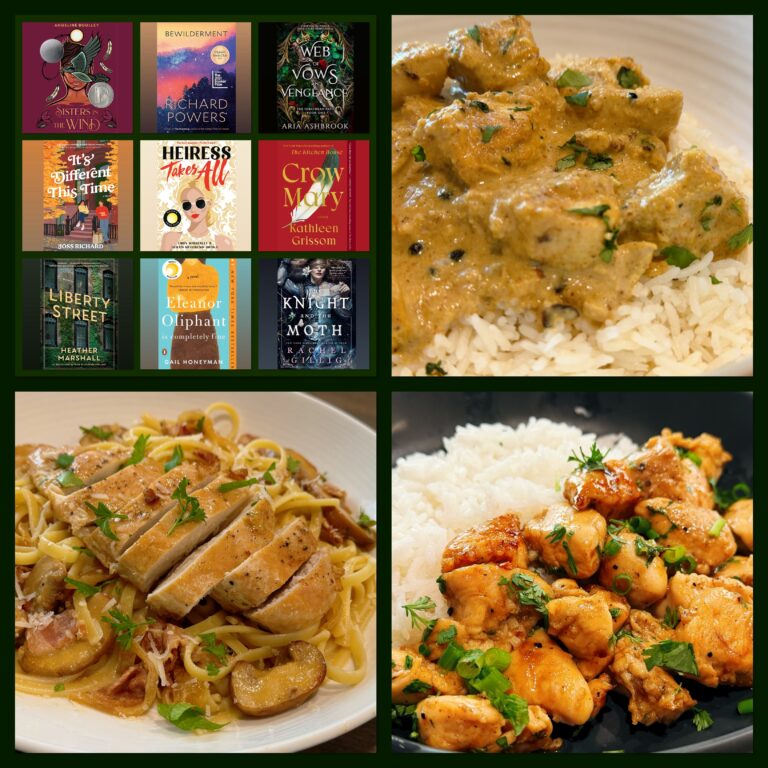
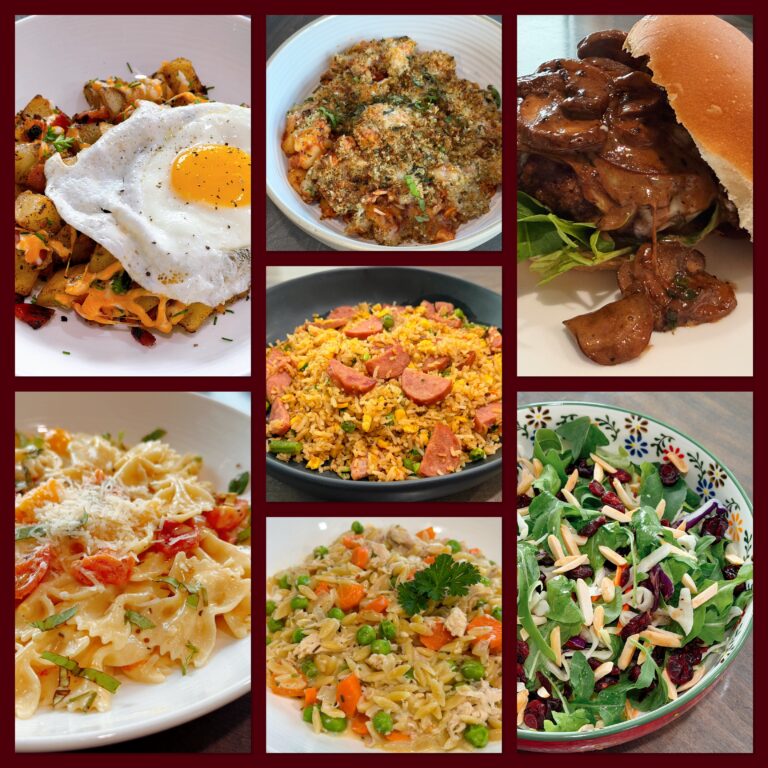
Here is the February weekly meal plan staying close to my budget of $183! I want you to have all the tools to be able to feed your family 7 healthy(ish) meals, while not putting yourself into the poorhouse! I hope you enjoy and please let me know if you follow this weekly plan and if you were able to stick to the budget! Click on the recipe listed in the MENU below and it will take you directly to the recipe!!
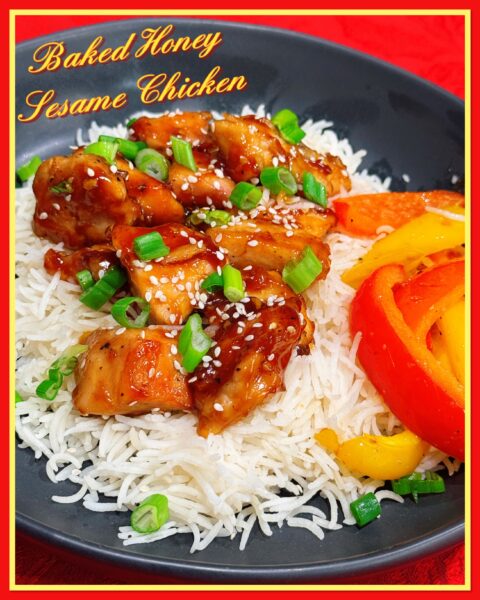
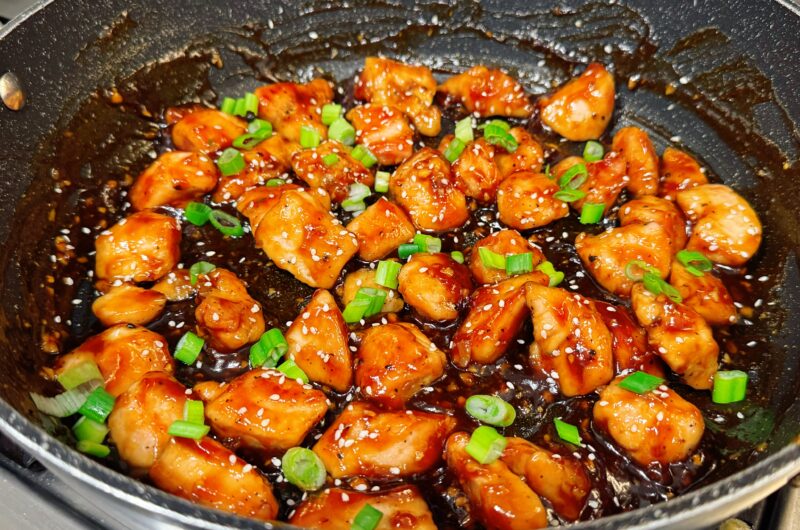
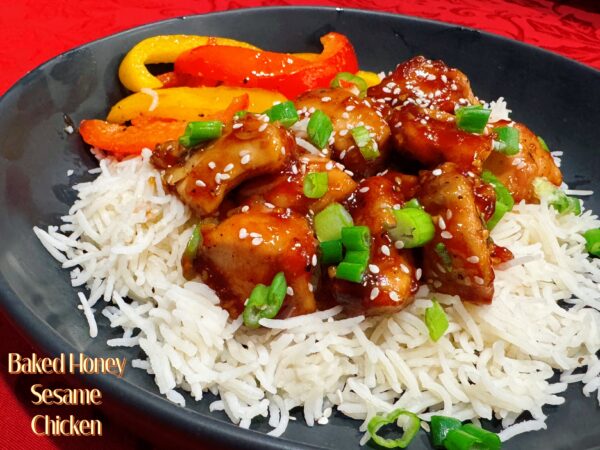
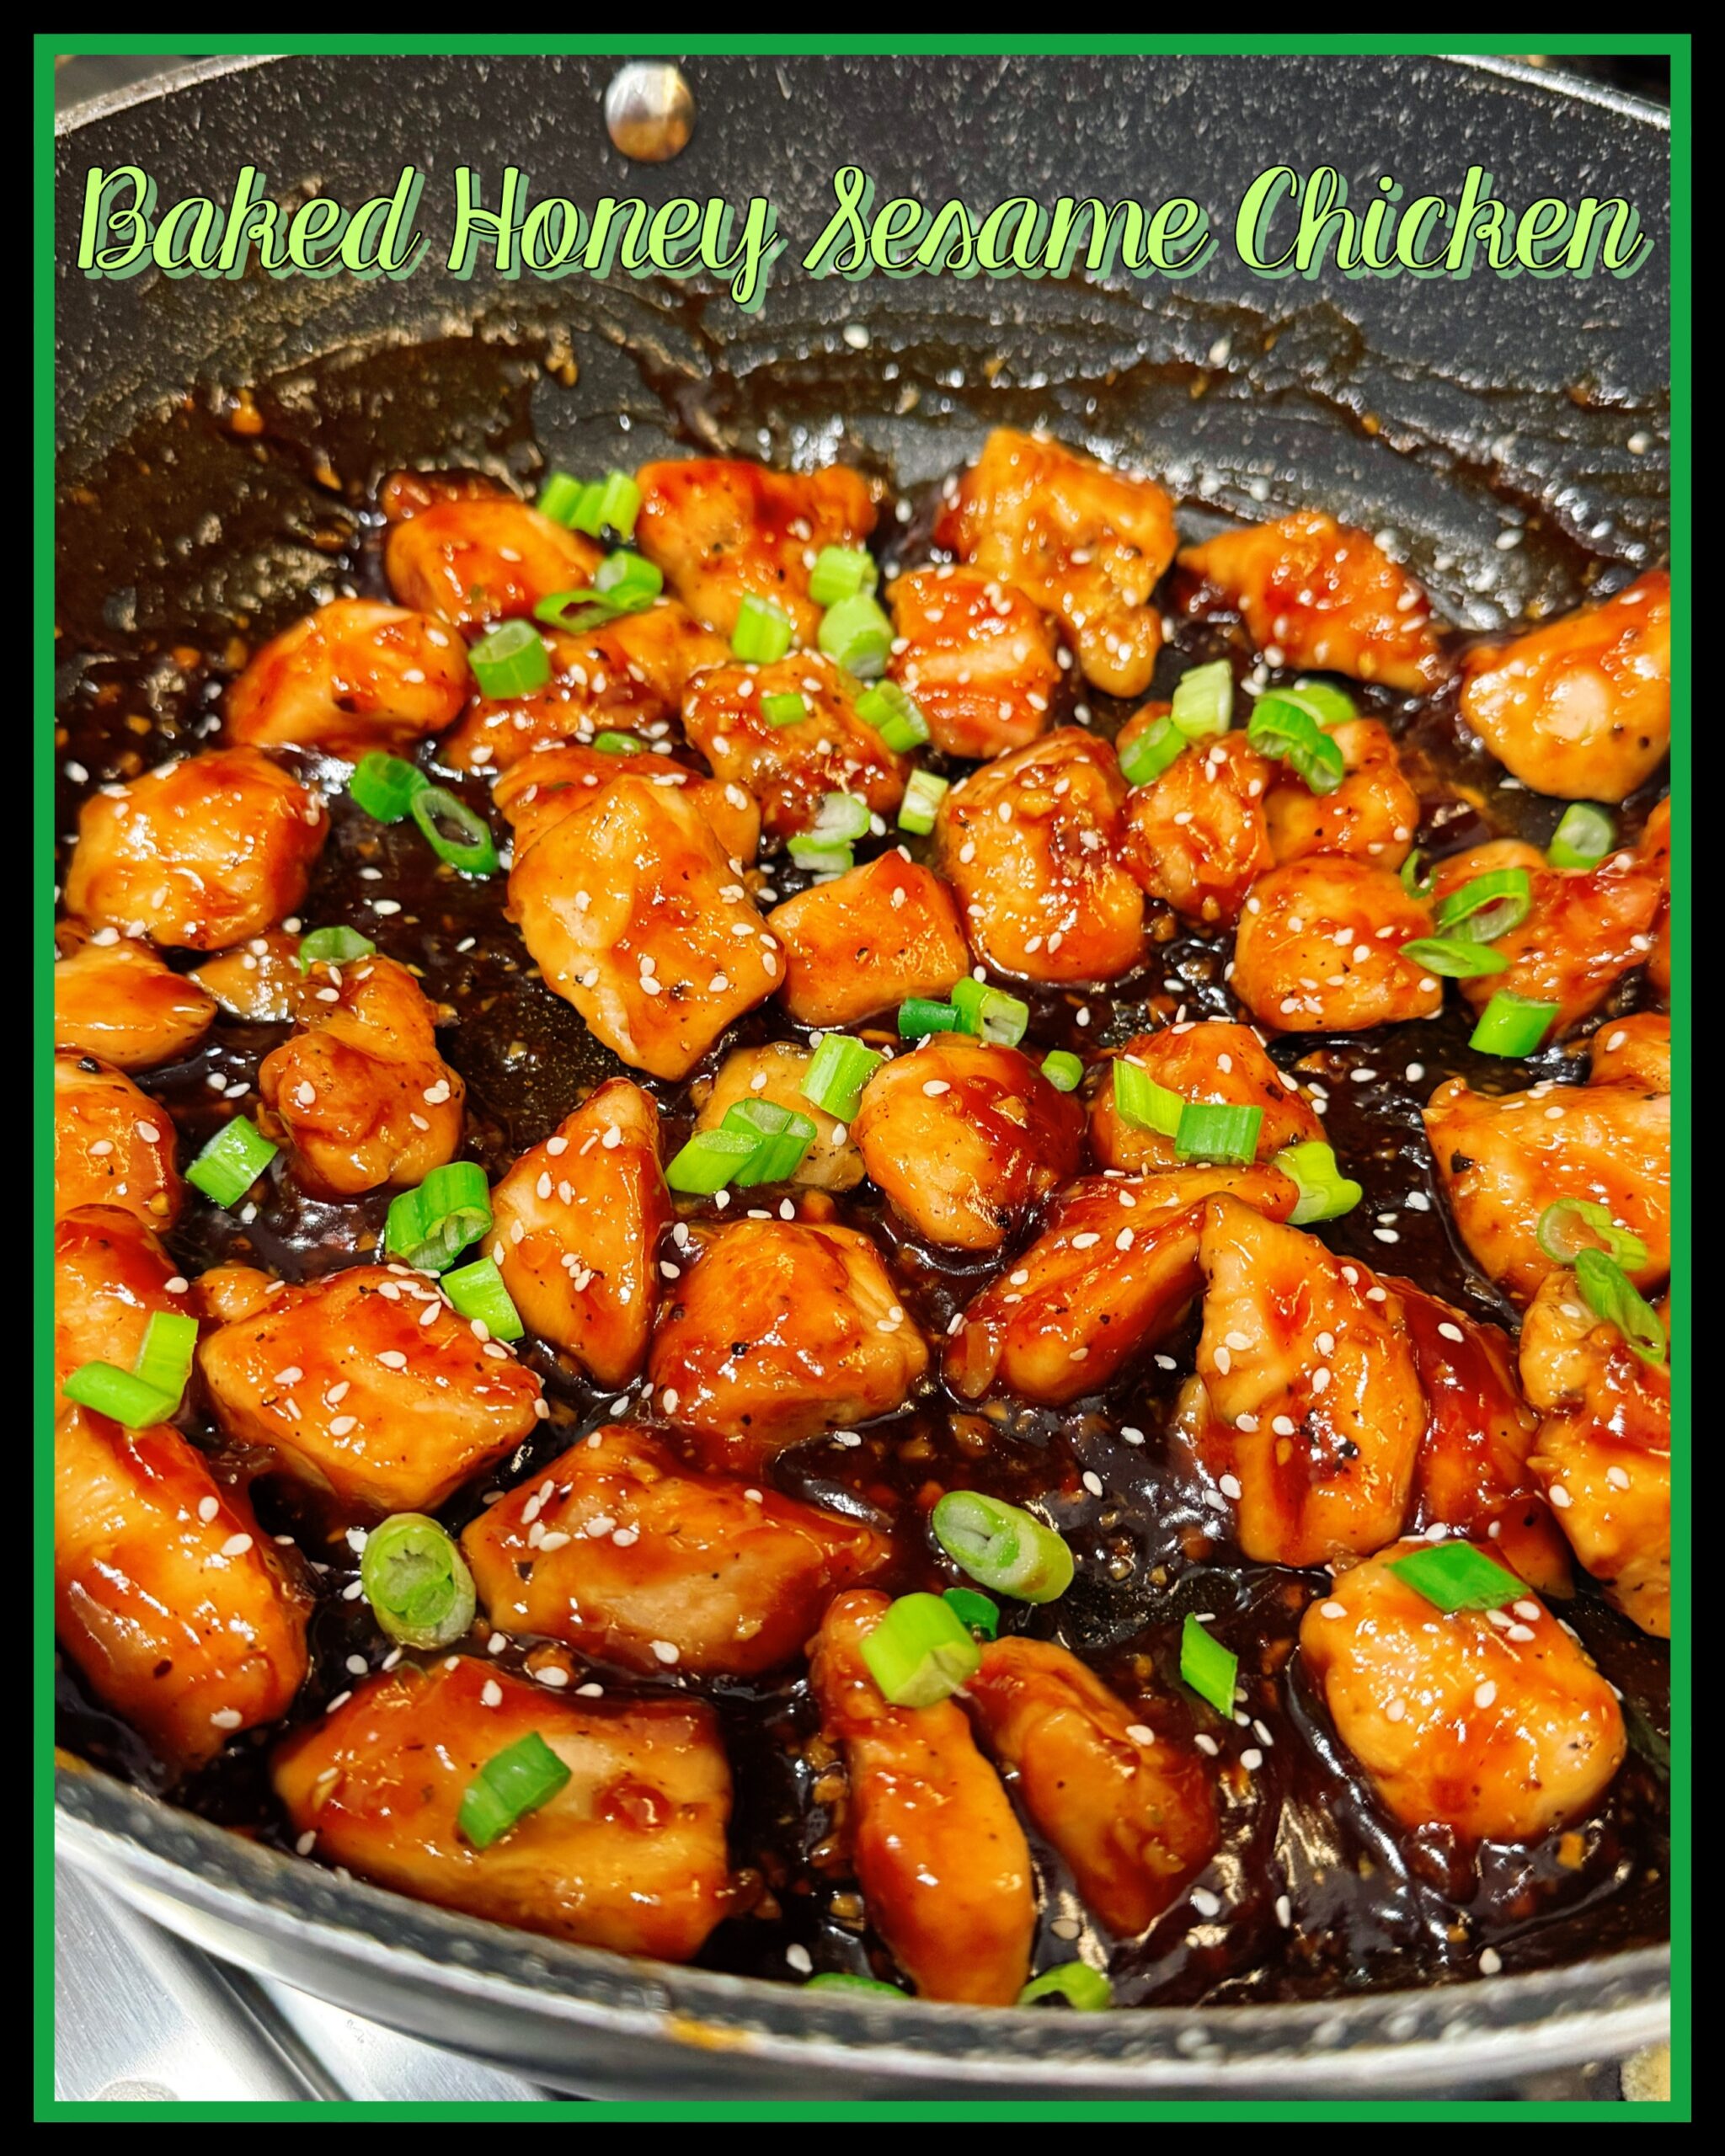
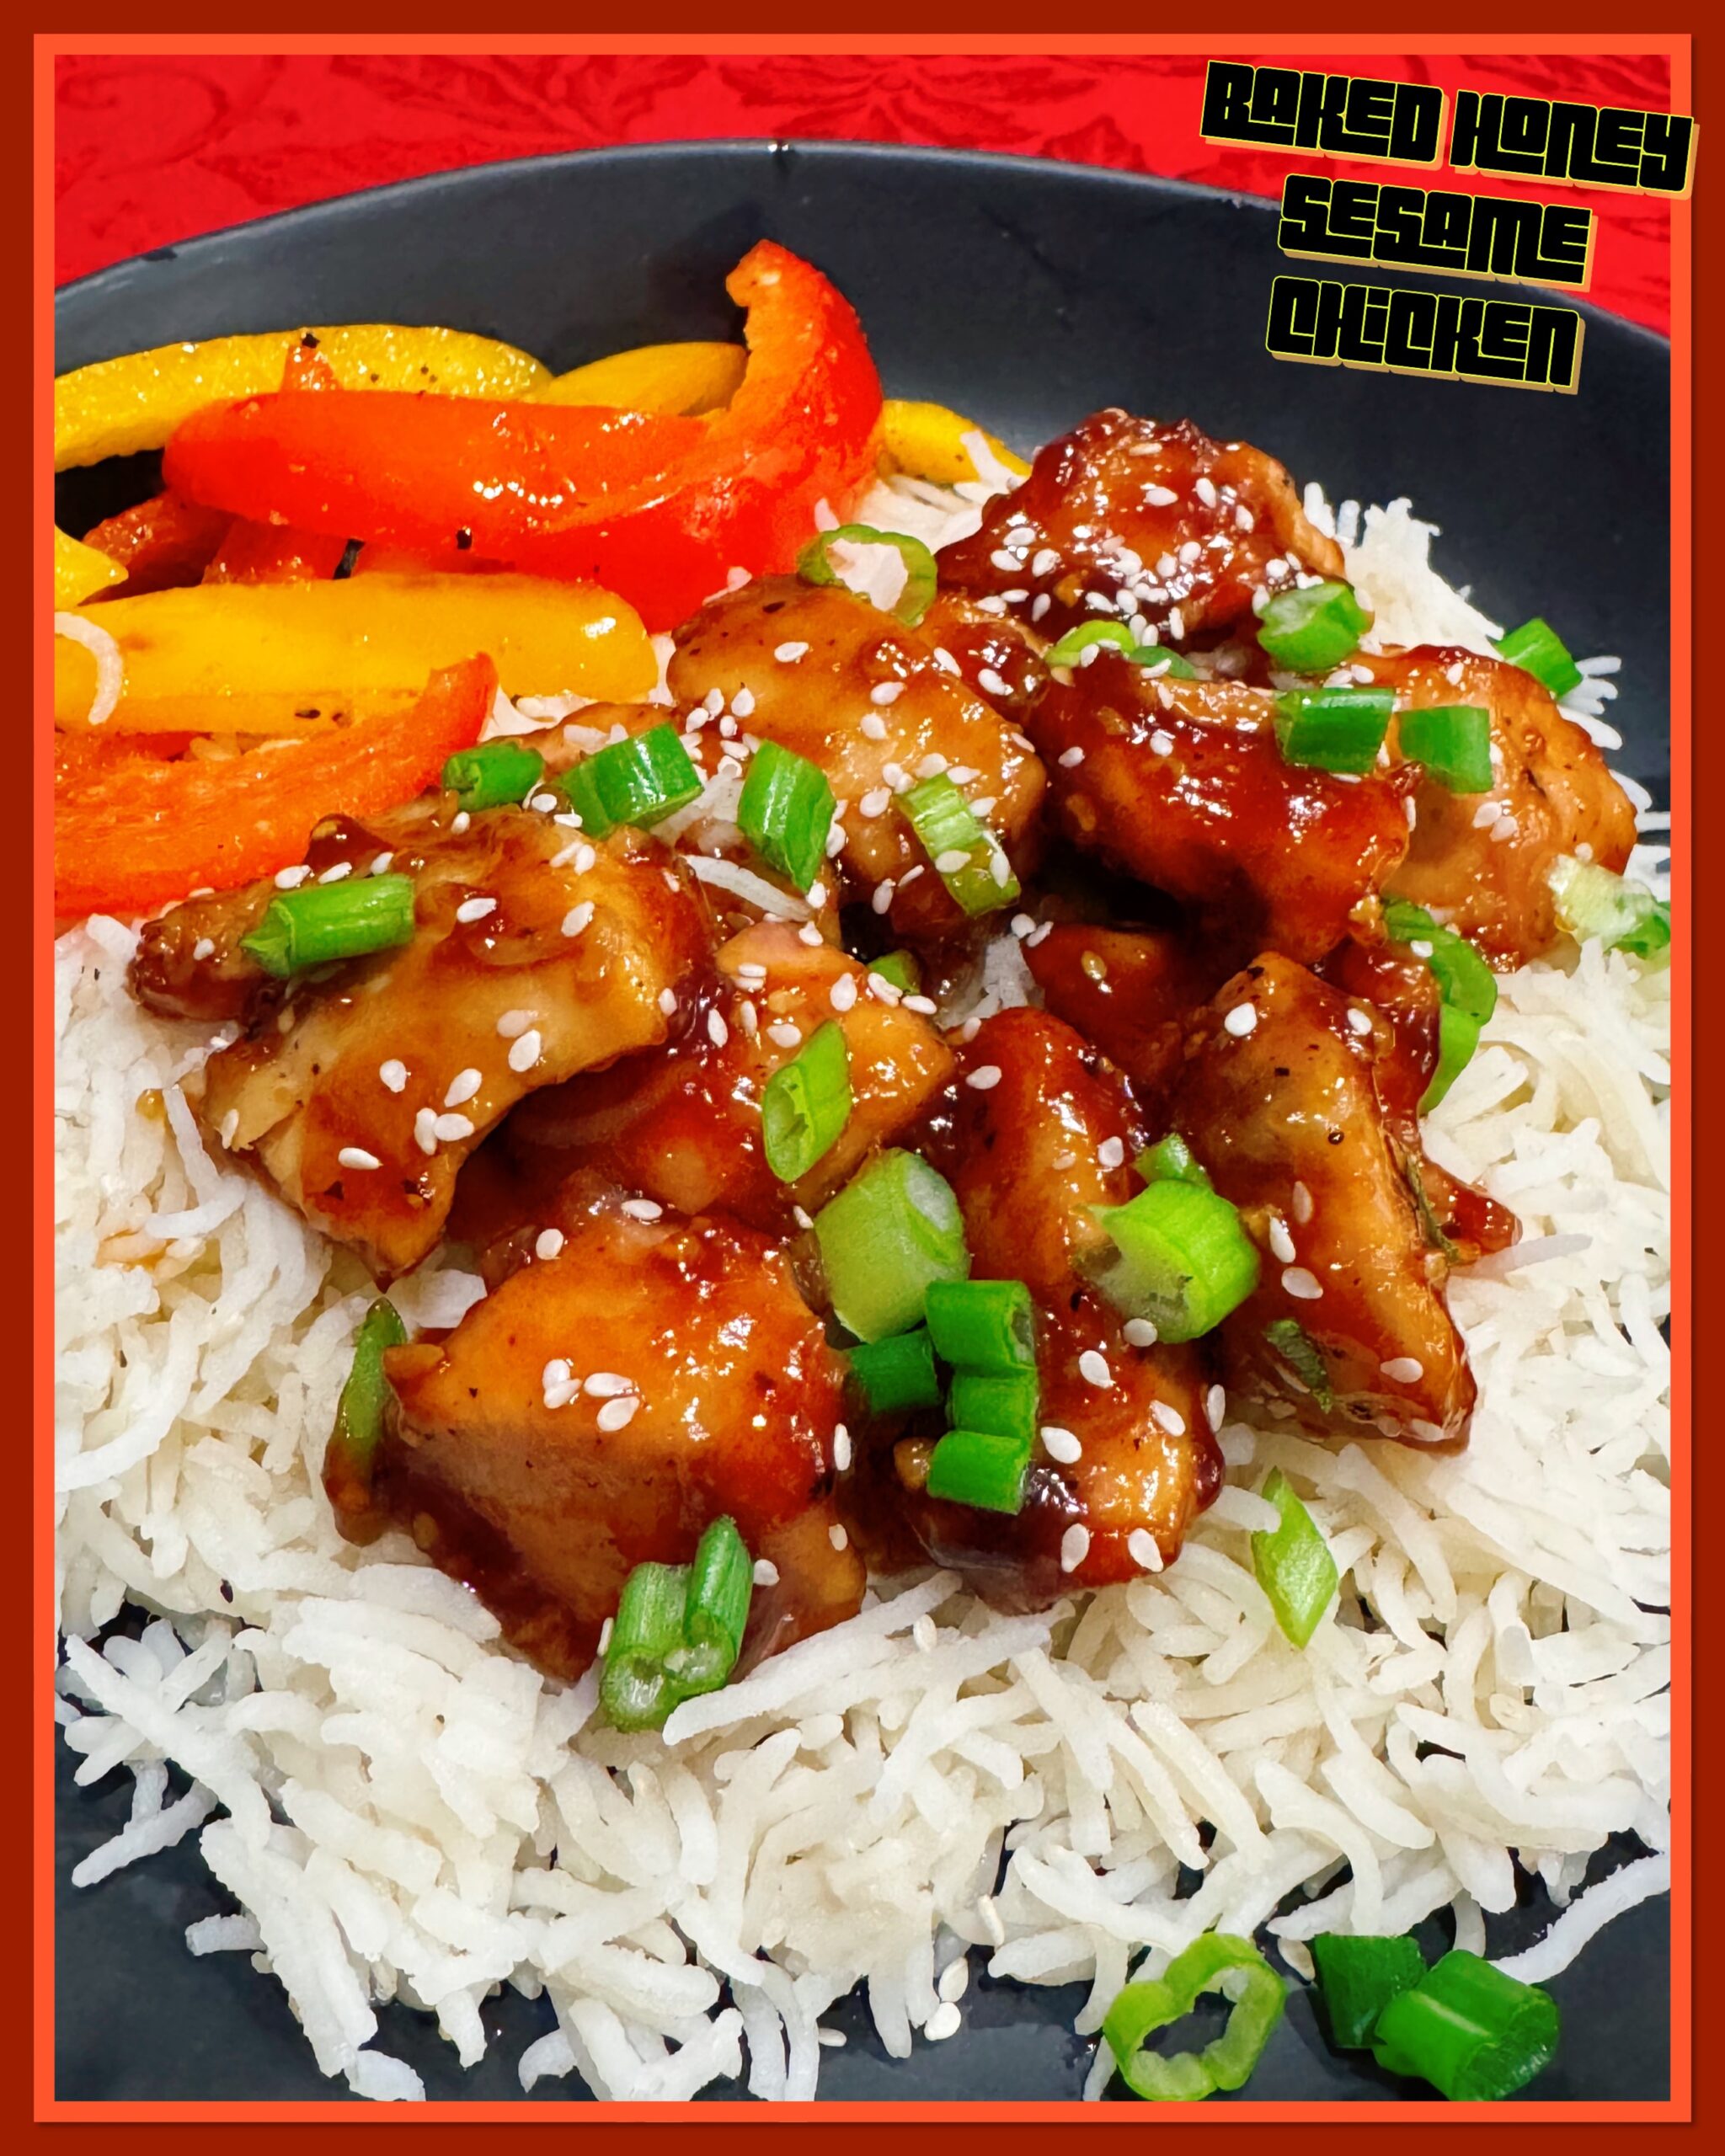
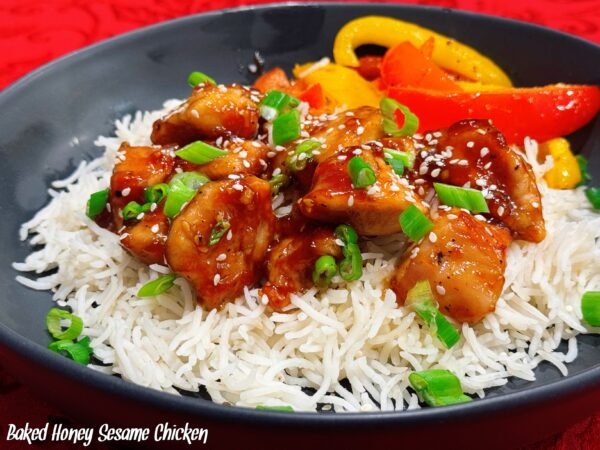
Baked Honey Sesame Chicken
4
servings10
minutes15
minutesIngredients
3-4 chicken breasts, cut into 1-inch pieces
4 tablespoons cornstarch, divided
1 teaspoon salt
½ teaspoon pepper
2 tablespoons olive oil
⅓ cup honey
⅓ cup soy sauce
3 tablespoons brown sugar, packed
2 tablespoons ketchup
2 tablespoons rice vinegar
2 to 3 garlic cloves, minced
1 to 2 teaspoons sesame oil or to taste
2 teaspoons ginger, grated
salt and pepper, to taste
½ teaspoon red pepper flakes, or to taste
Garnish: 2 green onions, sliced & 1 tablespoon sesame seeds
Directions
Preheat oven to 400F.
In a large bowl, add the chicken, 3 tablespoons cornstarch, 1 teaspoon salt, 1/2 teaspoon pepper, and toss well.
To a large baking sheet, add the chicken, evenly drizzle with 1-2 tablespoons olive oil, and bake for about 10 to 15 minutes, flipping once midway through.
To a large skillet, add 1 tablespoon of cornstarch, honey, soy sauce, brown sugar, ketchup, rice vinegar, garlic, sesame oil, ginger, 1/2 teaspoon salt, 1/2 teaspoon pepper, red pepper flakes, and heat over medium to medium-high heat for 1-2 minutes, stirring constantly. The sauce will thicken slightly from the cornstarch as you keep stirring.
Transfer the baked chicken into the skillet with the sauce, toss to combine and coat evenly, and cook for about 1-2 minutes over medium-low or low heat.
Garnish with green onions and sesame seeds, serve over rice.


Ham, Turkey and Bacon Croissant Melts
4
servings10
minutes5
minutesIngredients
4 large croissants
200g deli ham, sliced thin
200g deli turkey, sliced thin
8 slices bacon, cooked
- Honey Mustard
1/3 cup Mayonnaise
1 tablespoon mustard
1 tablespoon Dijon mustard
1 tablespoon honey
1/2 tablespoon lemon juice
a few dashes of Worcestershire
salt and pepper, to taste
Directions
Preheat oven to 425 degrees.
Stir together all the honey mustard ingredients.
Slice croissants in half. Spread honey mustard on each half. Top the bottom half of each croissant with a few slices of deli ham, deli turkey, two slices of bacon and a slice or 2 of cheese.
Cover with tops and place on a baking sheet. Bake for 4-5 minutes or until cheese is melted and croissant is slightly toasted.





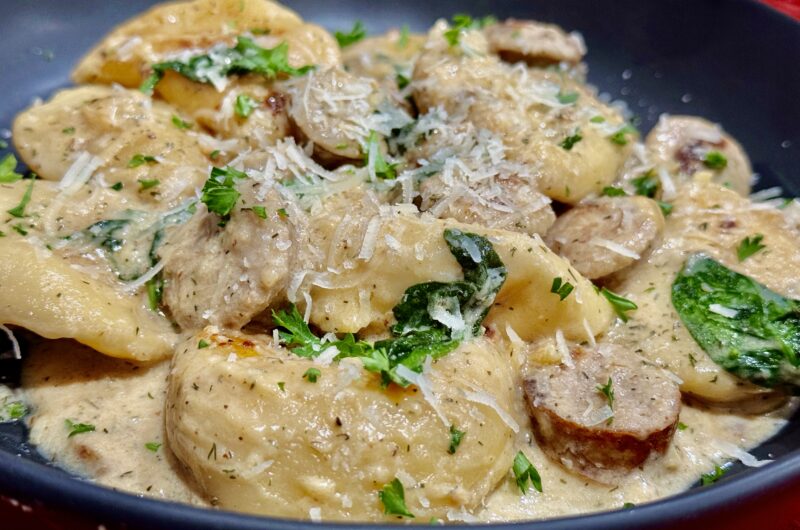
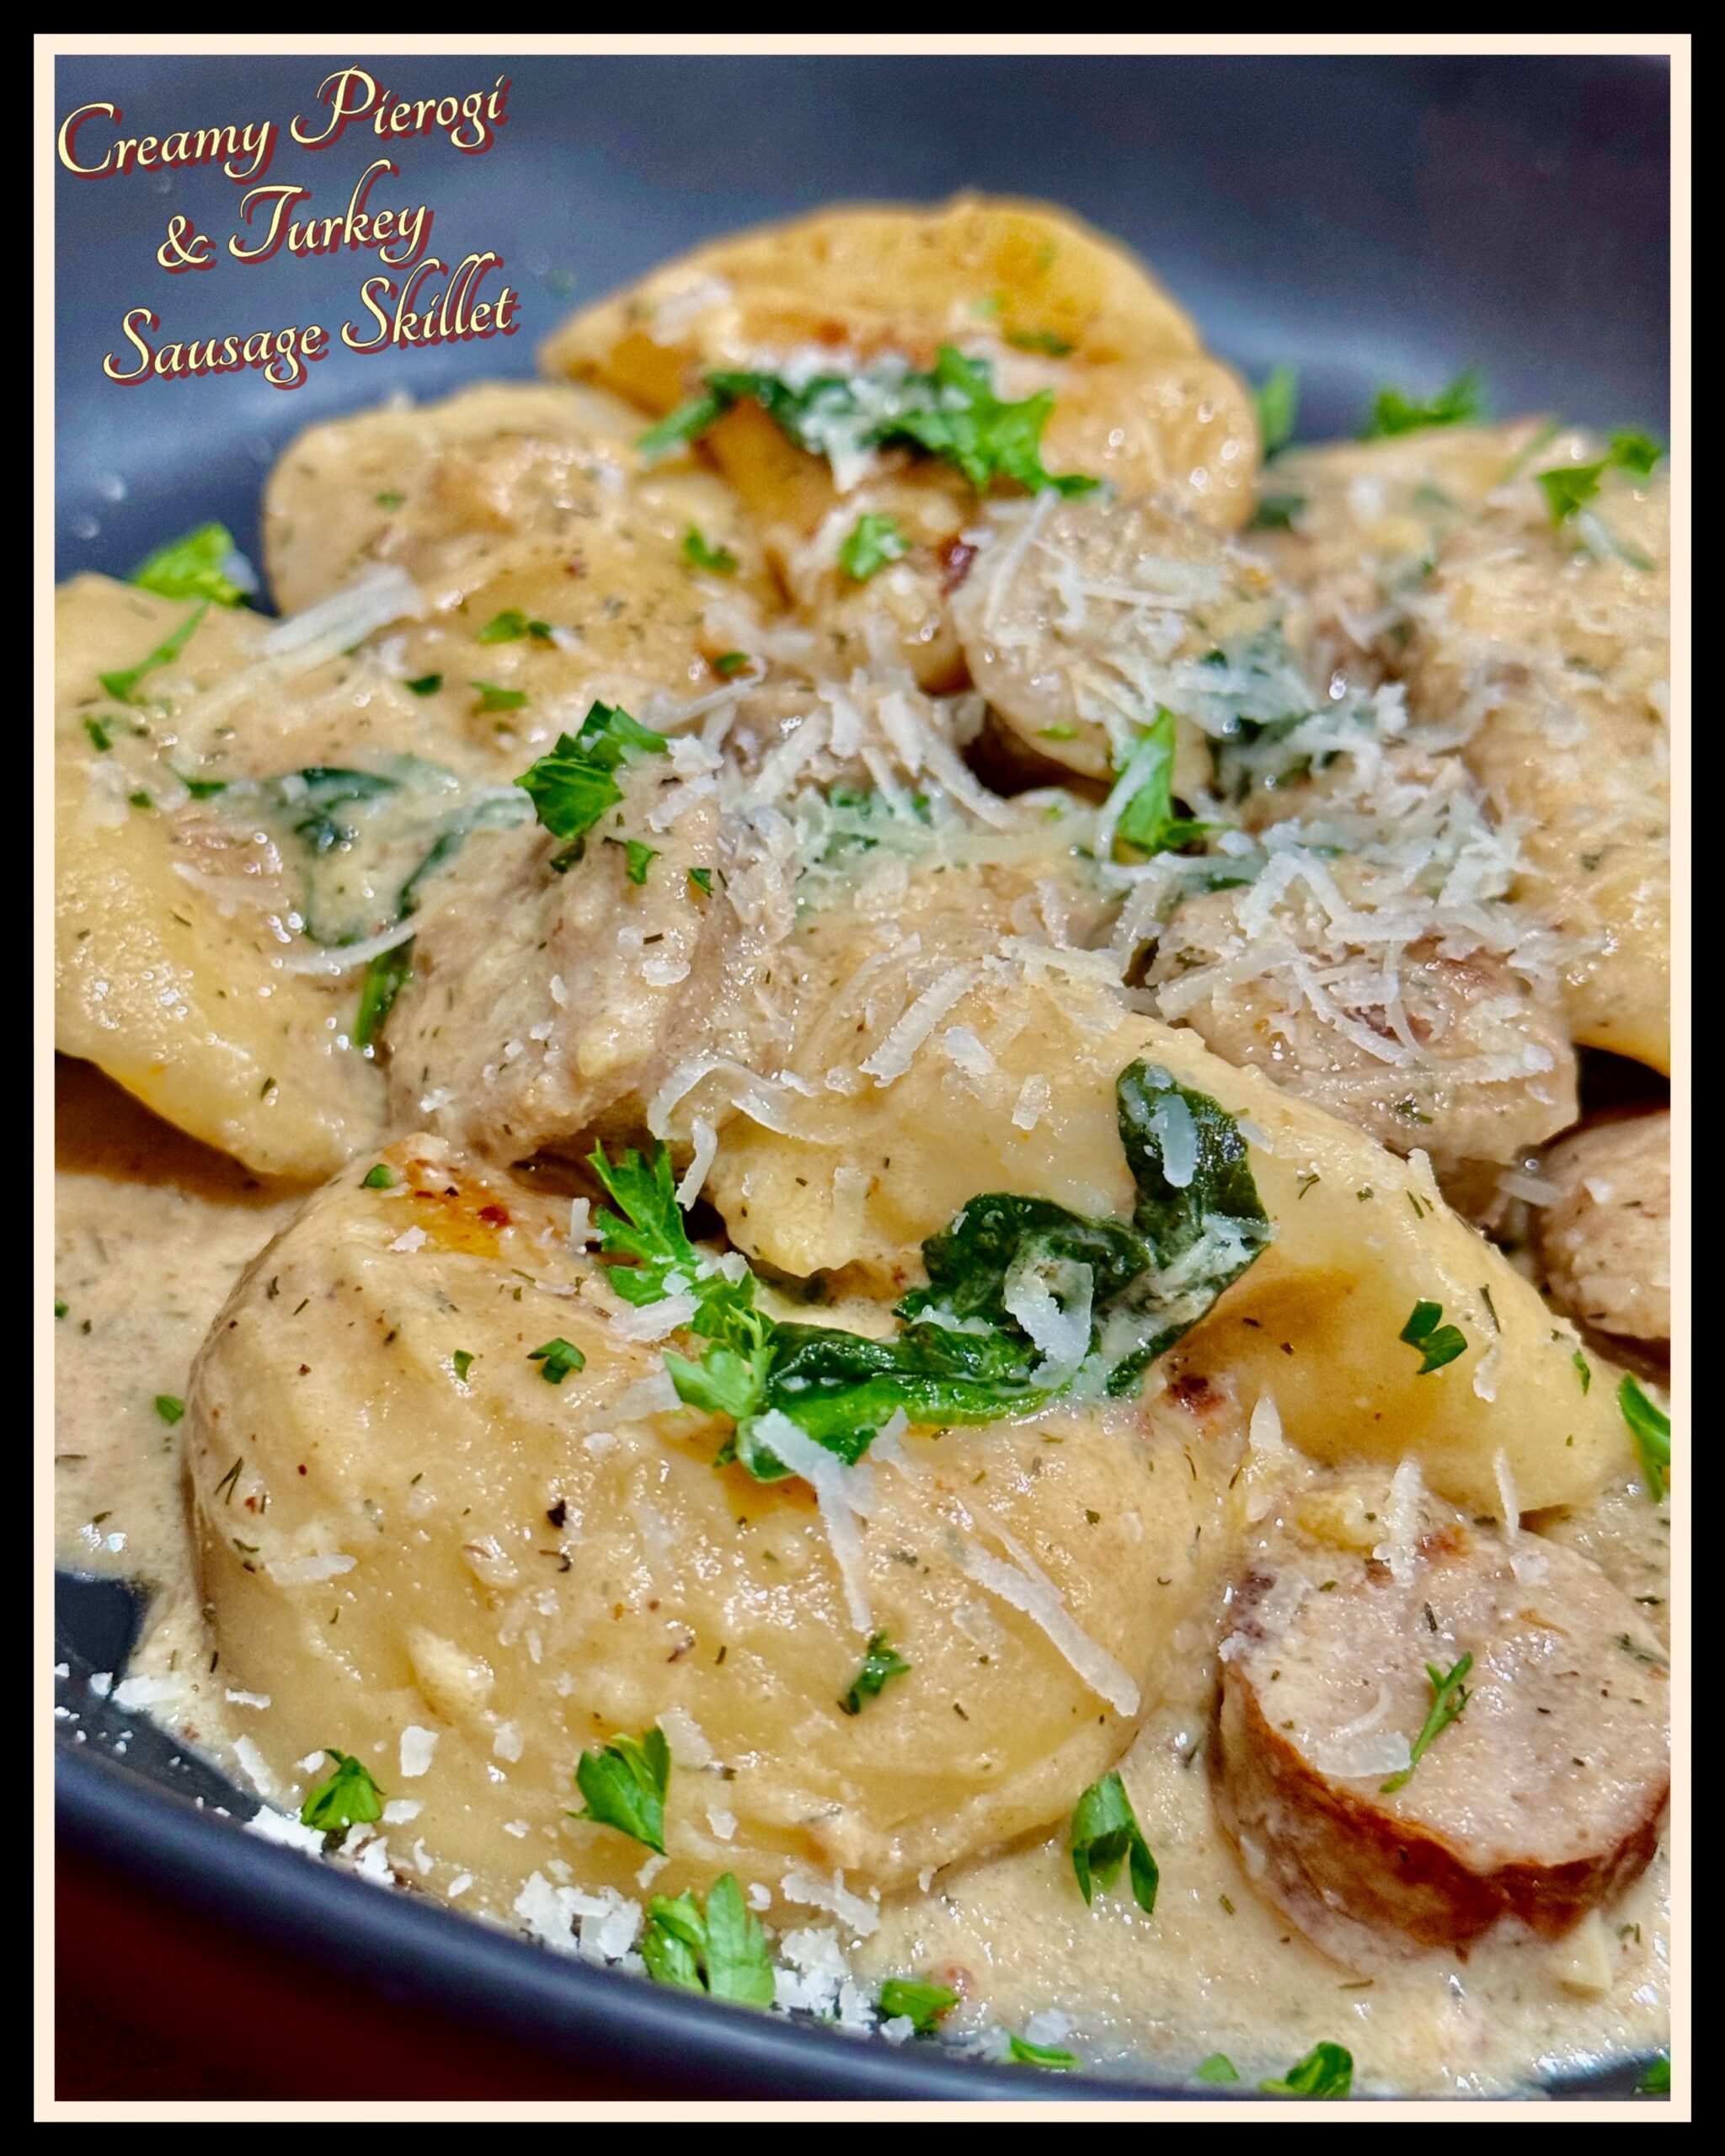
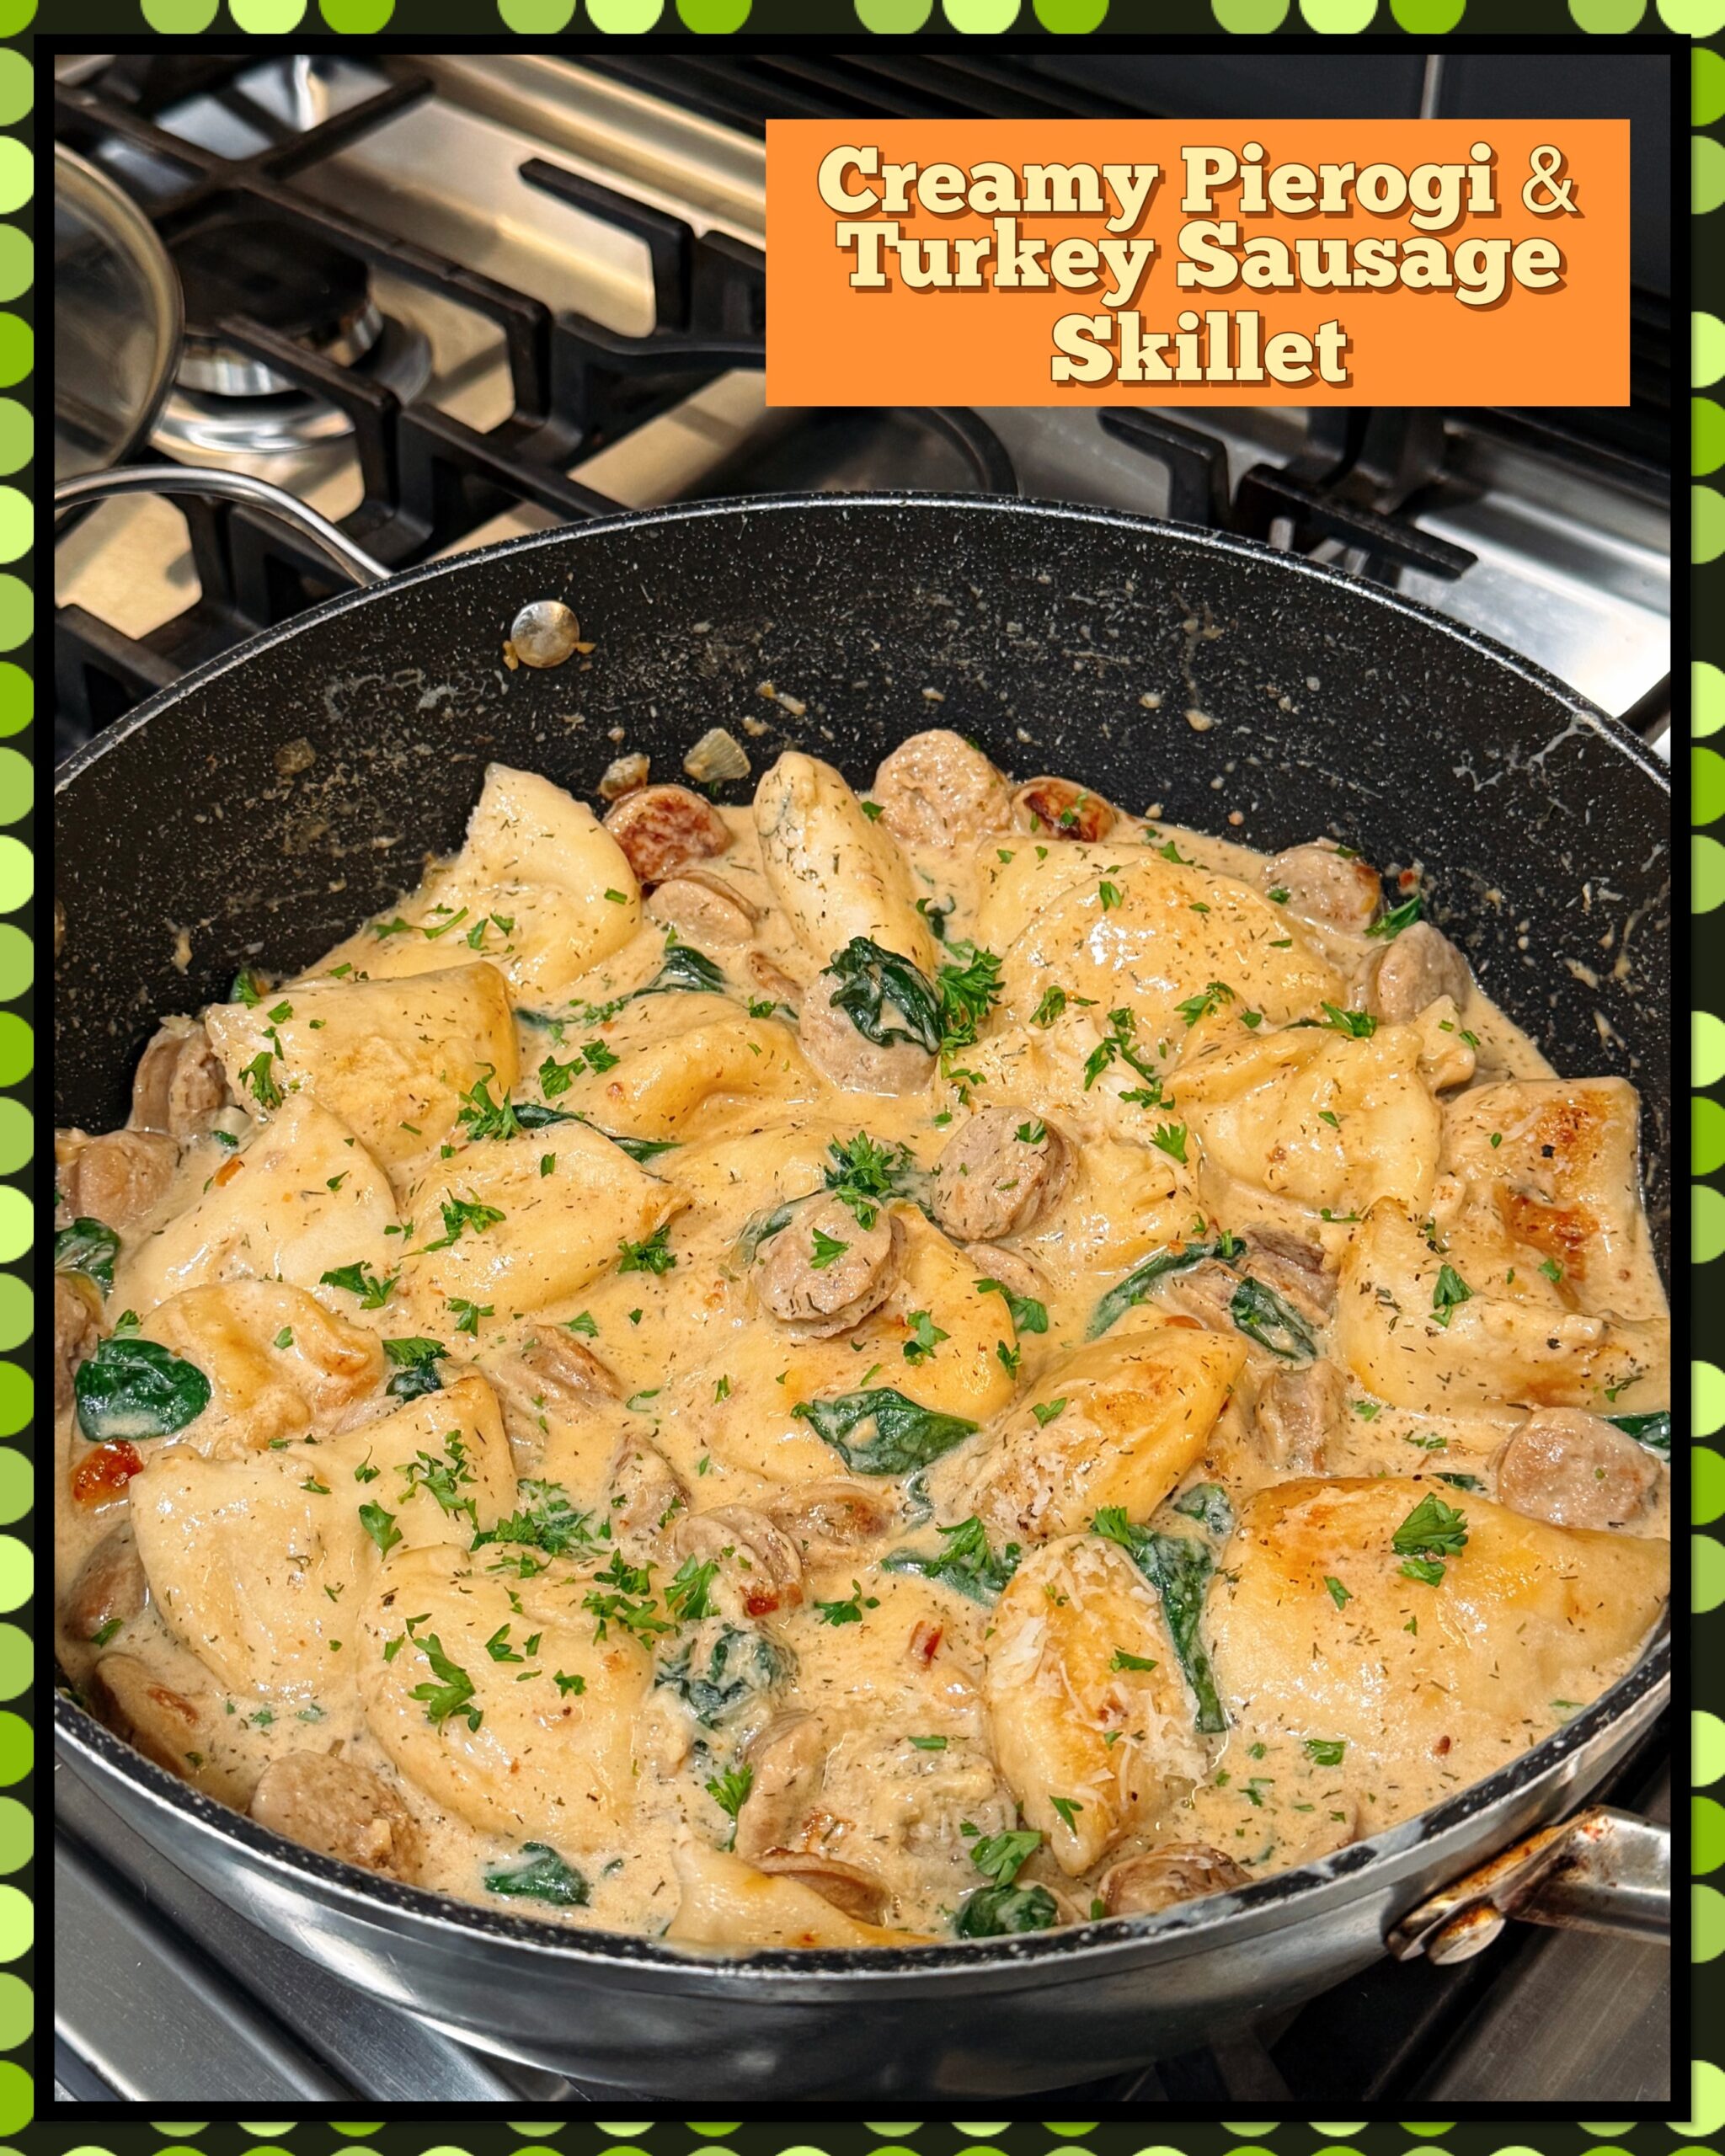
Creamy Pierogi and Turkey Sausage Skillet
4
servings5
minutes25
minutesIngredients
1 package of frozen pierogi
8 oz turkey sausage, sliced
2 tablespoons olive oil
1 onion, diced
2 cloves garlic, minced
1 cup spinach
1 cup heavy cream
1/2 cup sour cream
1 teaspoon dried dill
salt and pepper, to taste
Garnish: parsley, chopped & 1/4 cup Parmesan cheese, grated
Directions
In a large skillet, heat the olive oil over medium heat. Add the onion and sauté for 3-4 minutes until they start to soften.
Add the sliced turkey sausage to the skillet and cook for an additional 5-7 minutes until browned and cooked through, stirring occasionally.
Stir in the garlic and cook for about 1 minute until fragrant.
Add the pierogis to the skillet. Stir to combine. Cook for 5-7 minutes, stirring occasionally.
Reduce the heat to low and add the spinach to the skillet, cooking until wilted (about 2 minutes).
Pour in the heavy cream and sour cream, stirring until everything is evenly combined. Sprinkle in the dried dill, and season with salt and pepper to taste.
Allow the mixture to simmer for an additional 3-4 minutes until slightly thickened. Stir in grated Parmesan cheese. Garnish with parsley and a sprinkle of Parm.


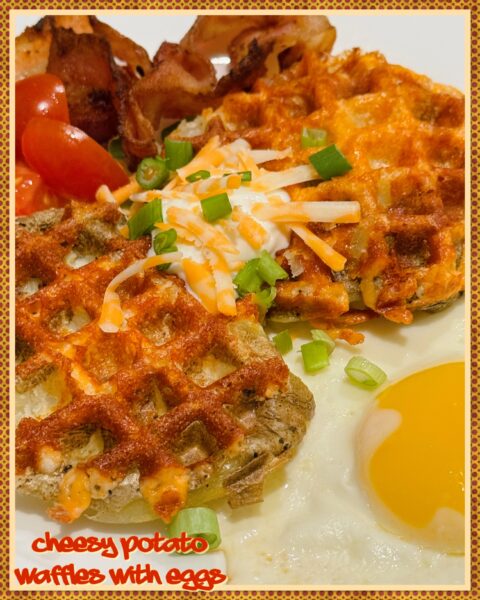
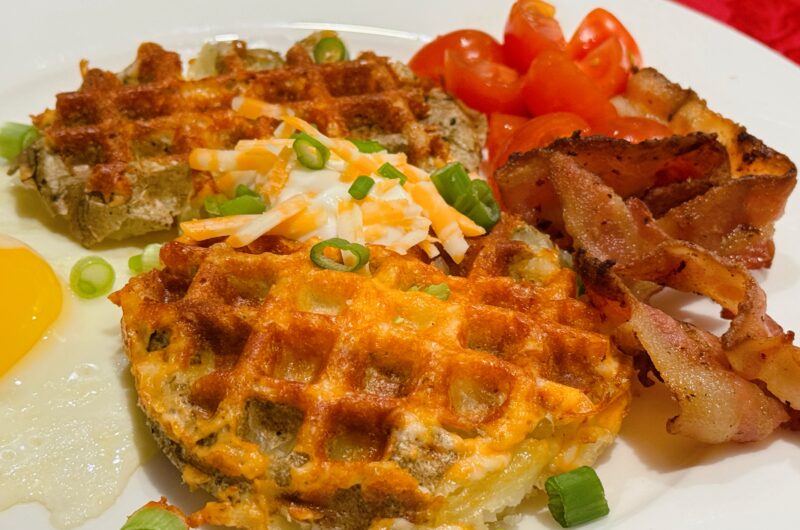
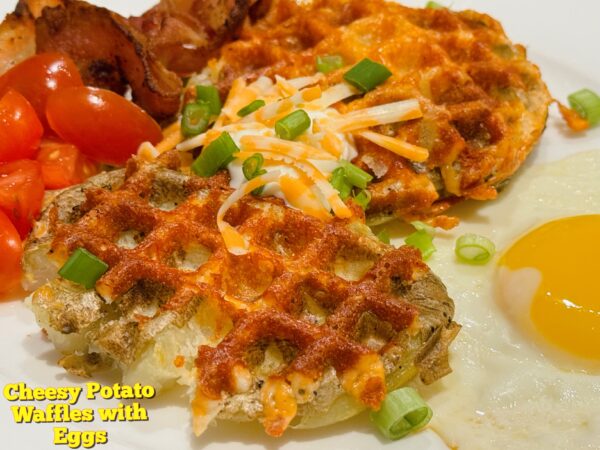
Cheesy Potato Waffles with Eggs
4
servings5
minutes20
minutesIngredients
4 russet potatoes, scrubbed clean
4 tablespoons oil, divided
2 teaspoons salt, divided
2 teaspoons pepper, divided
2 cups cheddar cheese, grated, divided
8 strips bacon
4-8 eggs, cooked the way you like them
Garnishes: sour cream, cheddar cheese grated, green onions, chopped
Directions
Poke the scrubbed potatoes all over with a fork. Rub with oil, salt and pepper.
Put the potatoes on a plate and microwave for 5 minutes. Flip and microwave for another 5 minutes. Remove from the microwave and let them cool slightly.
Cook your bacon in a large, cold non-stick skillet over medium heat until crispy, about 5 minutes on each side, turning occasionally to ensure even cooking.
Remove the bacon and drain it on a paper towel-lined plate, leaving the drippings in the pan.
Cut the cooled potatoes in half, lengthwise.
Brush ½ tablespoon oil onto the waffle maker. Place the cut side down of the potato onto the waffle maker and sprinkle on ½ cup of cheese.
Smash the potato in the waffle maker as flat as you can. Cook for 60 to 90 seconds or until crispy.
Remove the potatoes from the waffle maker and put them on a plate. Repeat for every half potato.
In the pan with the bacon drippings, turn heat to high and fry each egg to your preferred doneness.
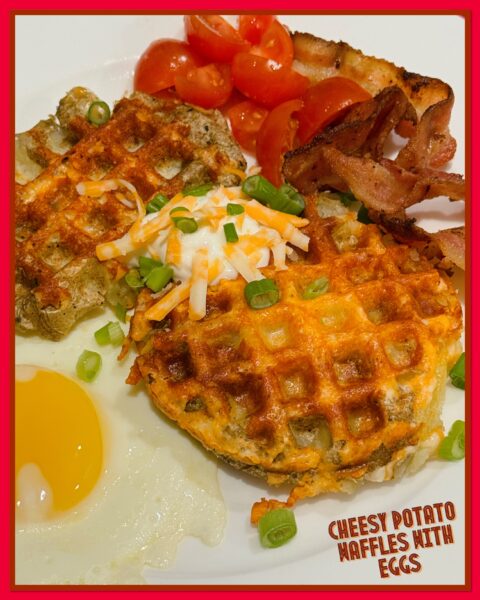
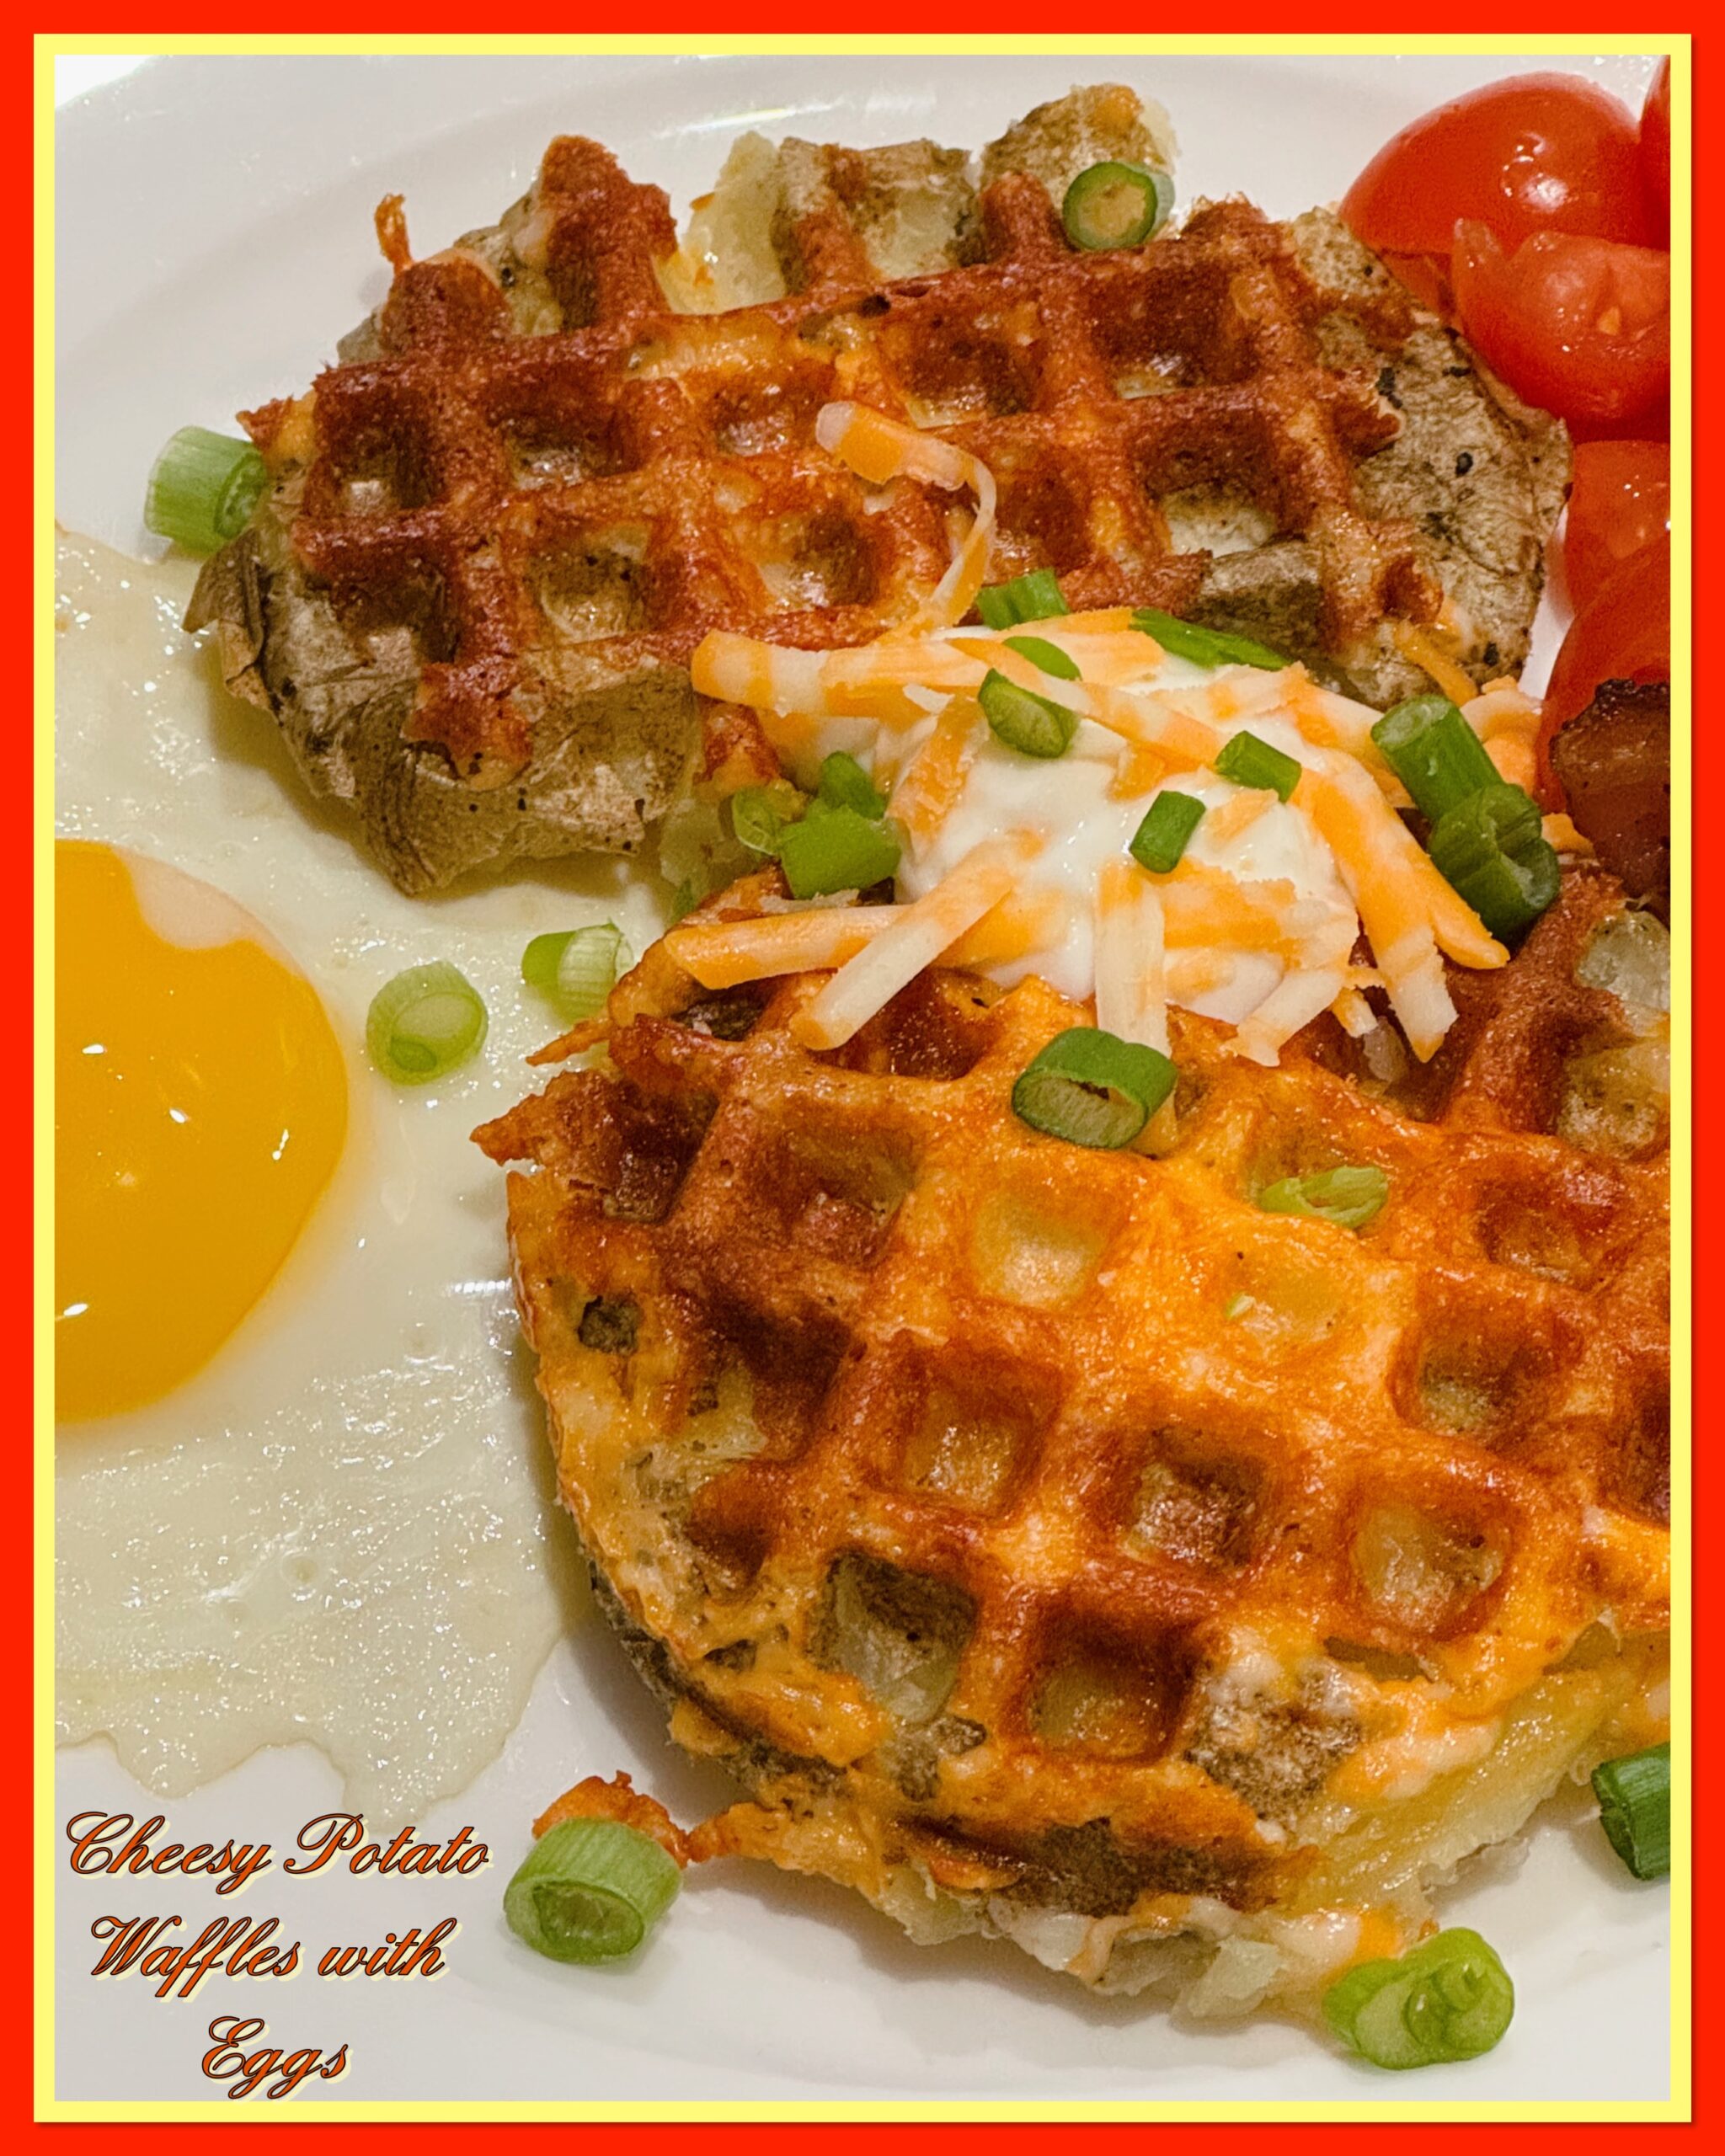
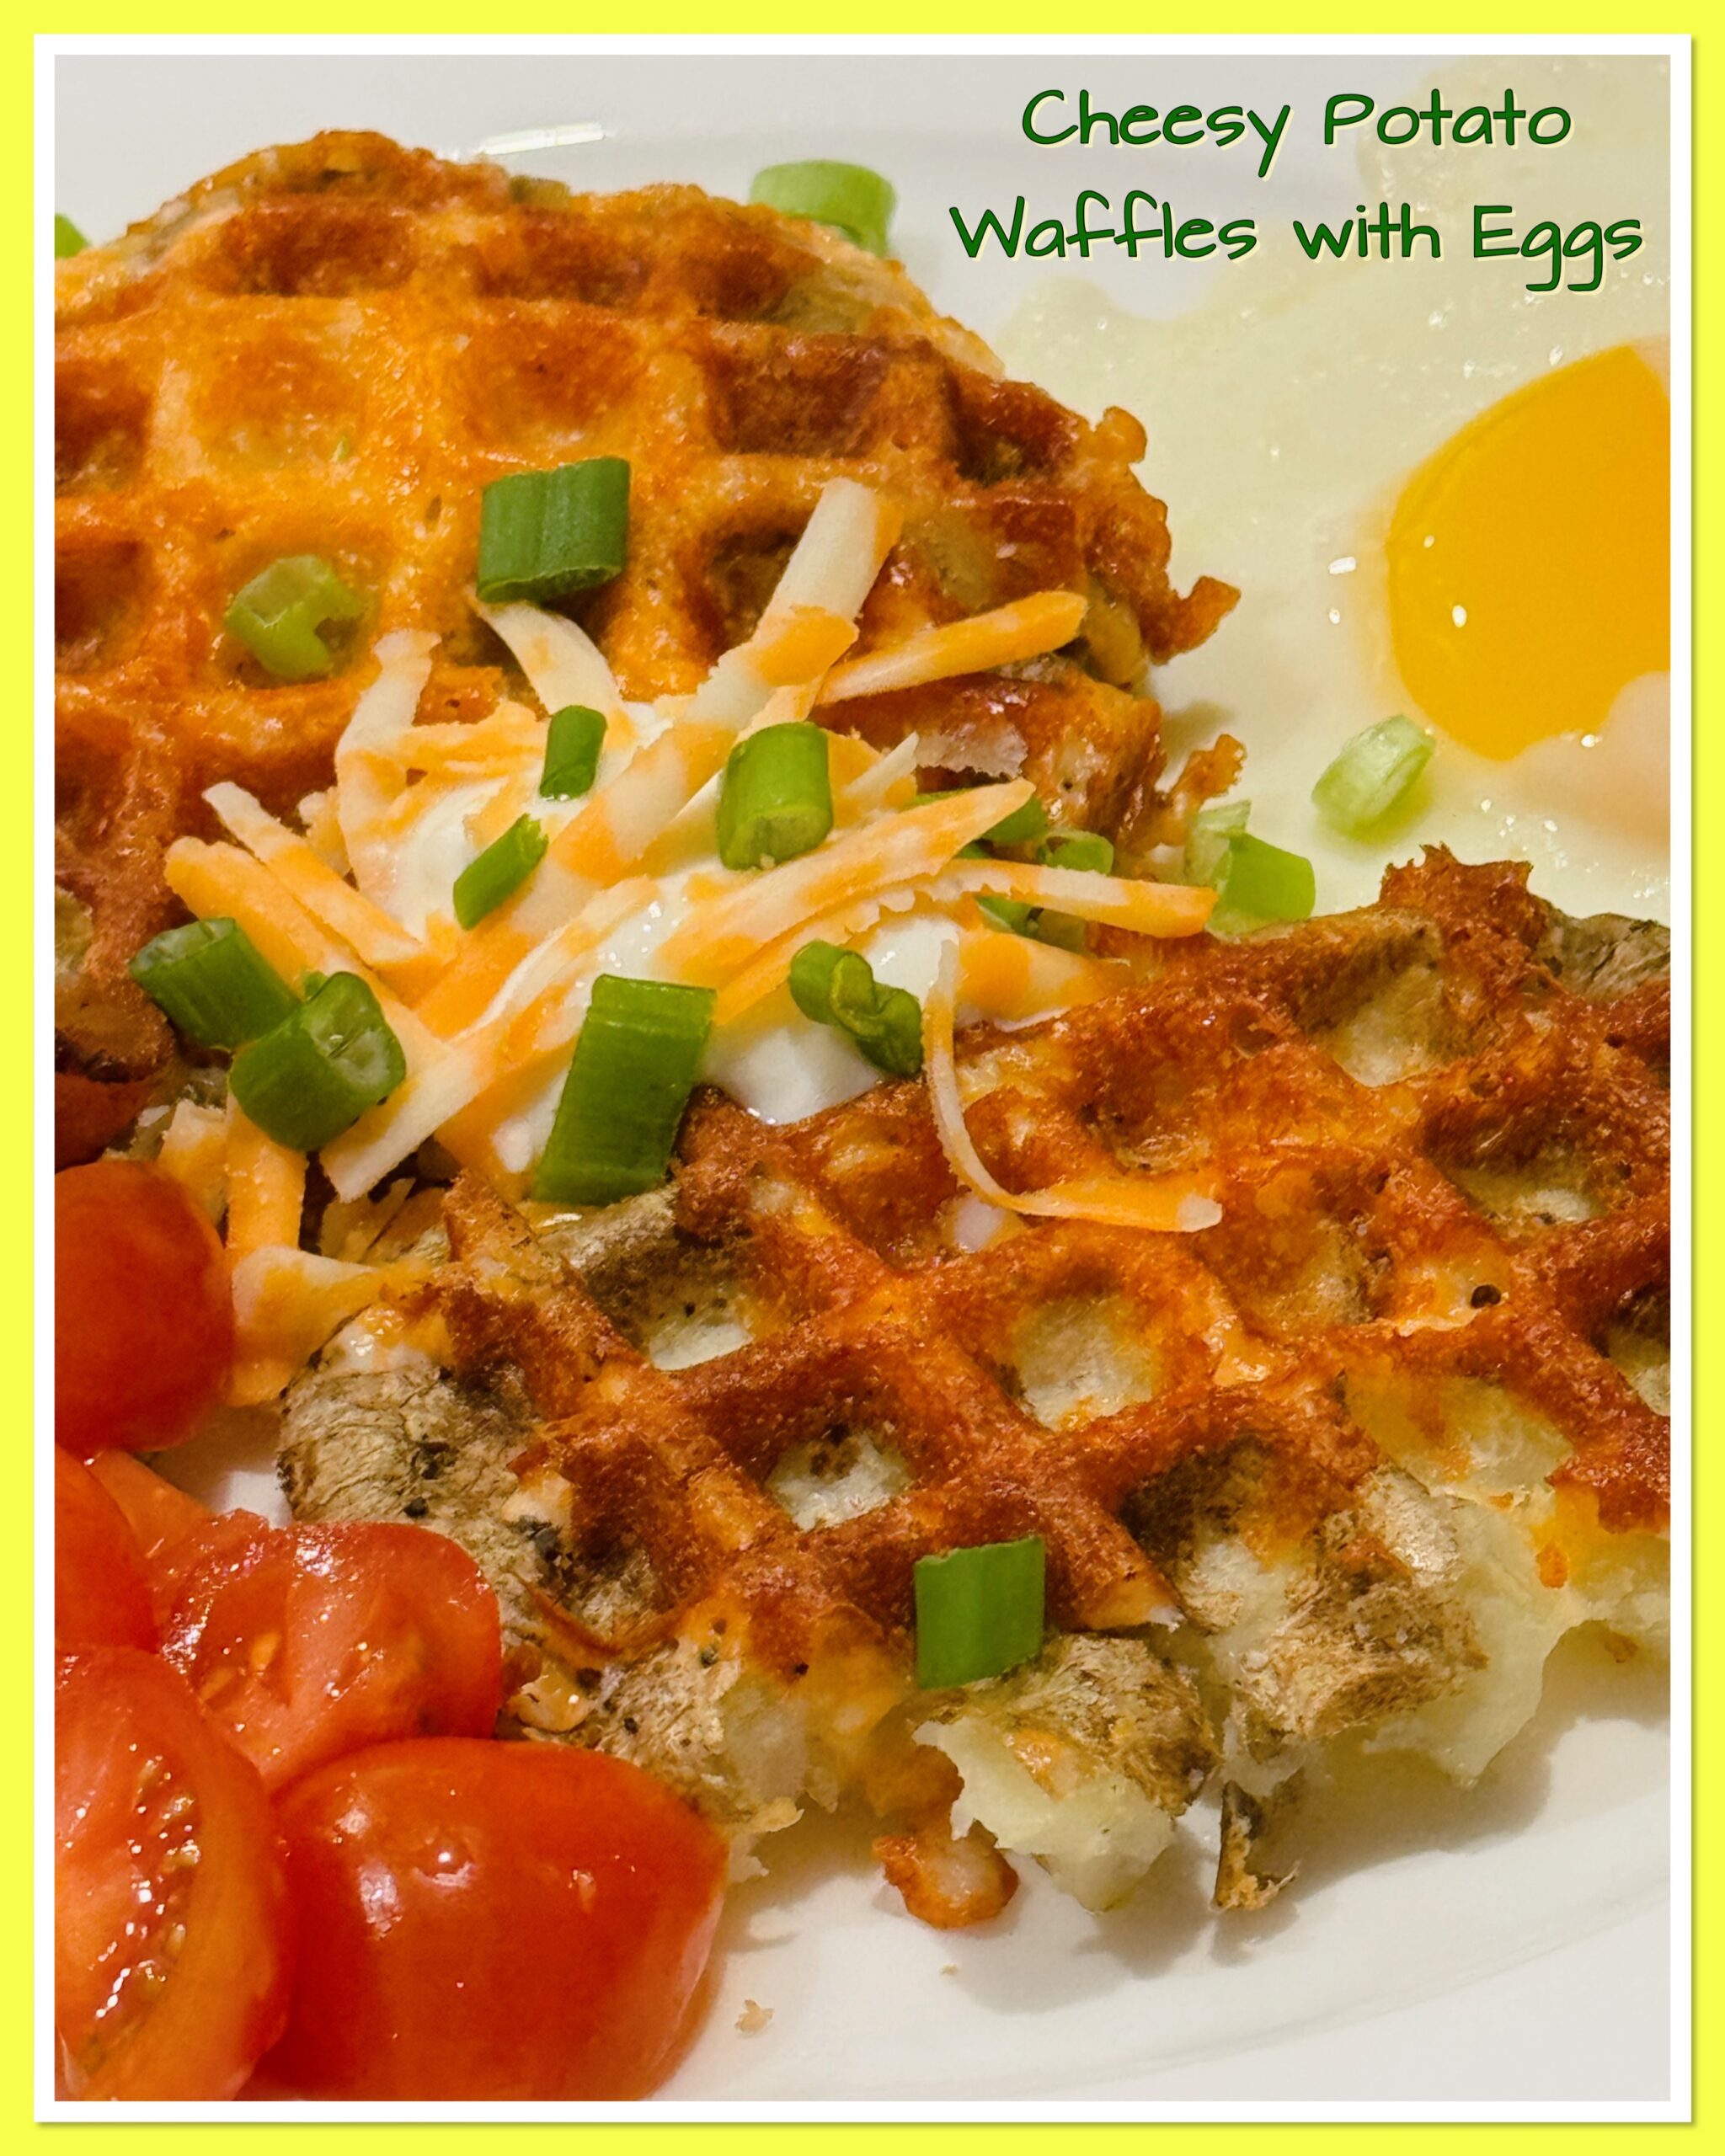
Top each waffle with sour cream, bacon, egg, more shredded cheddar cheese, and chopped green onions.
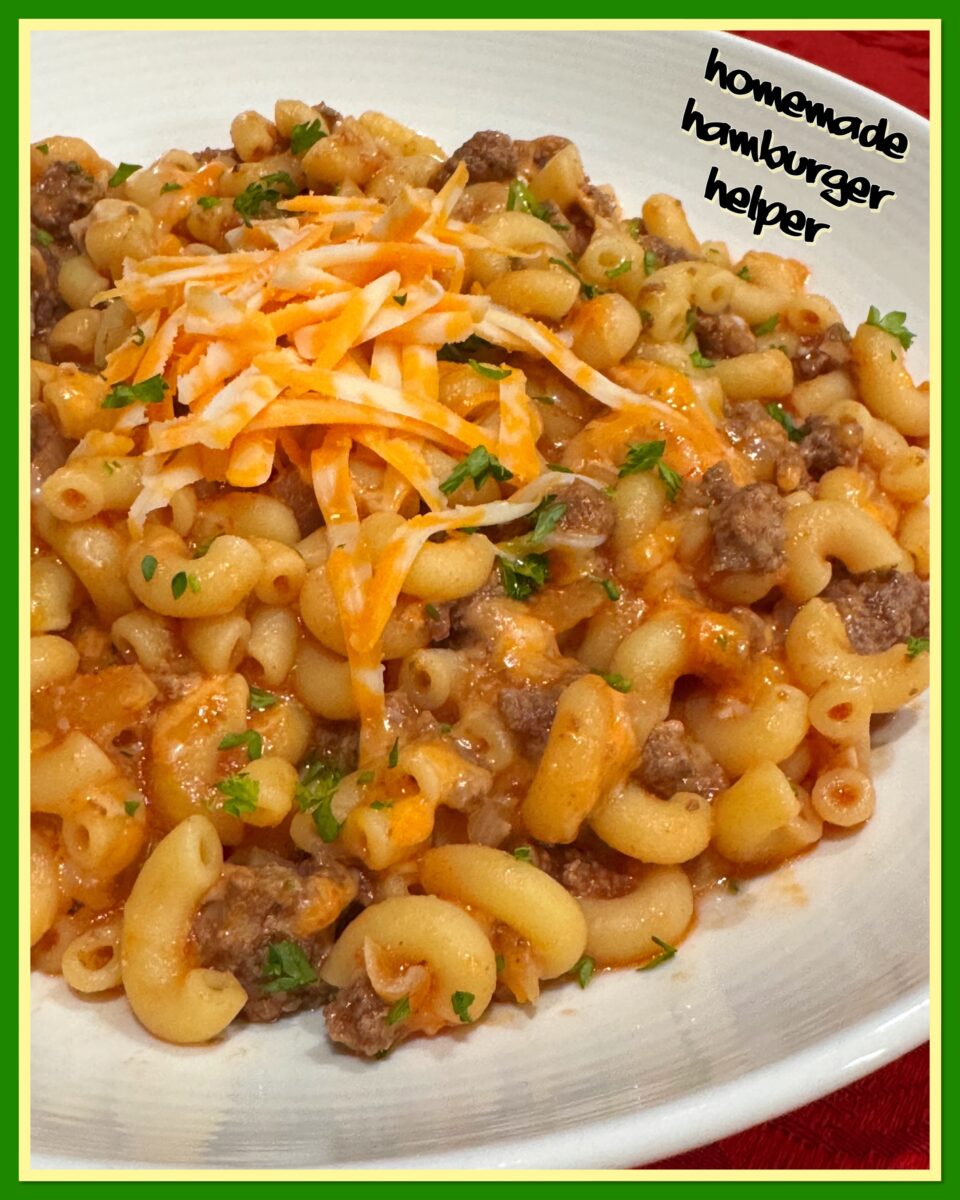
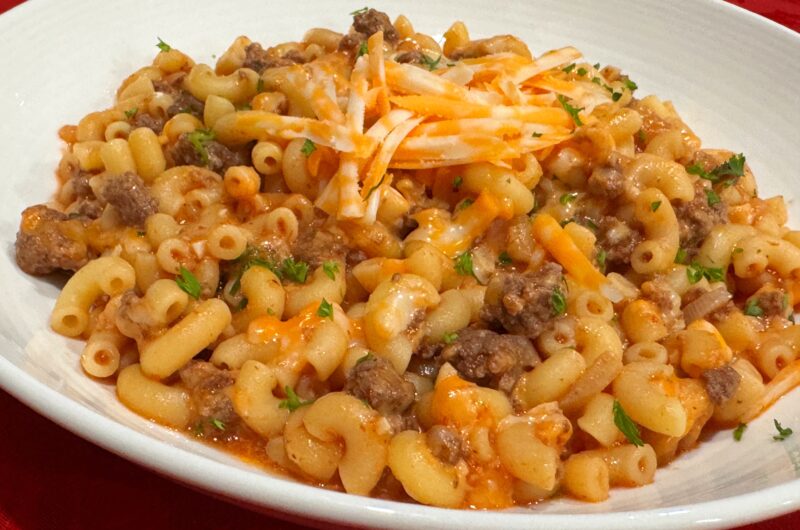
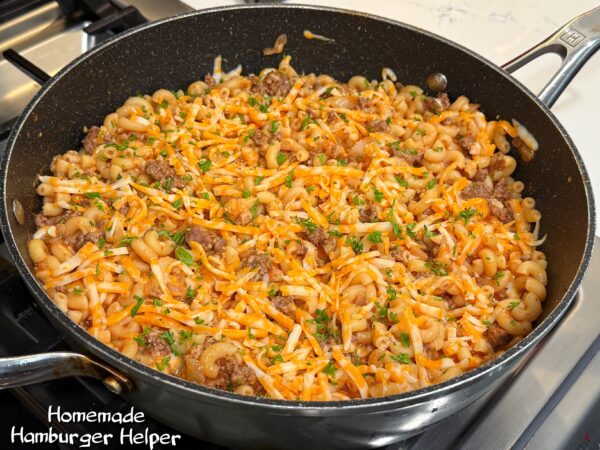
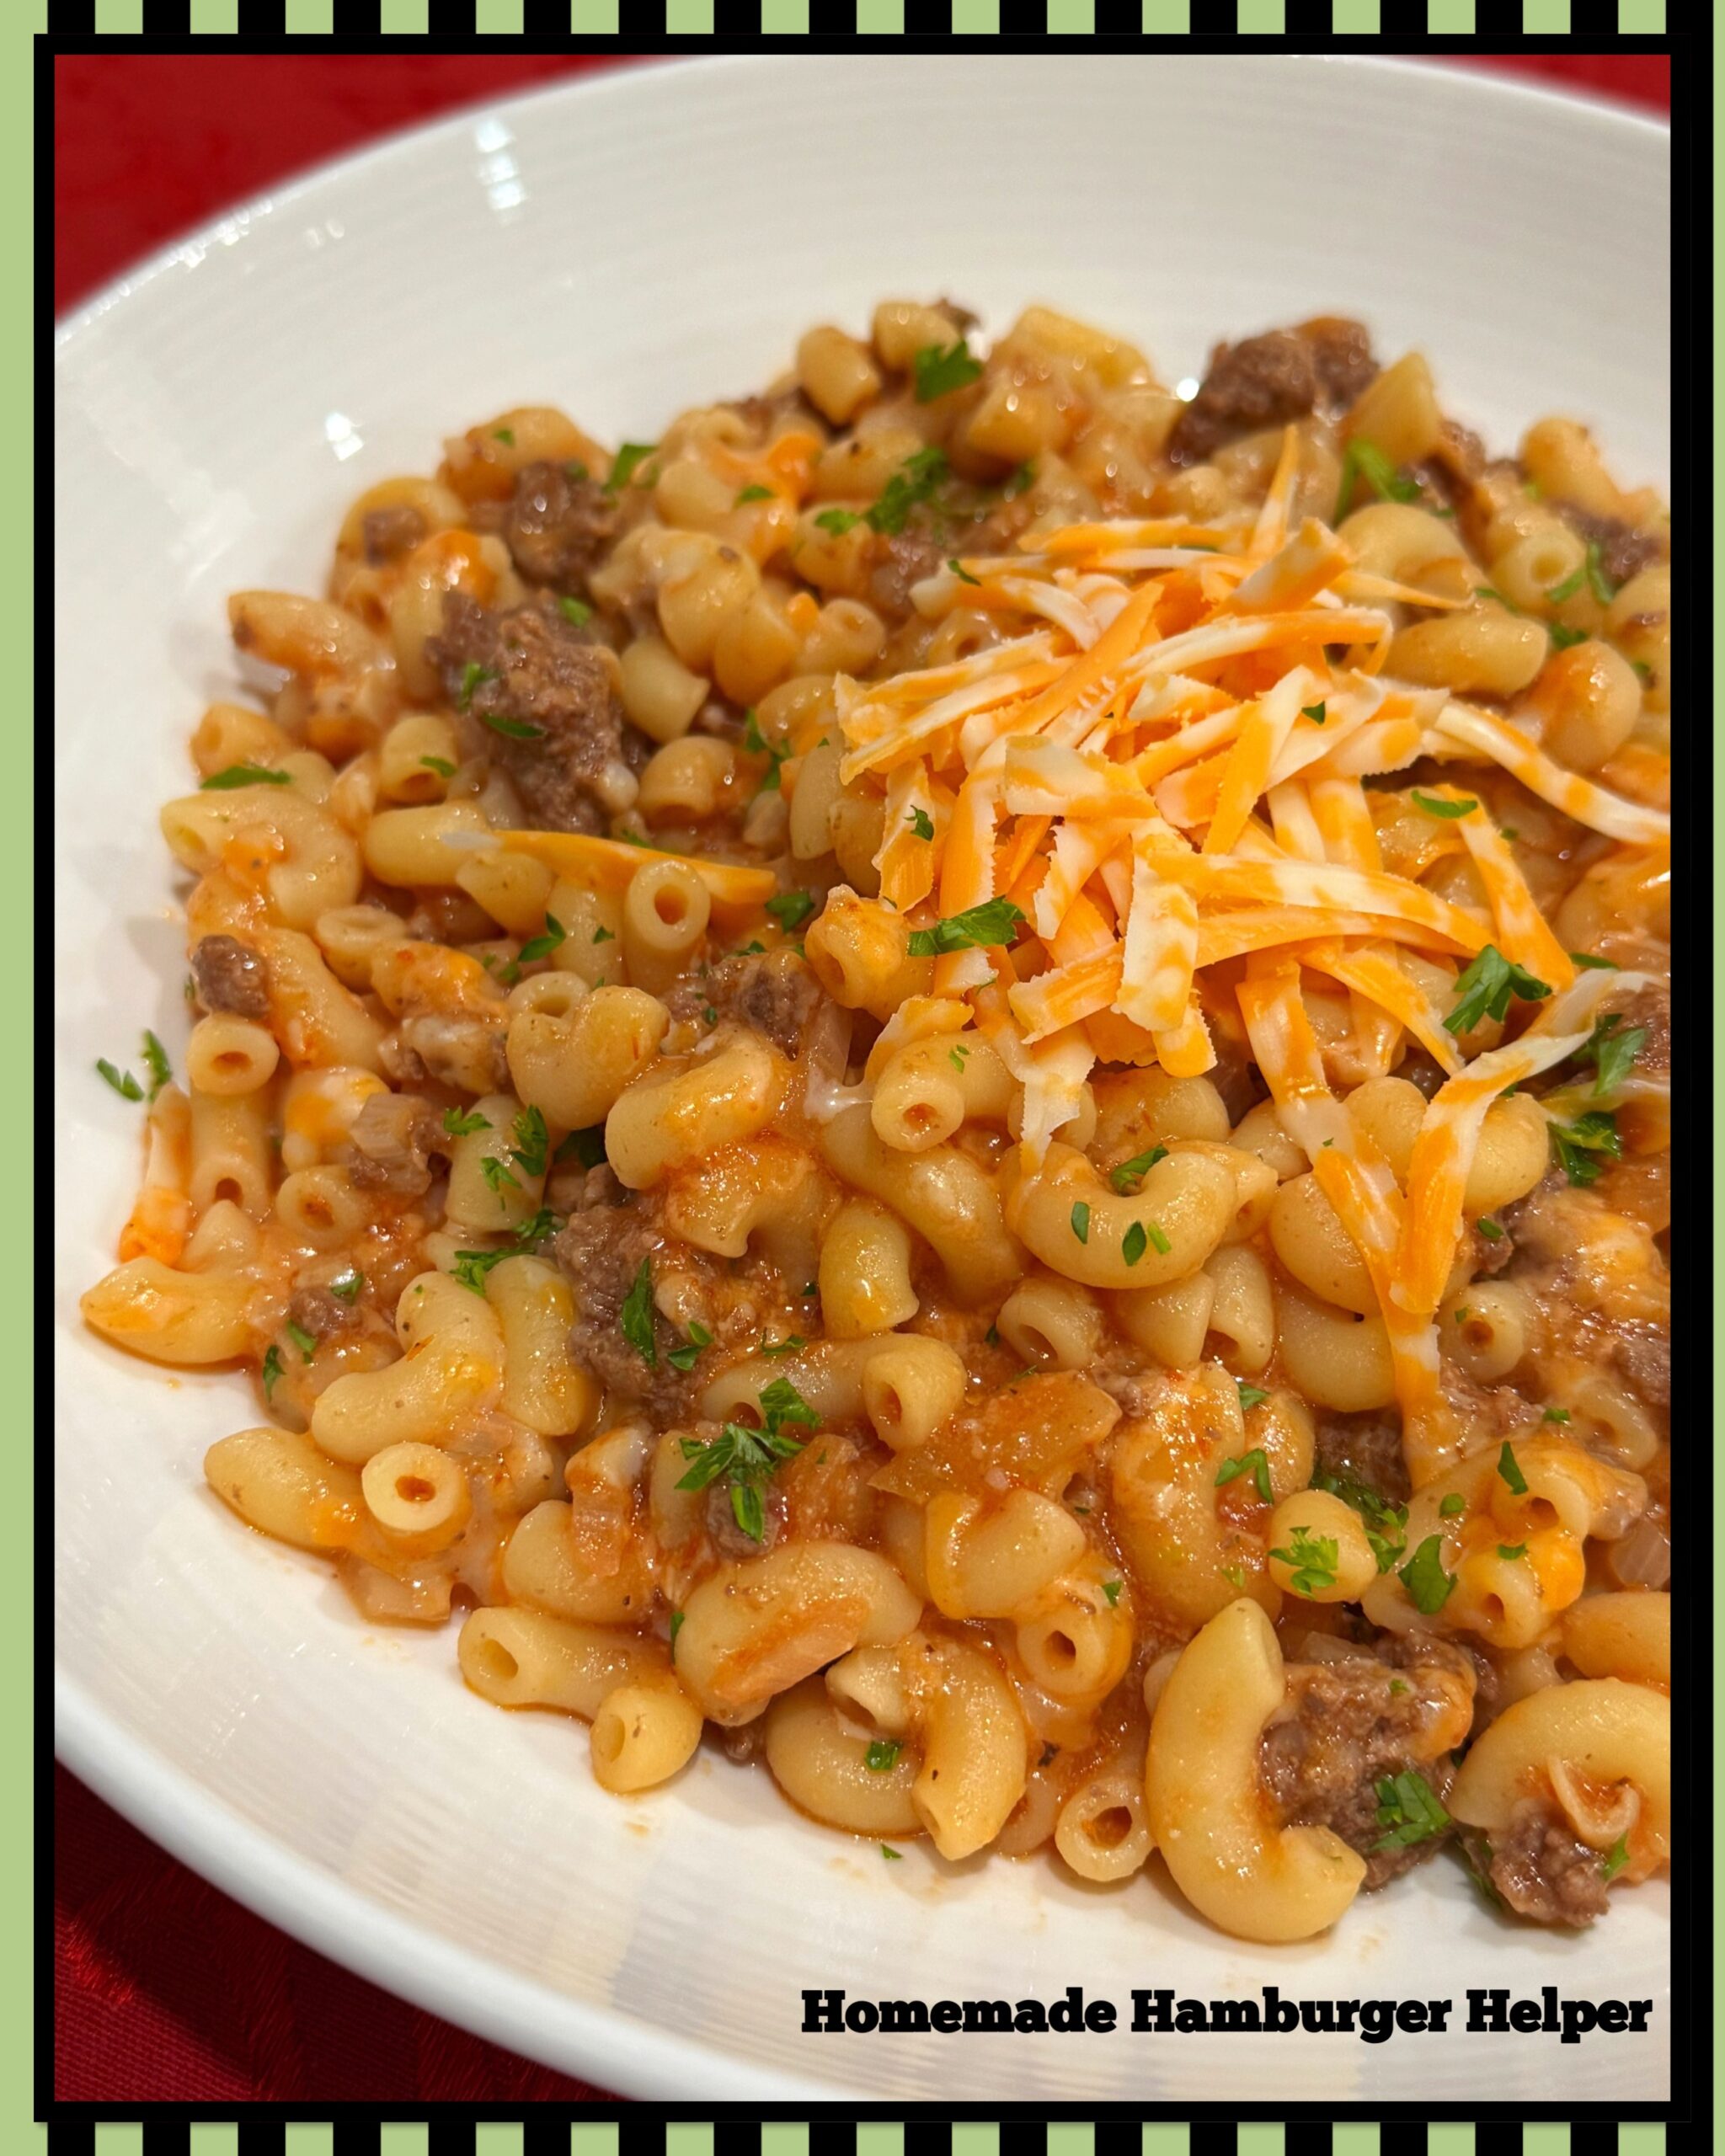
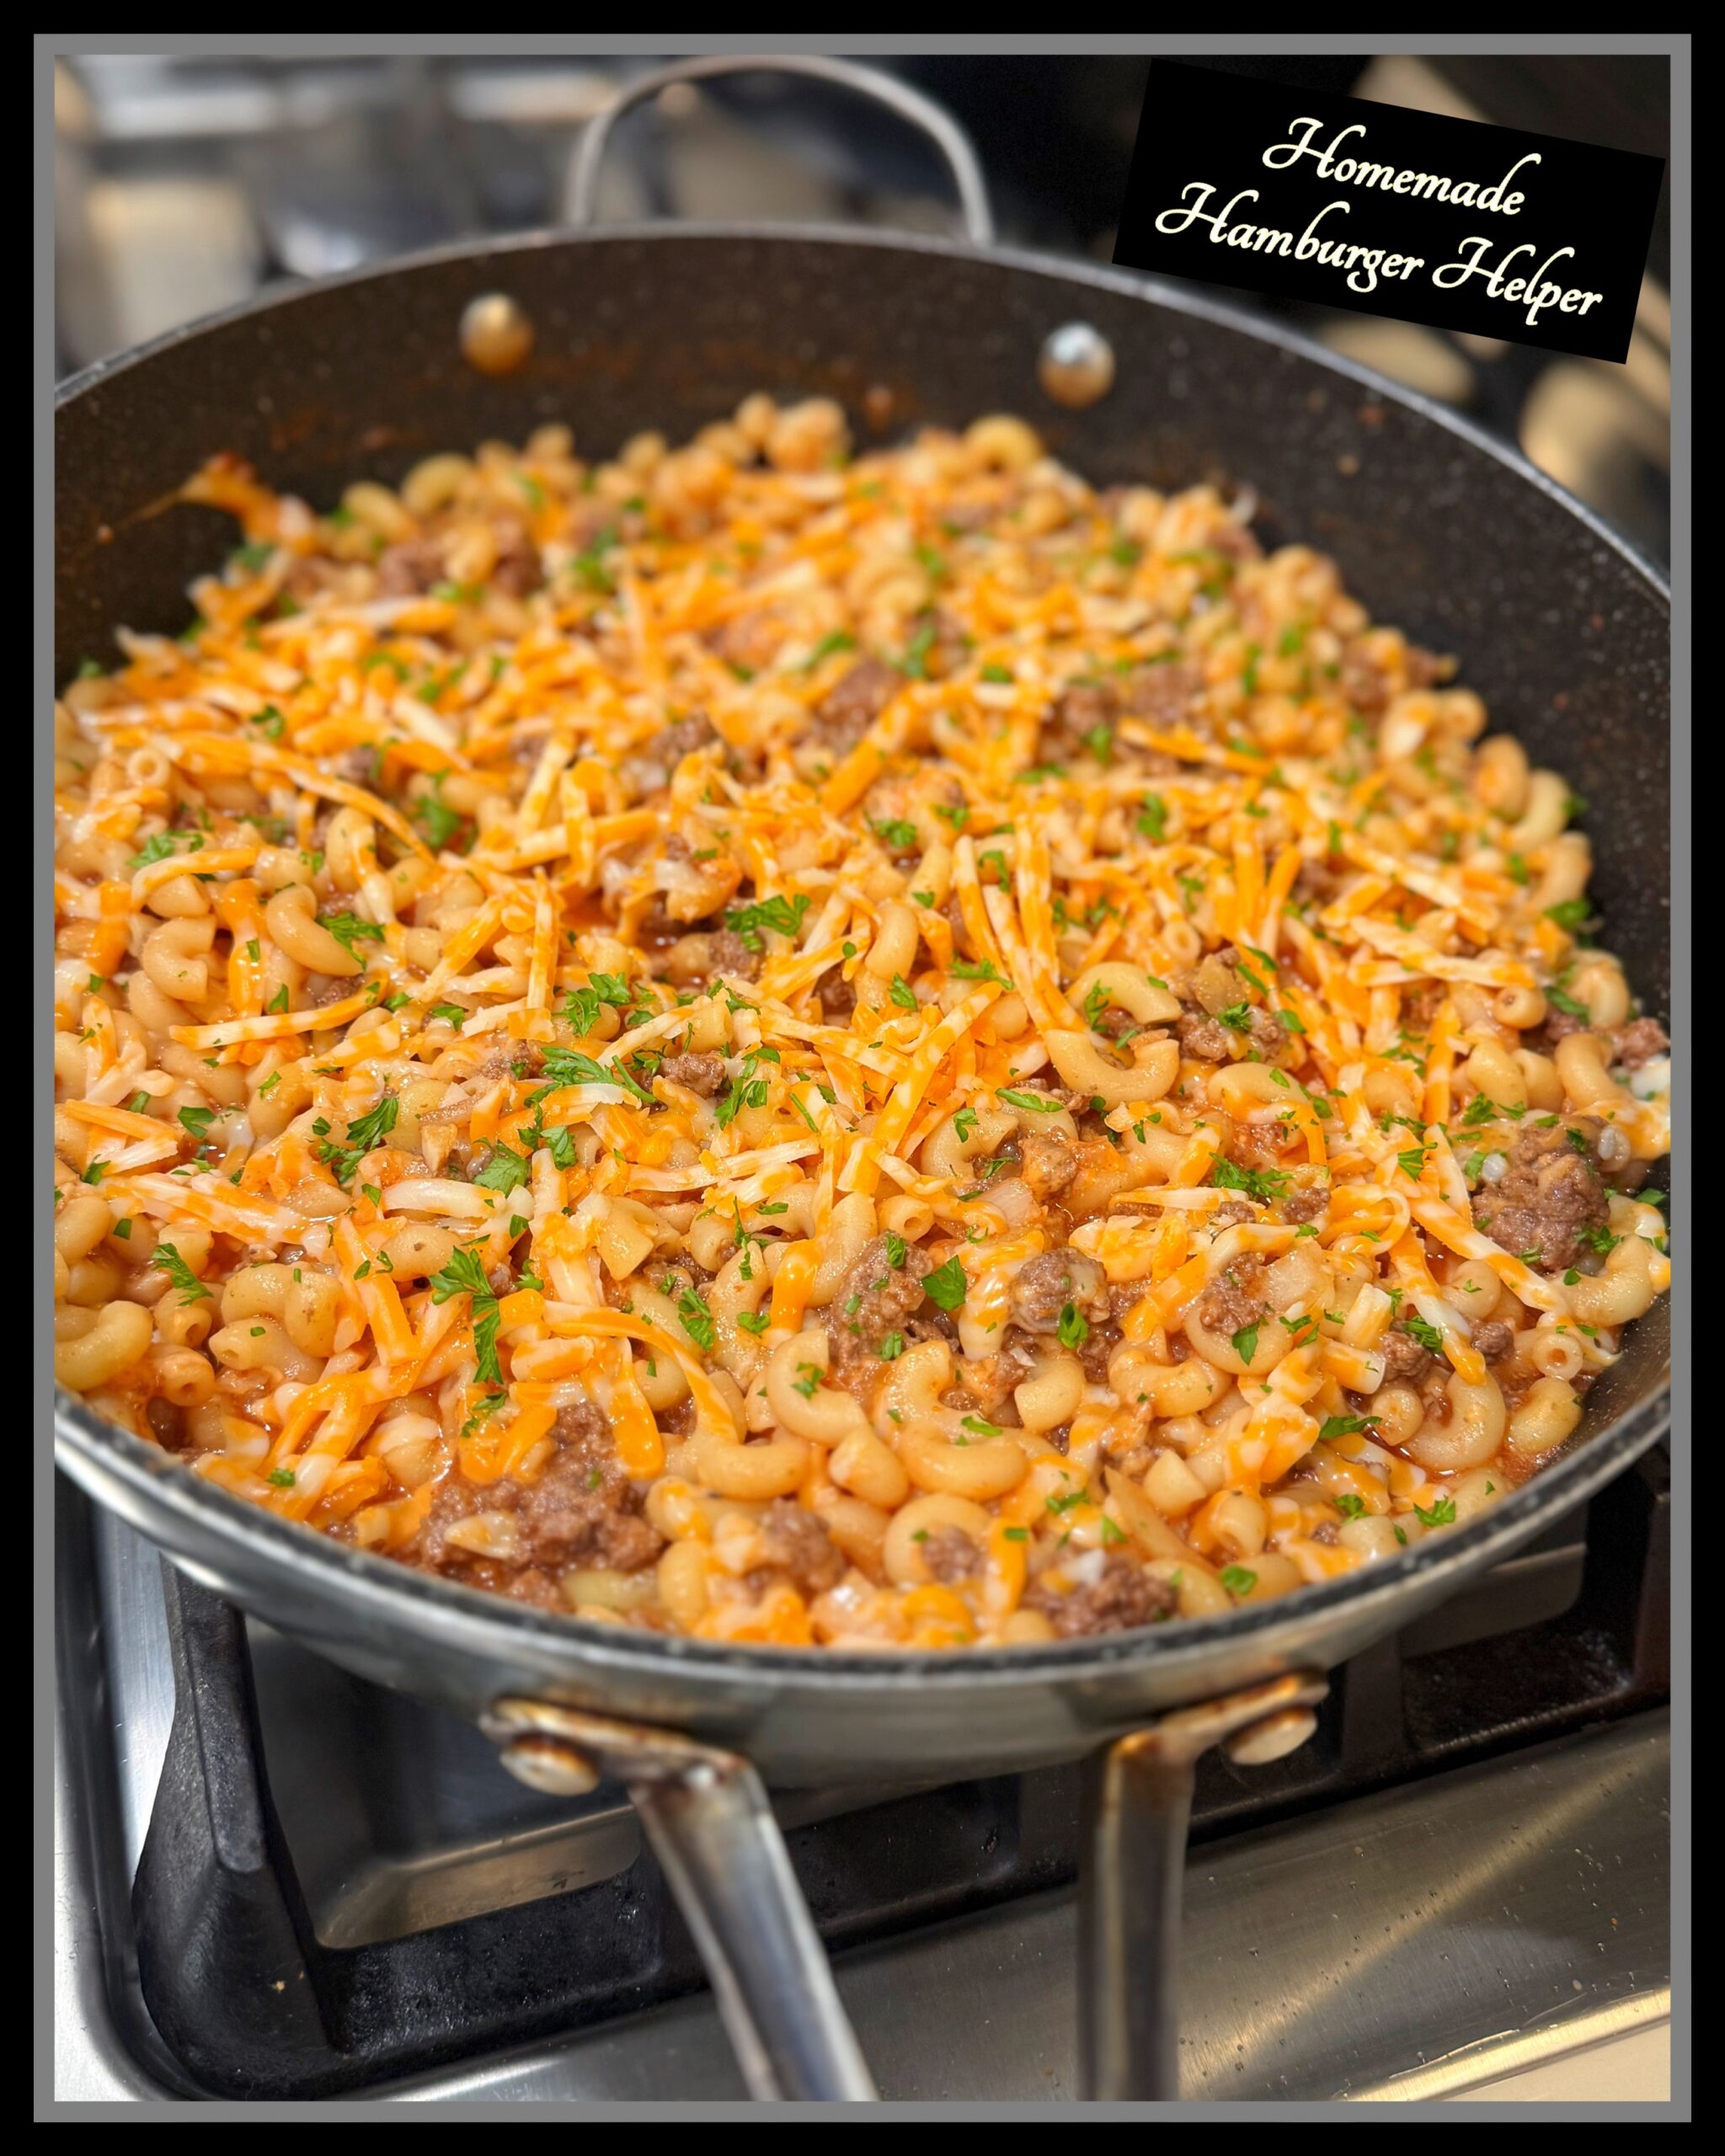
Homemade Hamburger Helper
4-6
servings10
minutes20
minutesIngredients
1lb macaroni
1 teaspoon olive oil
1lb ground beef
1 onion, chopped
3-4 cloves garlic, minced
15 oz tomato sauce
1 cup milk
1 teaspoon salt
pepper, to taste
1 teaspoon sugar
2 cups cheddar cheese, shredded
Garnish: parsley. minced
Directions
Cook macaroni to package instructions, drain, then set aside.
Heat large skillet on medium-high heat. Add olive oil and ground beef. Break up beef and cook until nearly cooked through, about 3 minutes.
Add onions and garlic and cook until onions and garlic are softened, about 2 minutes. Drain any excess fat if needed.
Add tomato sauce, milk, salt, pepper, and sugar. Stir to evenly combine.
Bring beef and sauce to a low simmer for about 5 minutes.
Fold in the pasta and then add the grated cheese a little at a time until everything combines and cheese melts. Add additional cheese on top and minced parsley.

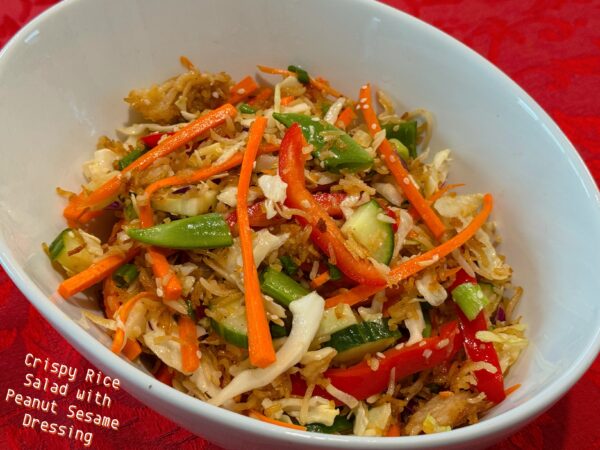
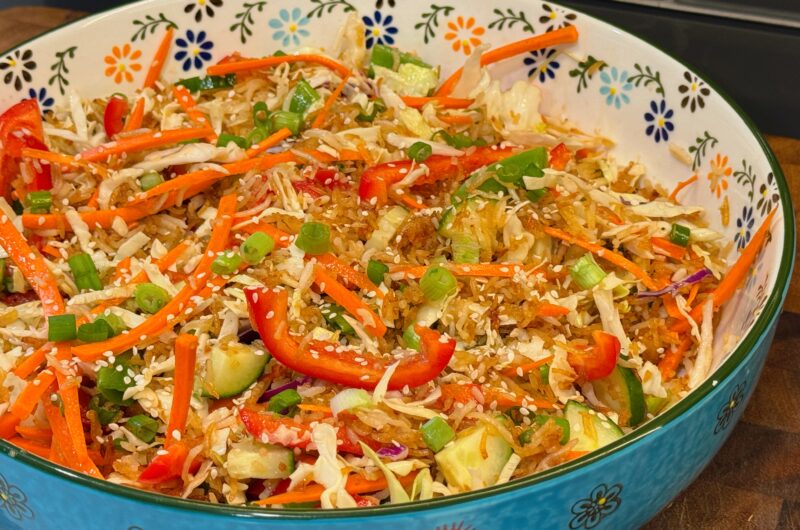
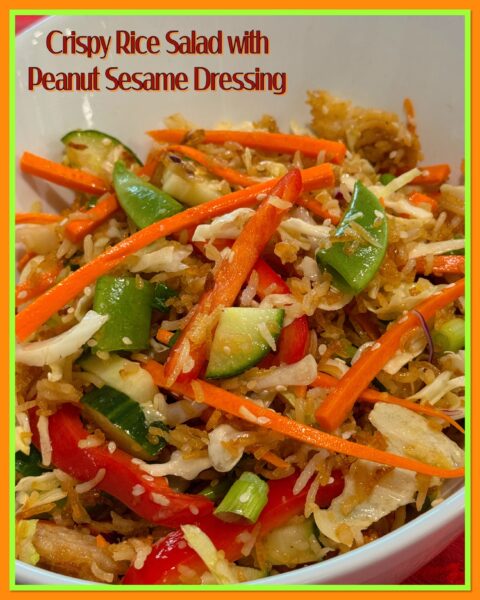
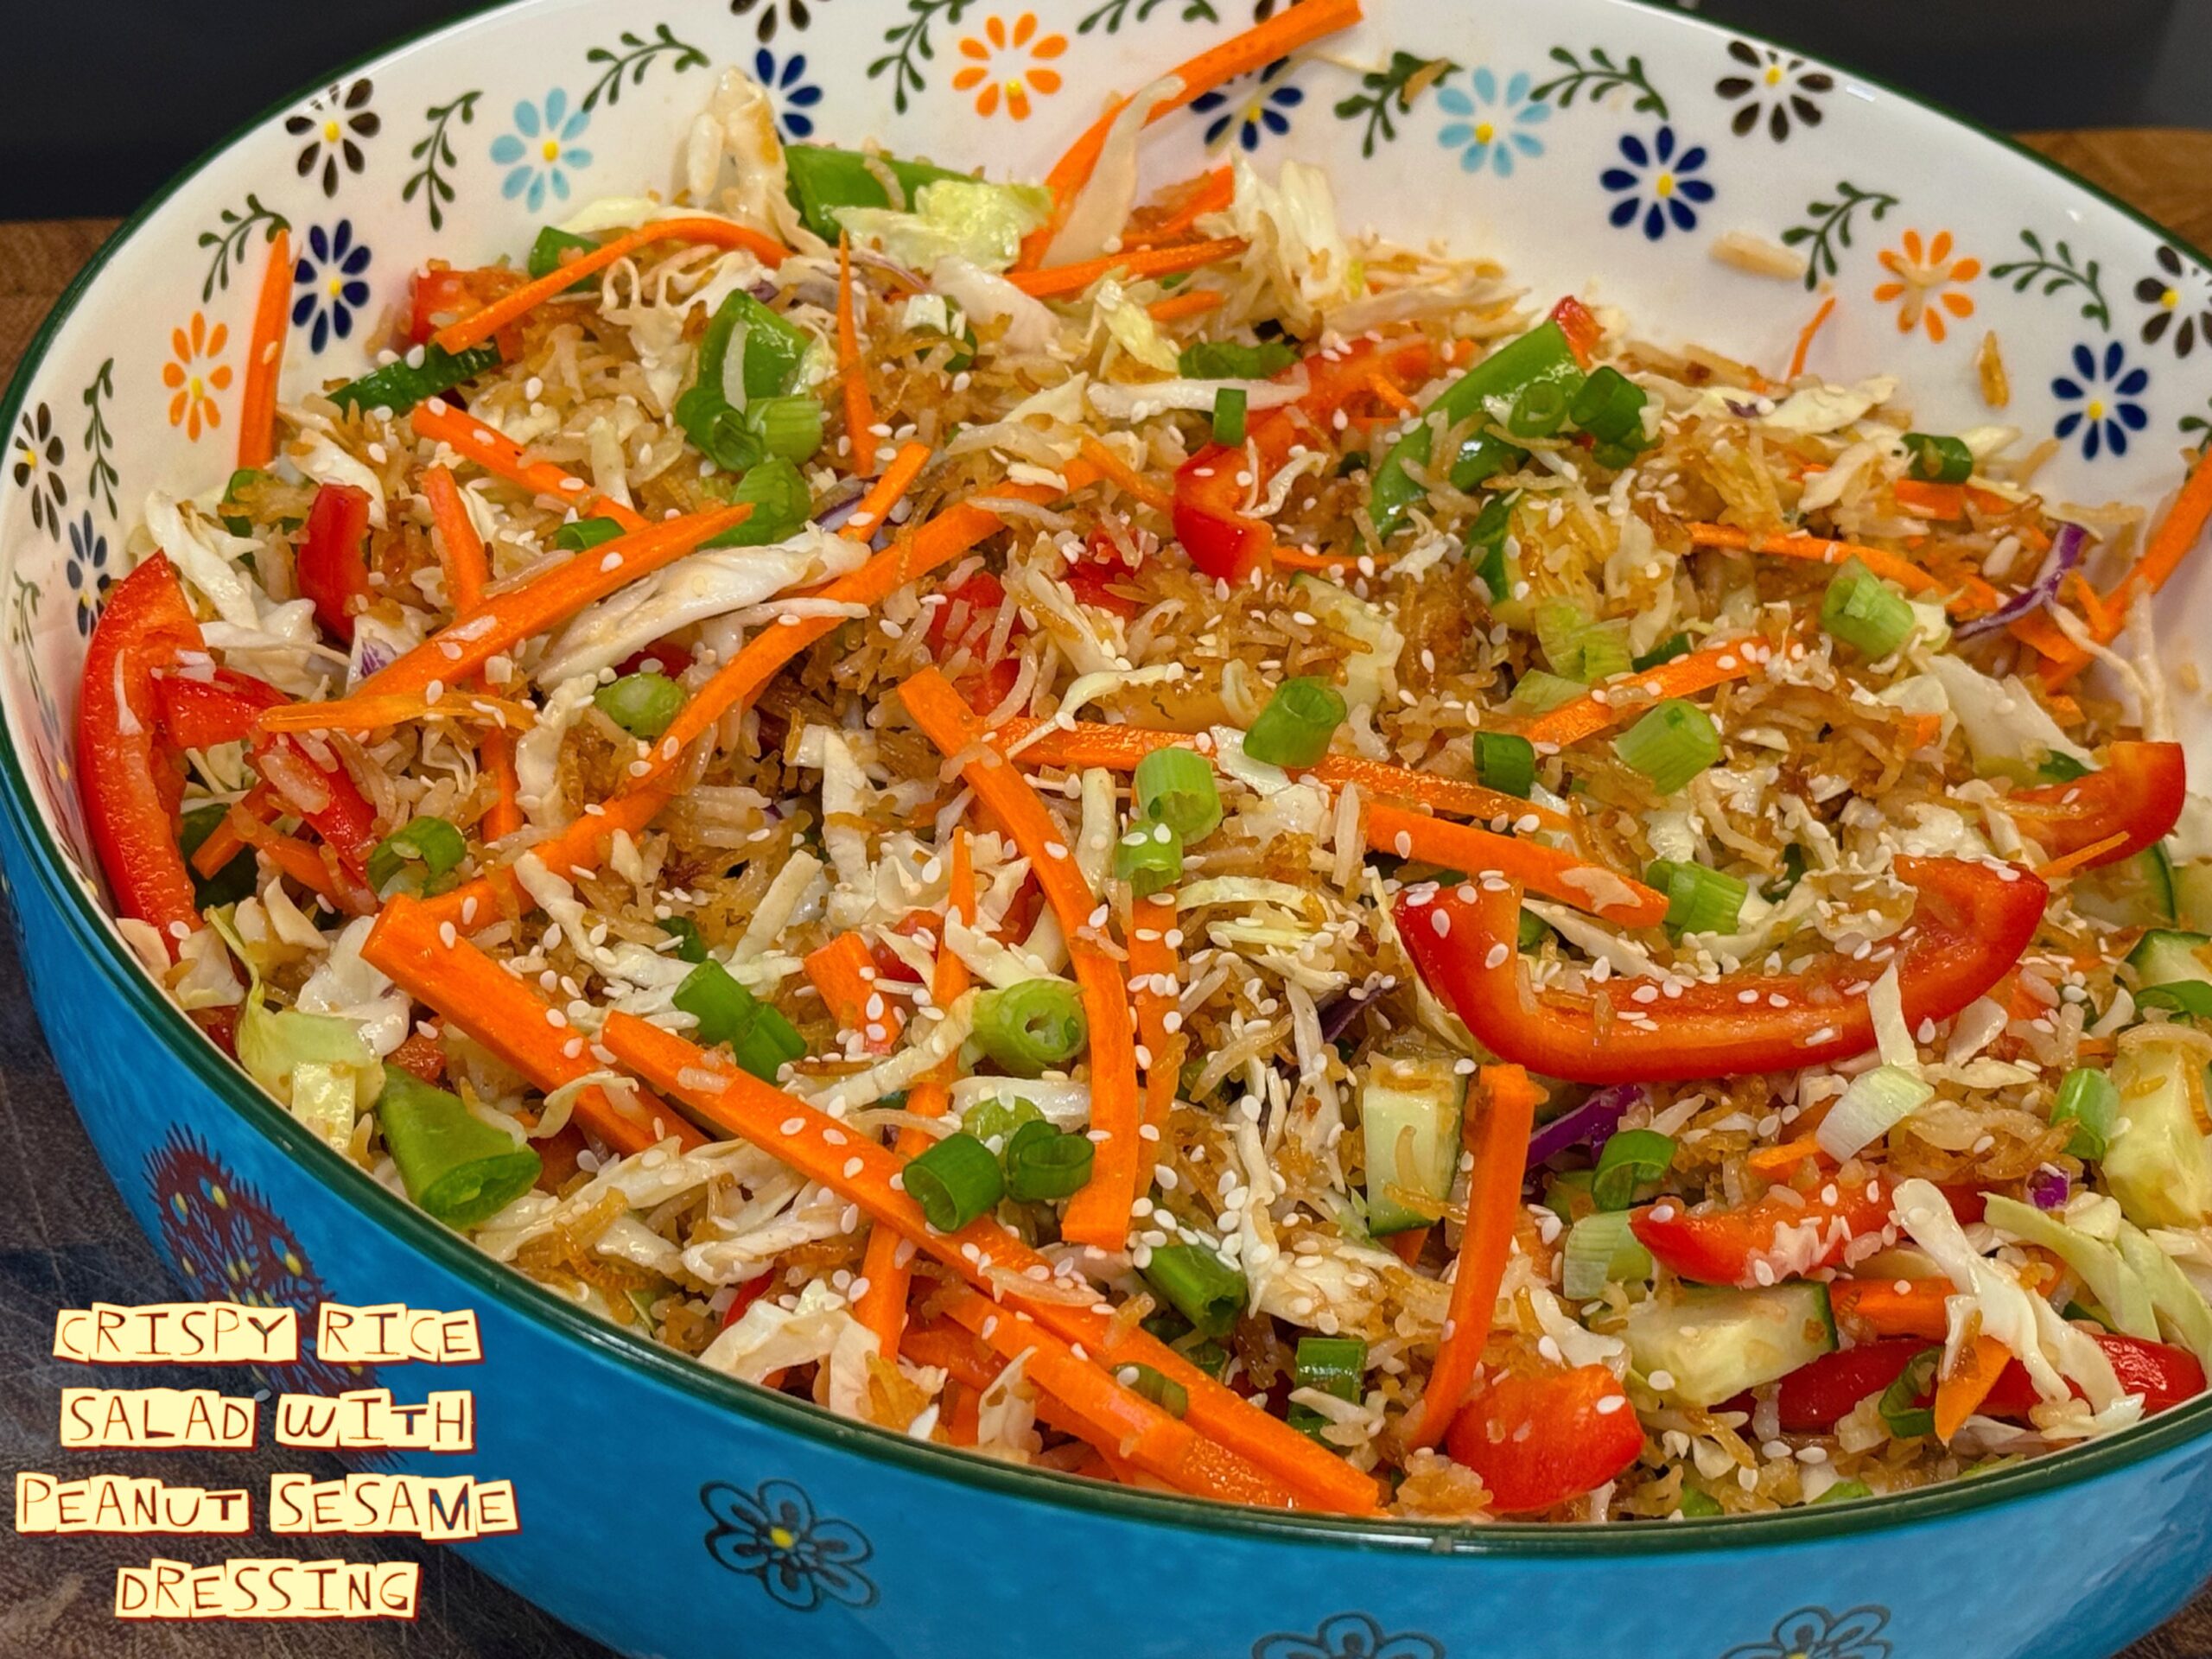
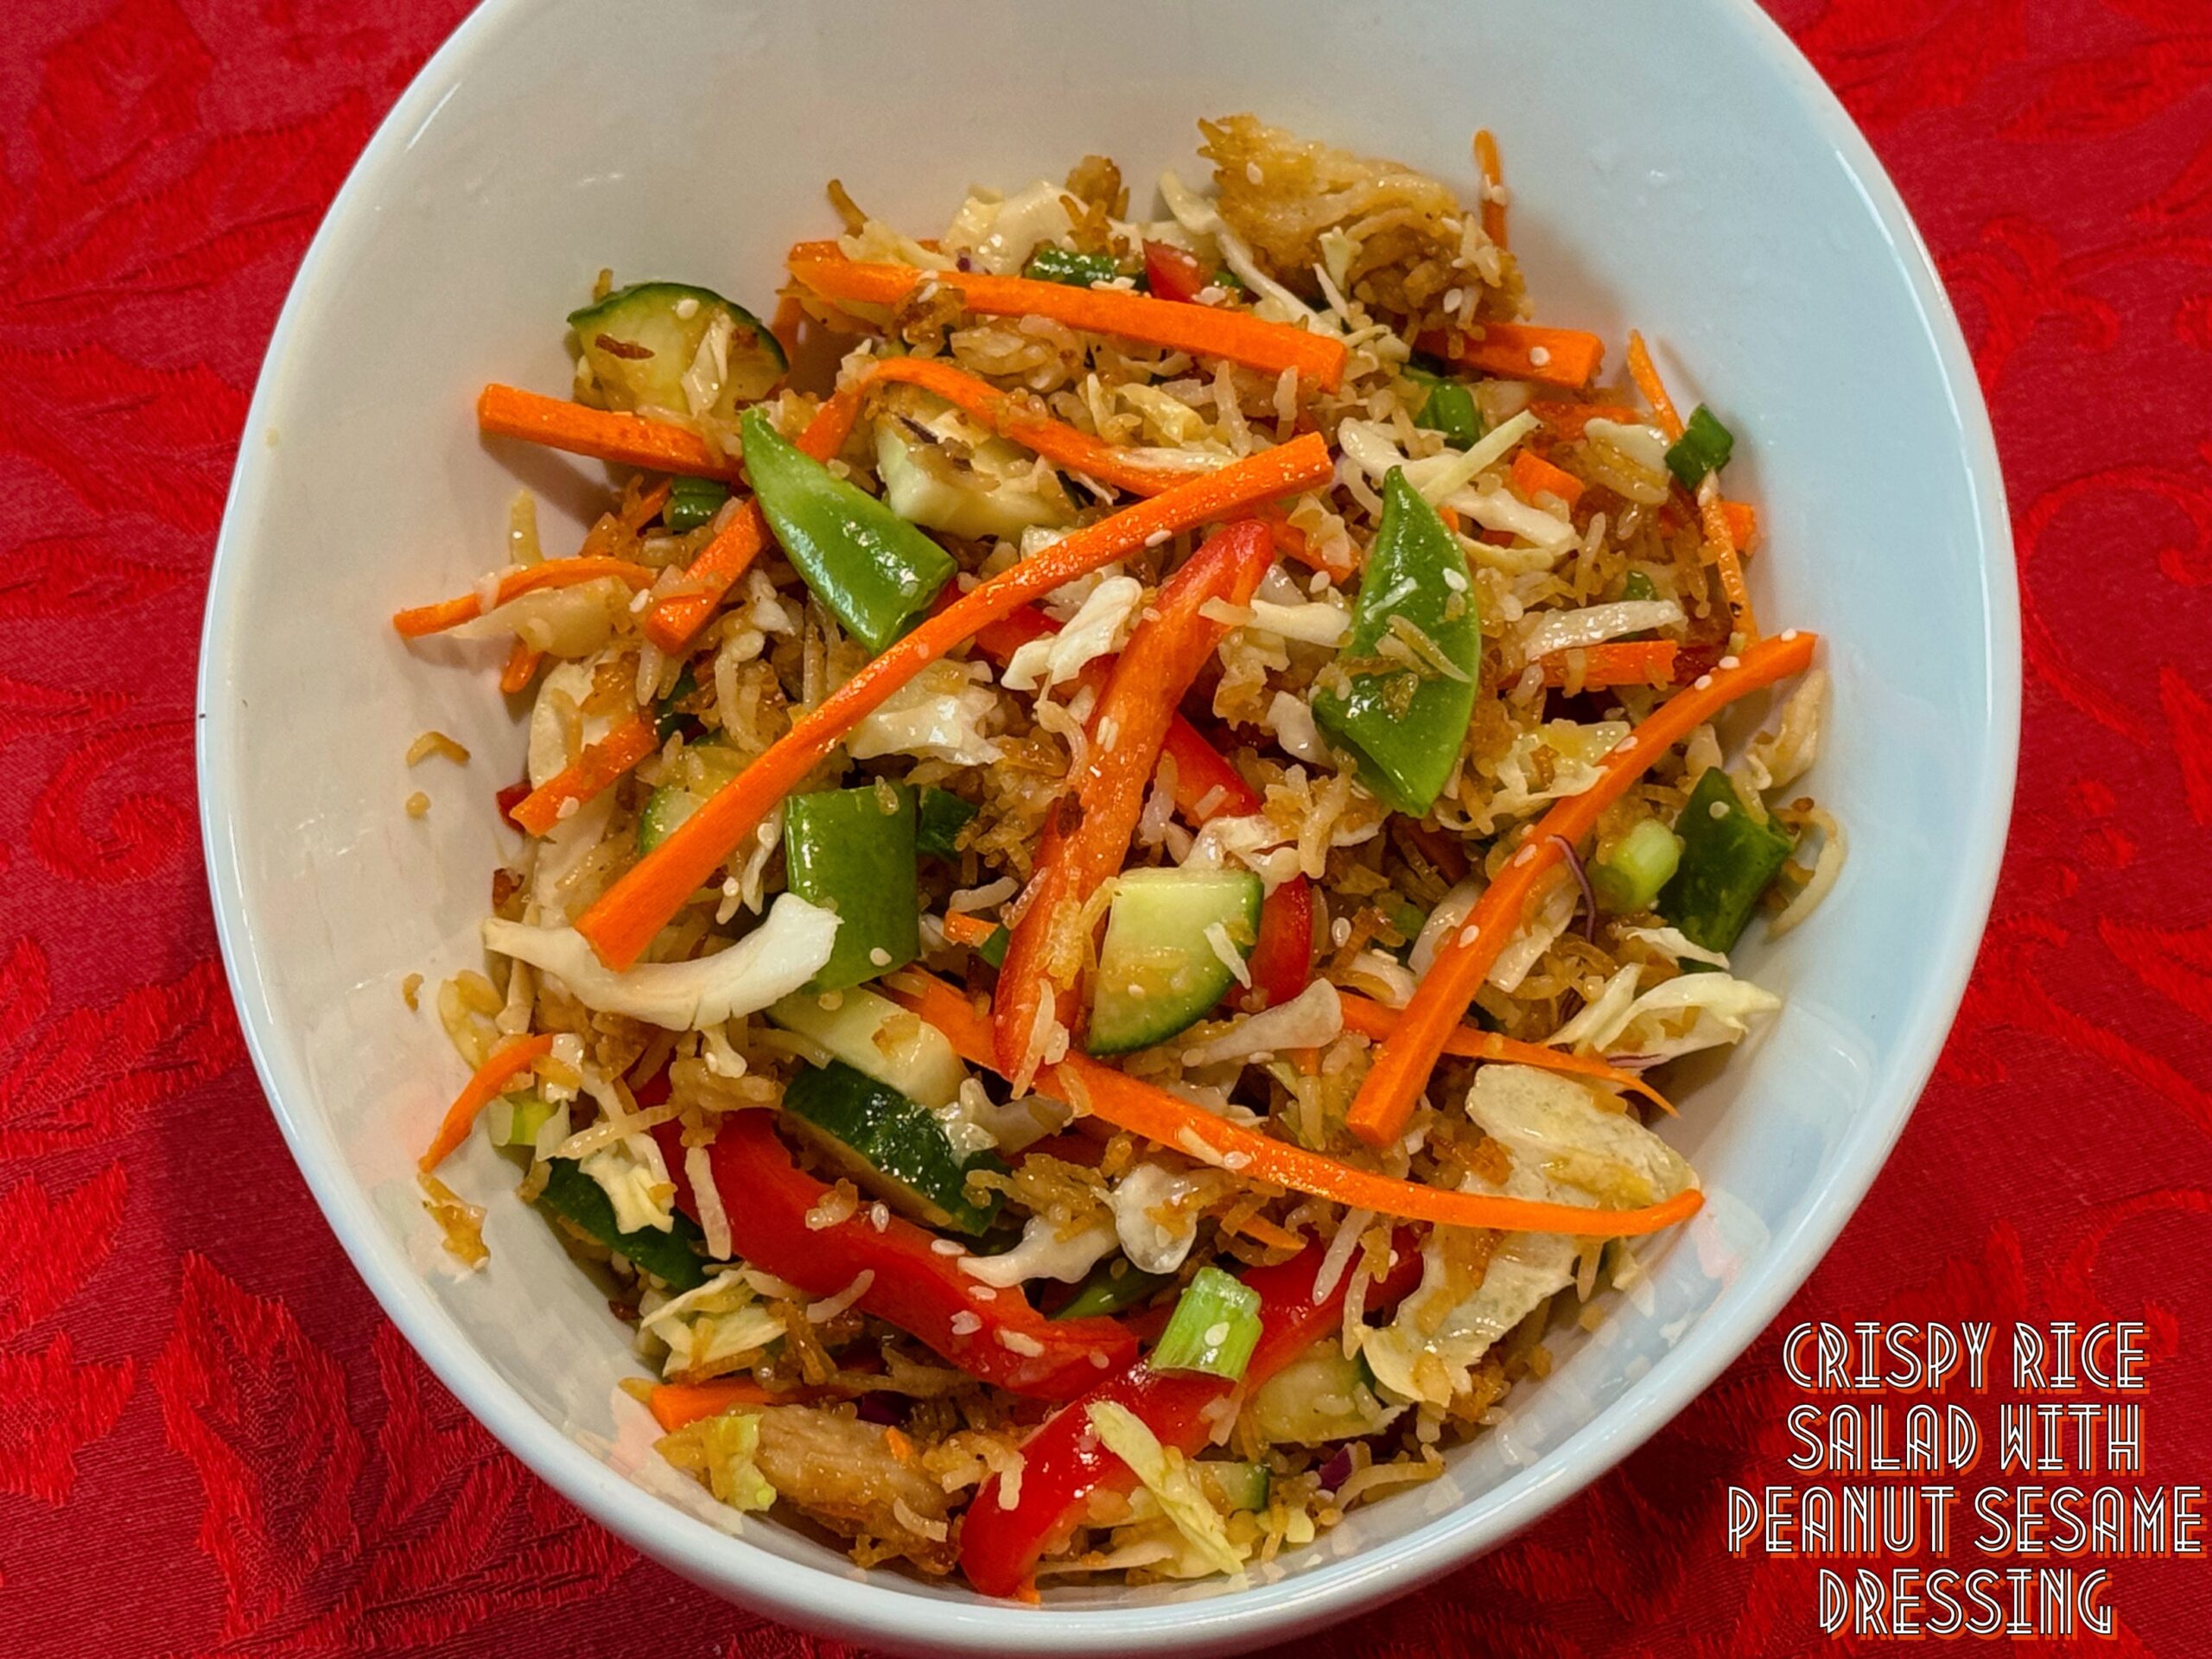
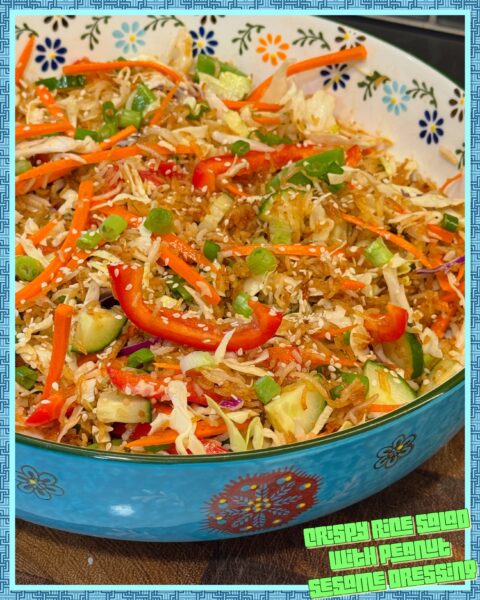
Crispy Rice Salad with Peanut Sesame Dressing
4
servings20
minutes20
minutesIngredients
2 cups jasmine rice, cooked and chilled
1 tablespoon sesame oil
1 tablespoon soy sauce
1 tablespoon chili crisp
3 cups coleslaw
1 cucumber, sliced
1 red bell pepper, thinly sliced
1 carrot, julienned
1/2 cup snap peas, chopped
2 green onions, sliced
- Dressing
3 tablespoons sesame oil
2 tablespoons peanut butter
2 tablespoons soy sauce
2 tablespoons rice vinegar
2 tablespoons lime juice
1 tablespoon honey
2 teaspoons chili crisp
1/2 inch piece ginger, grated
salt and pepper, to taste
Directions
Preheat your air fryer or oven to 400°F Line the air fryer tray with parchment paper..
In a large bowl, combine the cold cooked jasmine rice with sesame oil, soy sauce, and chili crisp. Mix thoroughly until the rice is evenly coated.
Spread the rice mixture in an even, thin layer over the prepared tray. Keep some rice clusters together for best texture.
Bake in the air fryer for 16-18 minutes or in the oven for 40 minutes, until golden brown and crisp.
In a small bowl, whisk together sesame oil, peanut butter, soy sauce, rice vinegar, lime juice, honey, chili crisp, and grated ginger. Whisk until completely smooth. Add salt and pepper to taste.
Once the rice is golden brown and crisp, remove it from the oven or air fryer and let it cool slightly. Break the crispy rice into small clumps with your hands.
In a large salad bowl, add the coleslaw mix, cucumber, bell pepper, carrots, snap peas, green onions, and the crispy rice pieces.
Drizzle the dressing evenly over the top.
Toss everything together to combine thoroughly. Garnish with toasted sesame seeds.

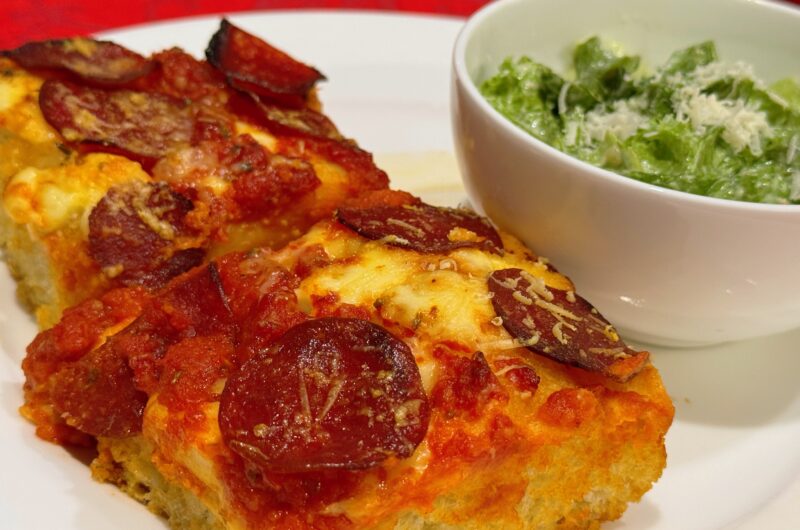
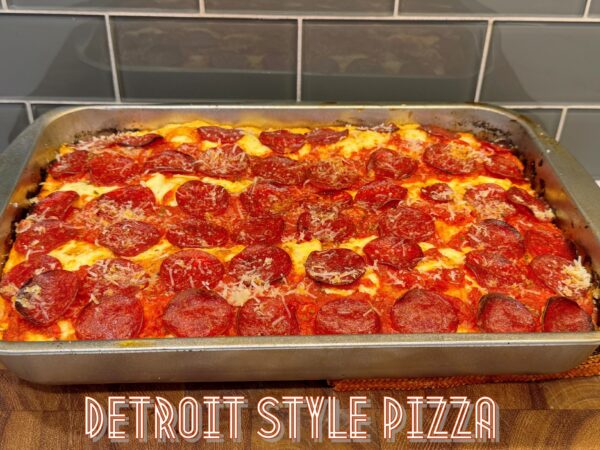
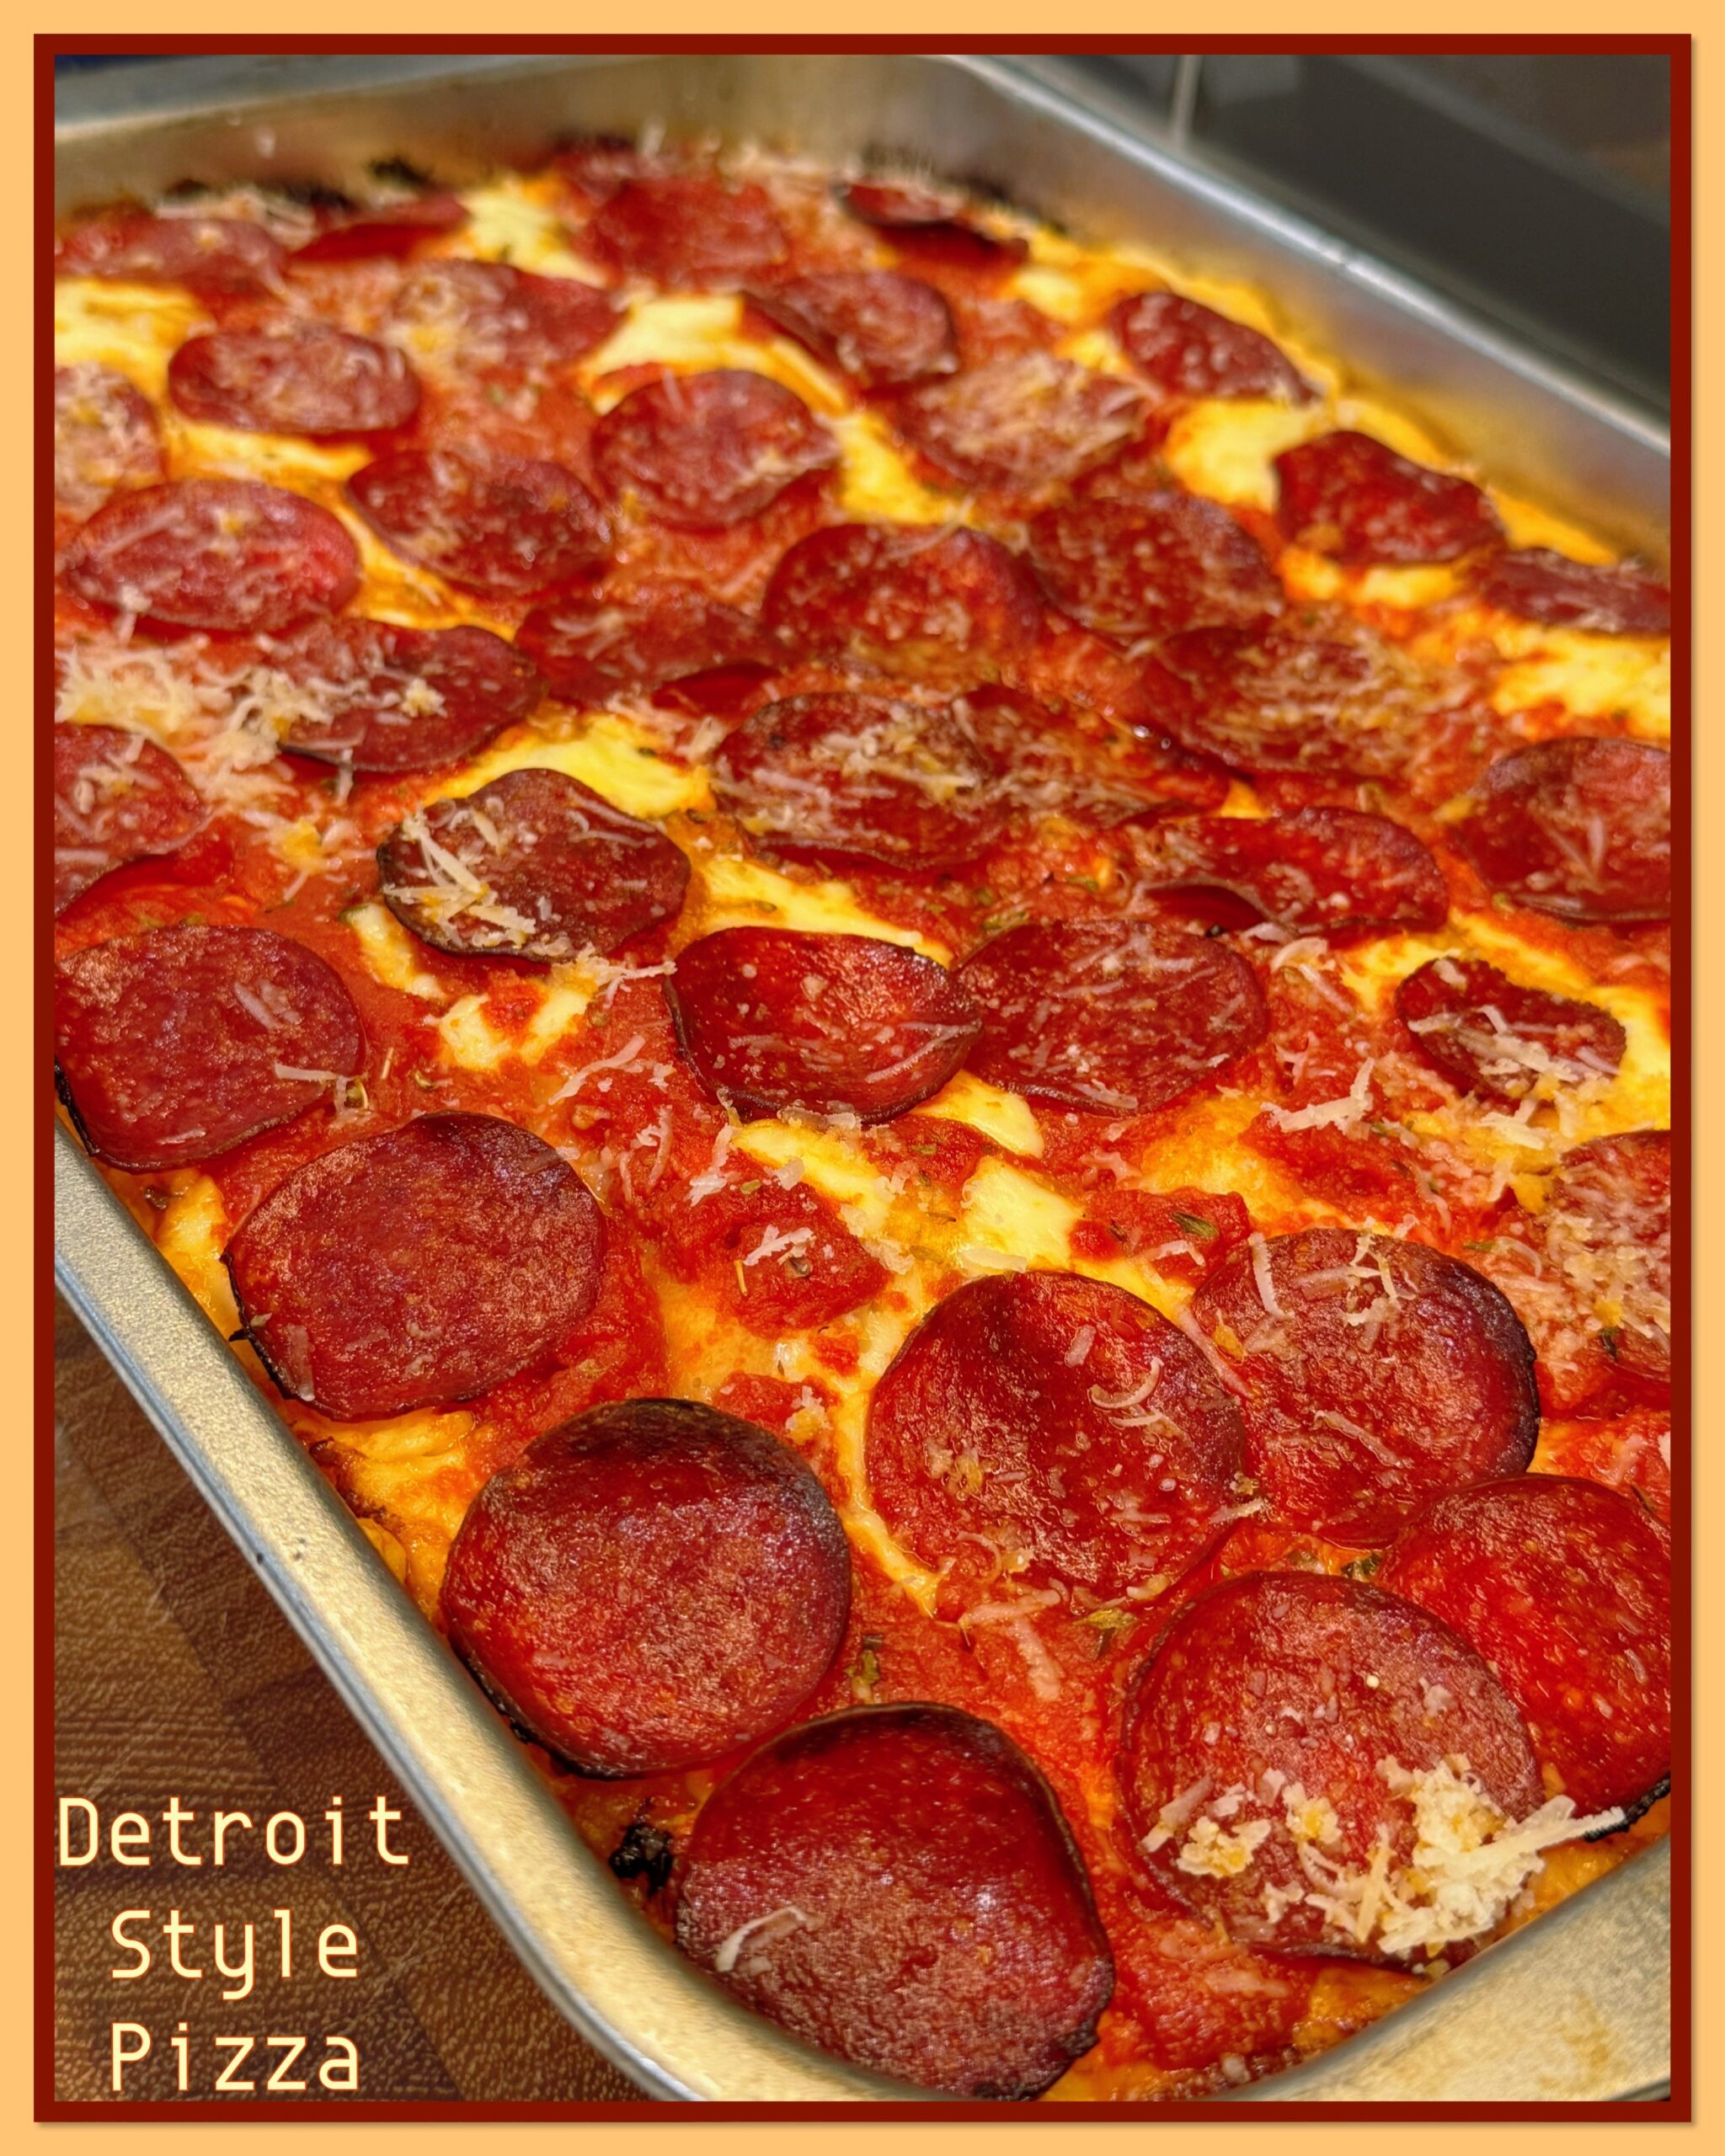
Detroit Style Pizza
12
pieces3
hours (includes rising time)60
minutesIngredients
3 cups bread flour
1 package instant yeast
1 1/2 teaspoons salt
1 teaspoon honey
1 1/2 cups warm water, about 110°F
- Pizza Sauce
1 28 can whole San Marzano Tomatoes, drained
1 tablespoon olive oil
1 onion, grated
2 cloves garlic, grated
1/4 teaspoon red chili flakes
1/2 teaspoon oregano
1/2 teaspoon garlic powder
1 teaspoon salt
1 tablespoon tomato paste
- For pizza
2 1/2 cups mozzarella cheese, cut into 1/4 inch cubes
6 oz pepperoni, sliced
1 oz pecorino romano cheese, grated
Directions
In the bowl of a stand mixer, combine flour and yeast. Mix the water, olive oil, and honey in a measuring cup, until the honey dissolves. Add this to the flour mixture and mix on medium speed for 2 minutes or until the dough comes together and no dry flour remains.
Turn the mixer off and let the dough sit for about ten minutes. Turn the mixer back on, add the salt, and knead in your mixer with a dough hook until you have a soft but sticky dough, about 3 minutes. It should pull away from the sides of the bowl cleanly, but still stick to the bottom. It will be very sticky to the touch.
Add 2 tablespoons of oil to a non-stick 9X13 baking pan and spreading to coat the entire inside of the pan. Transfer dough to the oiled pan, cover with plastic wrap, and let the dough rest in a draft-free place for 2 hours, or until doubled in size.
In a medium saucepan, saute onion and garlic in a tablespoon of oil. Once the onions are soft, add the salt, spices, and tomato paste. Let this mixture cook for about two minutes, or until the tomato paste changes in colour from bright red to more of a deep, rusty colour.
Add in your drained tomatoes and sugar and using an immersion blender, blitz the whole thing until smooth.
Bring to a simmer and let cook, stirring occasionally for about 30 minutes, or until thickened and reduced by one third. You should have about two cups of sauce when all is said and done. Set aside and let cool.
30 minutes before you’re ready to bake, preheat your oven to 500 degrees and set the rack at the bottom position.
After the dough has risen, use well oiled hands to gently push it to the edges of the pan. You want it to reach all the corners as well. If it springs back on you a lot, just let it rest for about five minutes and try again. Then cover with plastic wrap and let rise for an additional 20 minutes.
Add a generous layer of cubed, mozzarella to the surface of the dough, making sure to take it all the way to the edges of the pan. Scatter pepperoni slices evenly over the cheese. Spoon sauce in 3 even rows, leaving some areas unsauced.
Bake for 20-22 minutes or until the edges have turned a very dark brown and the cheese on top is bubbling and starting to brown slightly.
Let rest in the pan for about 5 minutes and sprinkle with grated pecorino romano cheese. Use a sharp knife to loosen the edges, remove the pizza from the pan and transfer it to a cutting board. Slice into 12 squares and serve.



























Check out How Was Your Week, Honey? Episode #451 Bad Proposal. This week we get together to talk Winter Olympics (!)…and a few other things.

Thank you to Fiesta Friday for featuring my Lunar New Year post at their Fiesta Friday #628 Link Party last week.

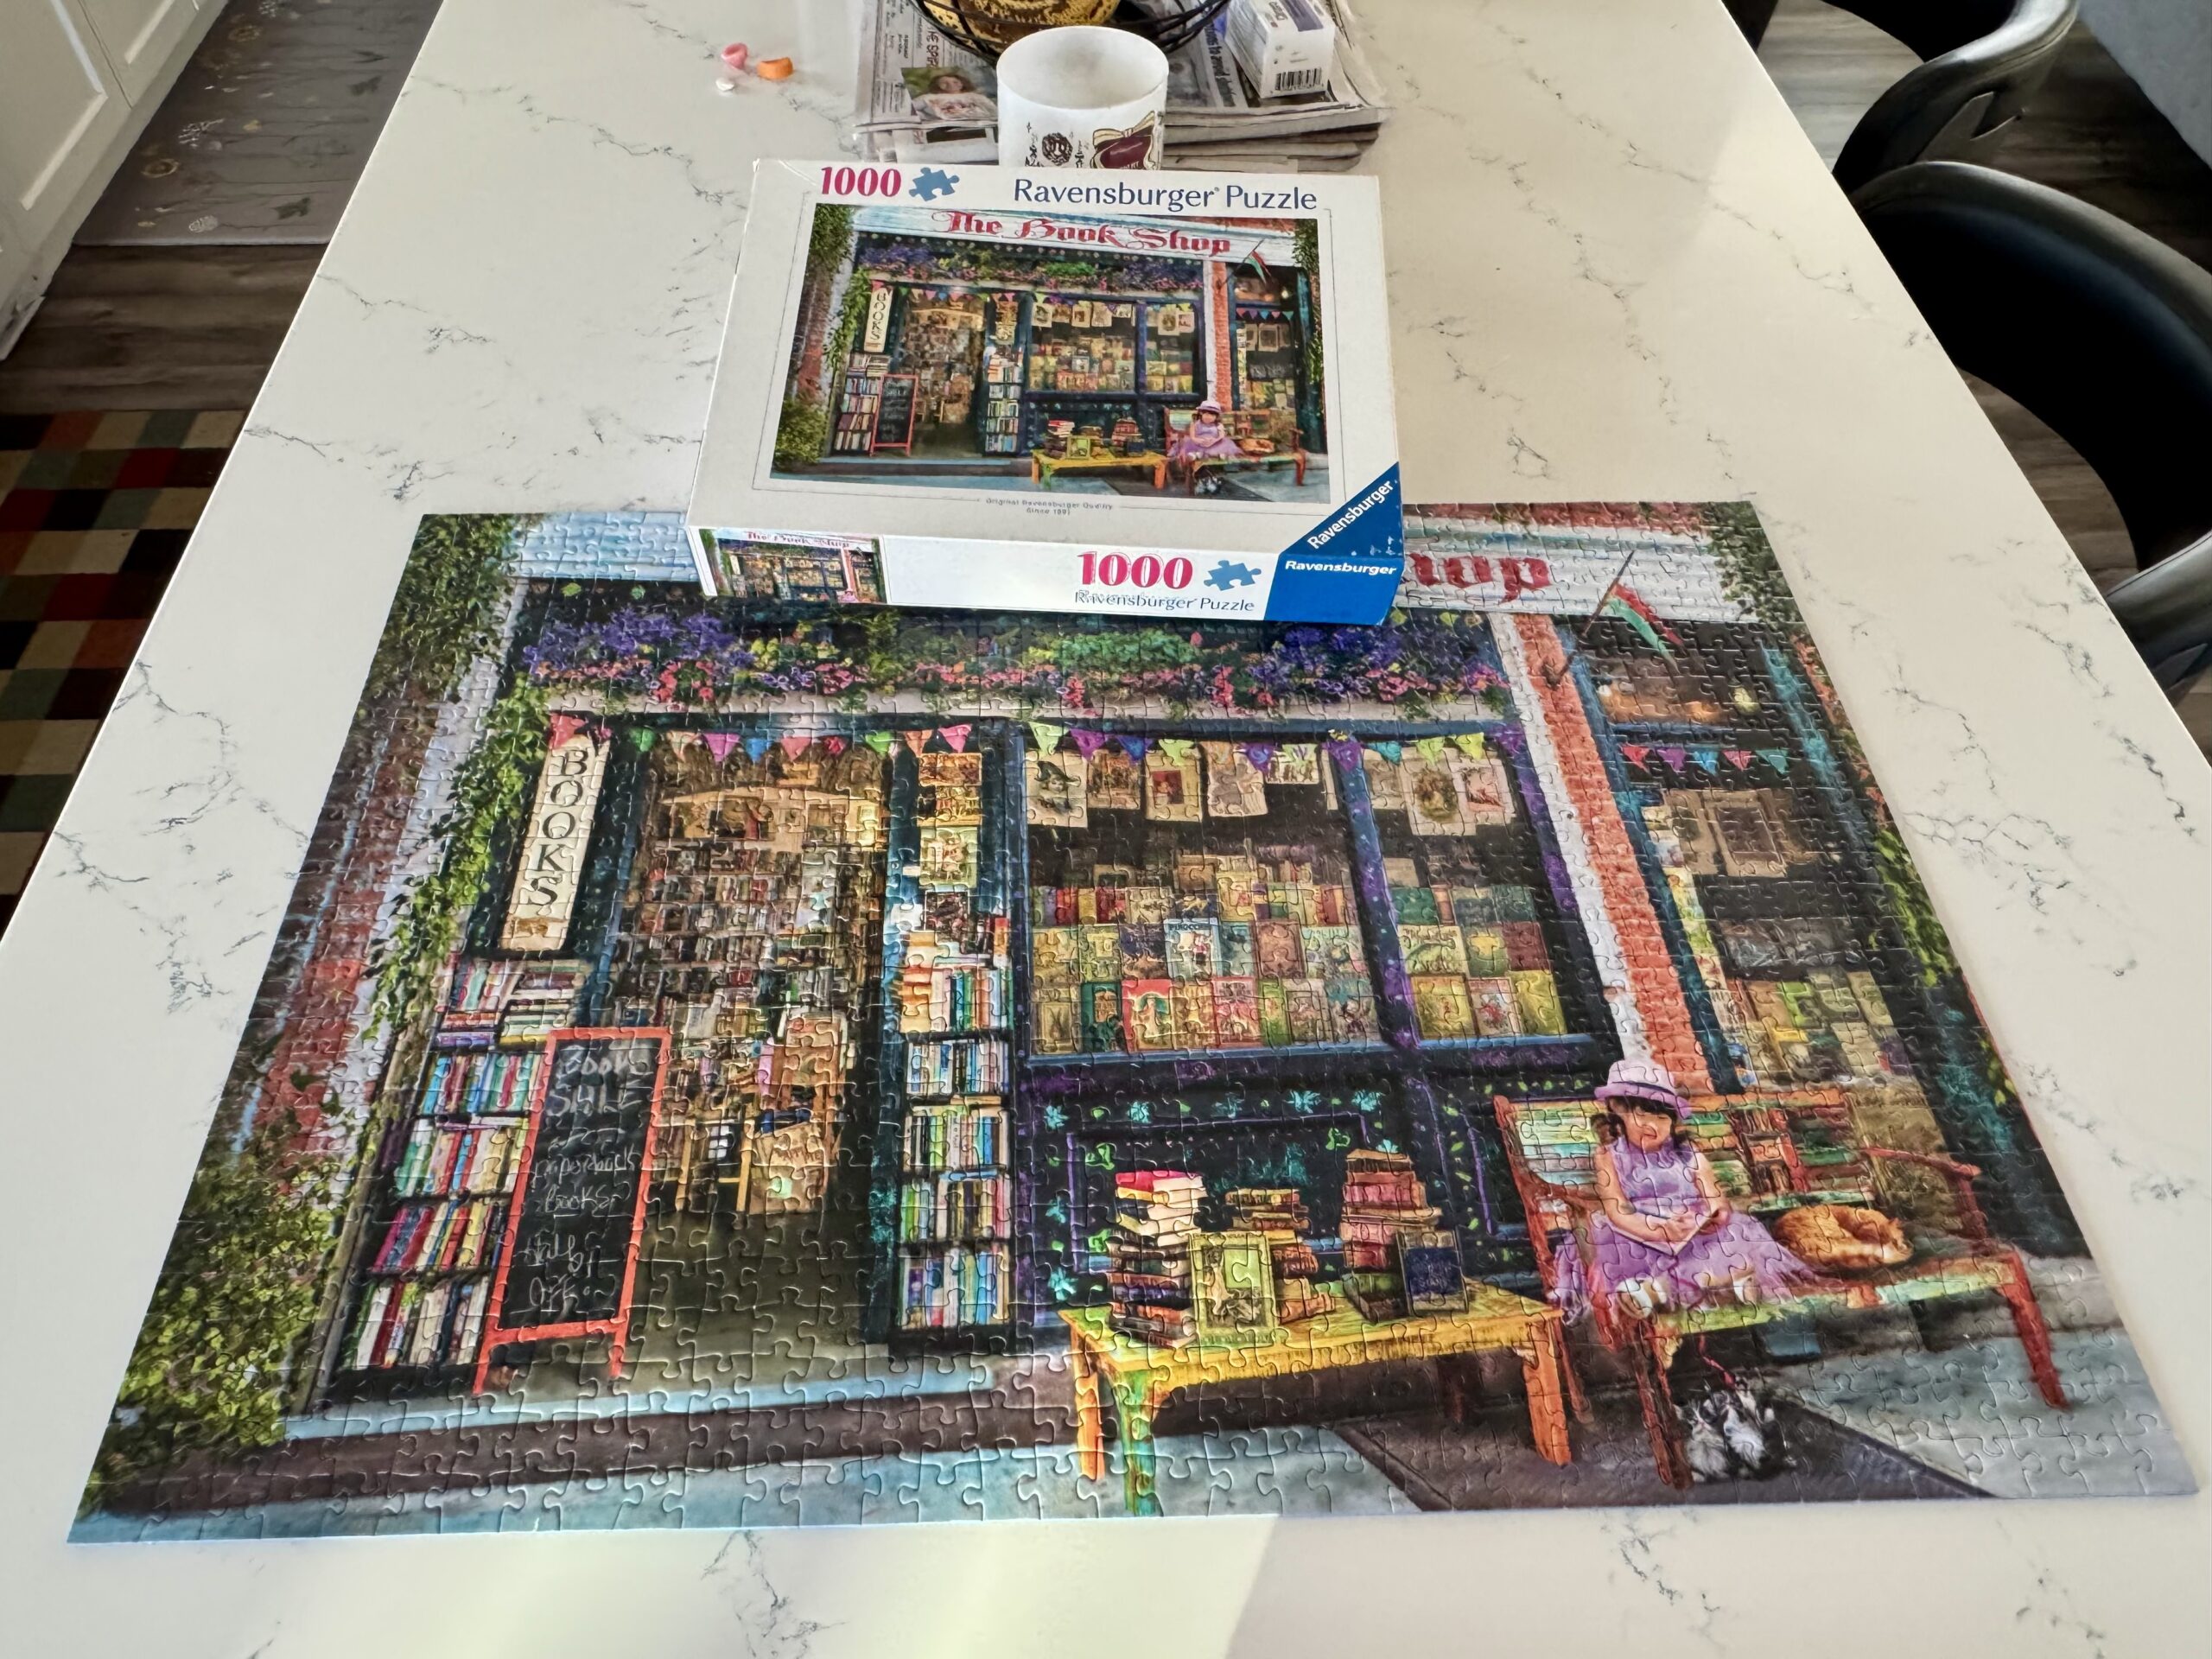
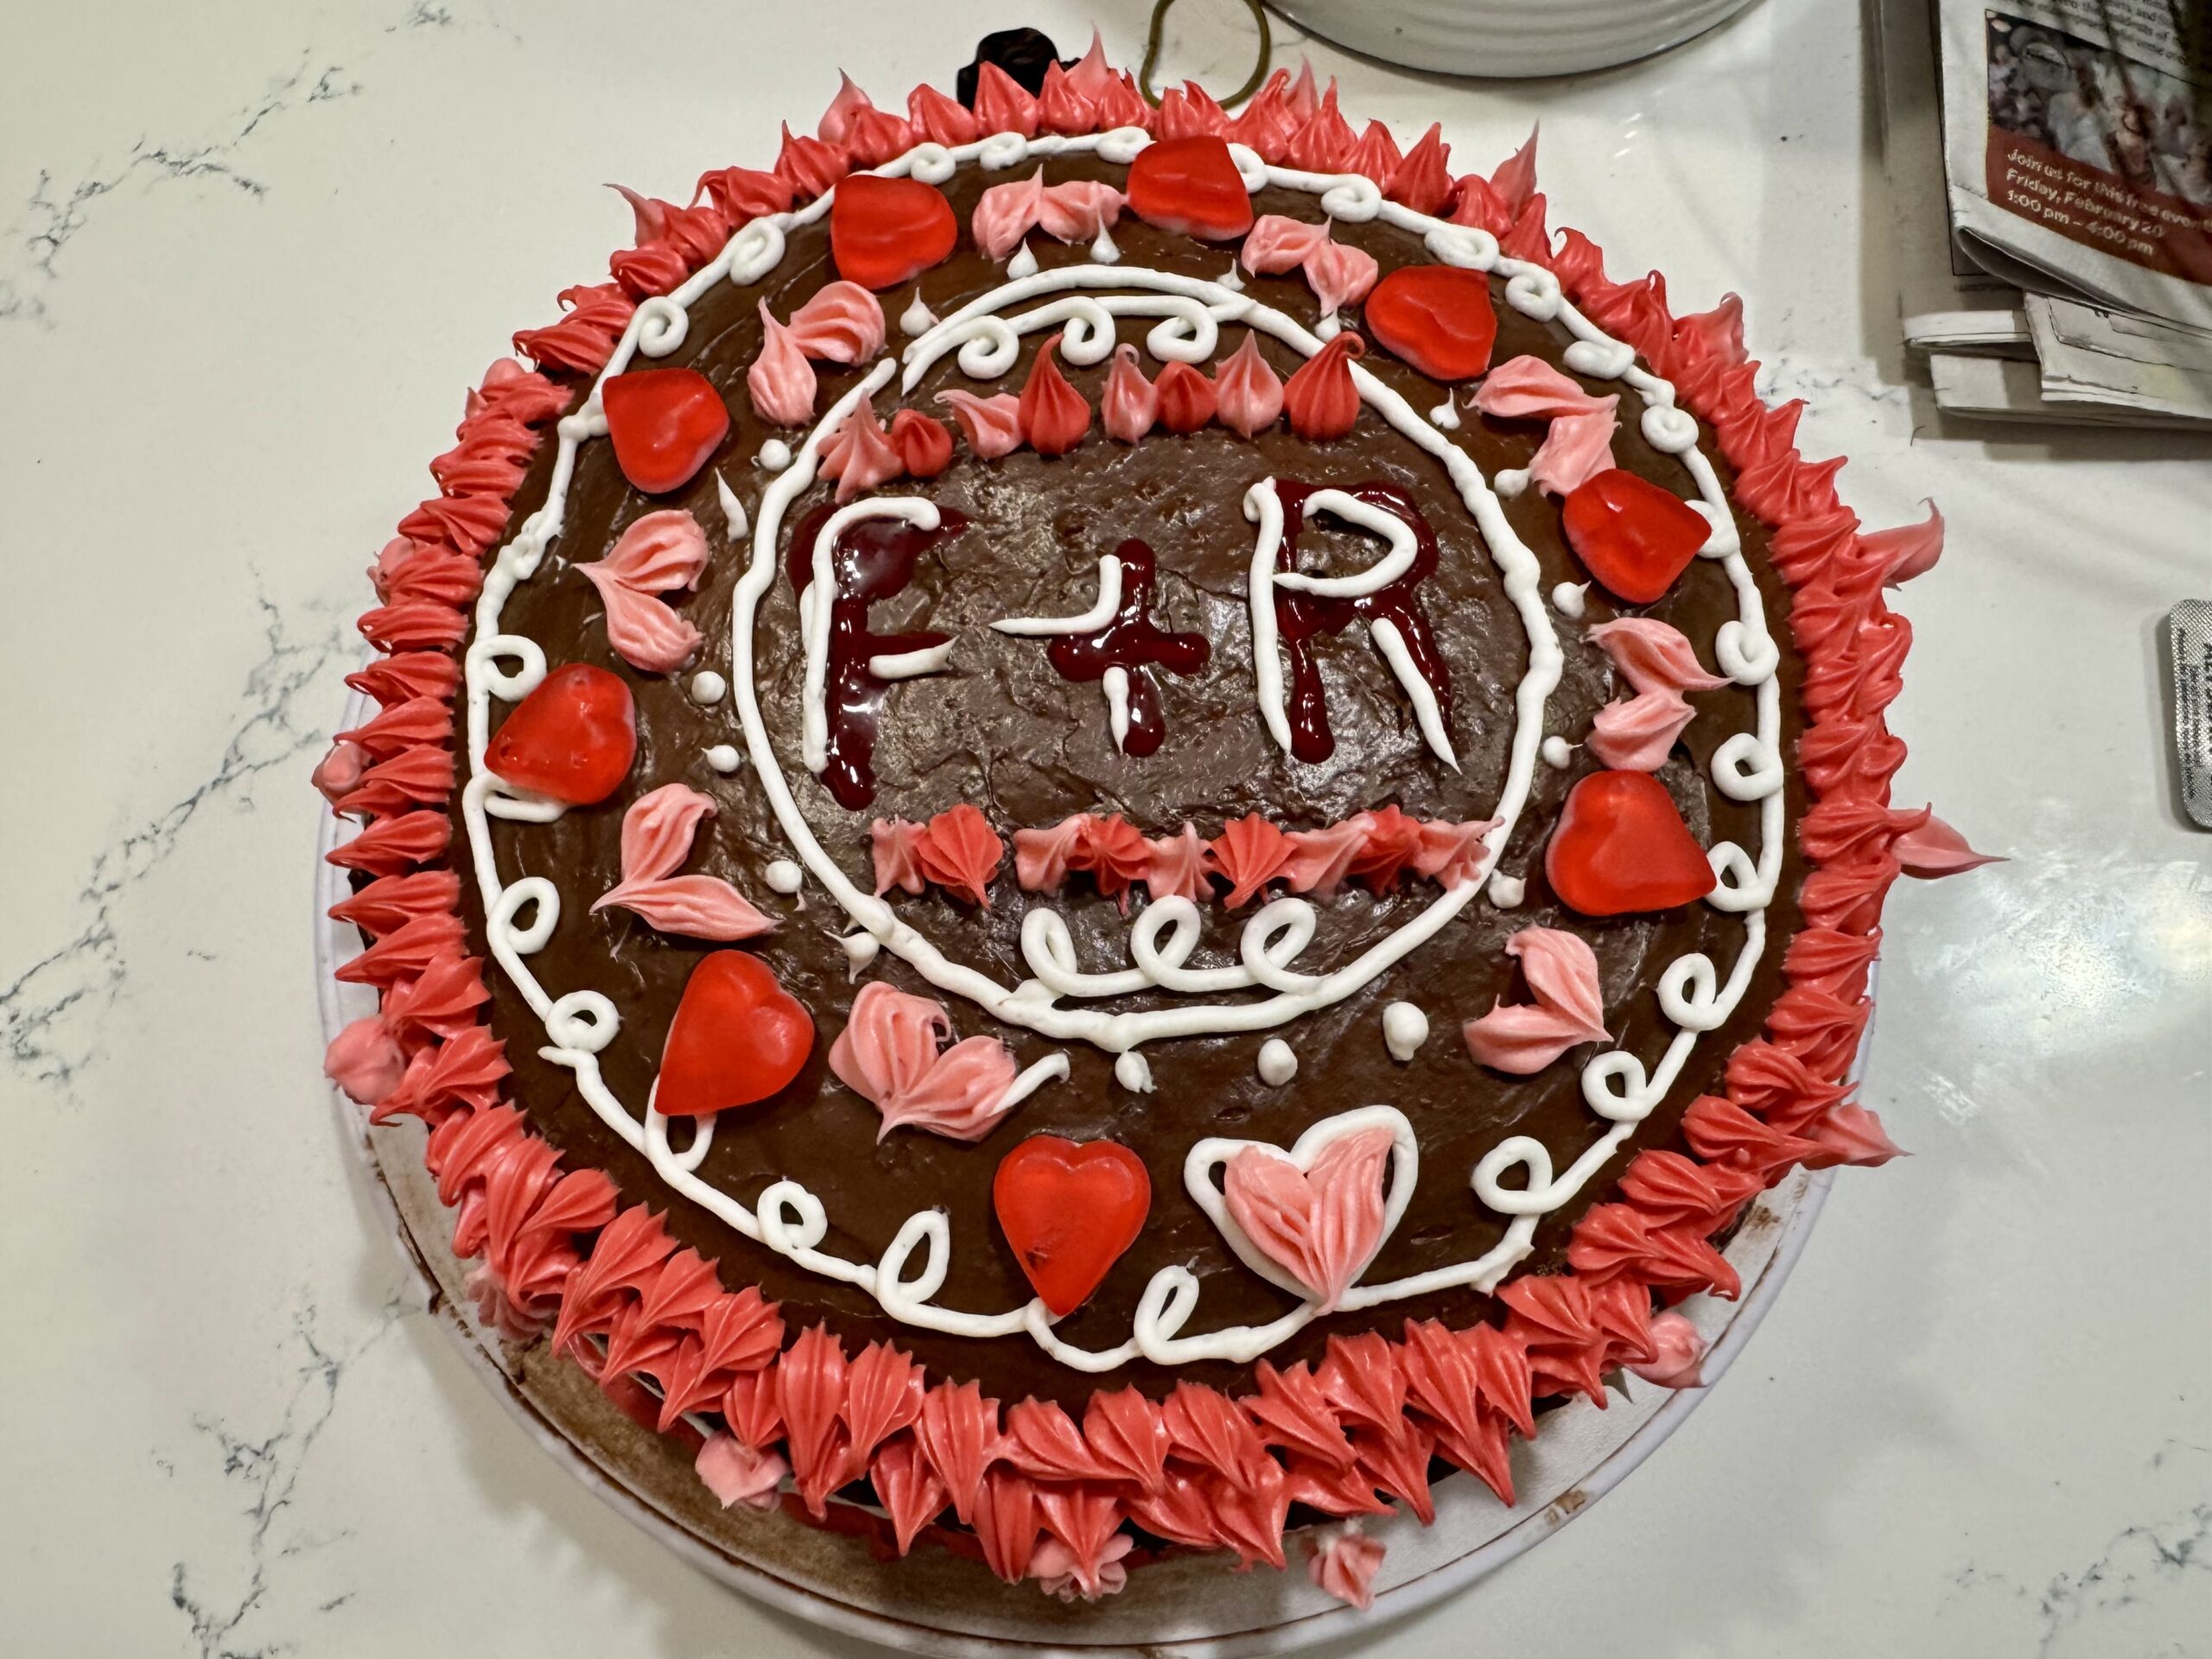
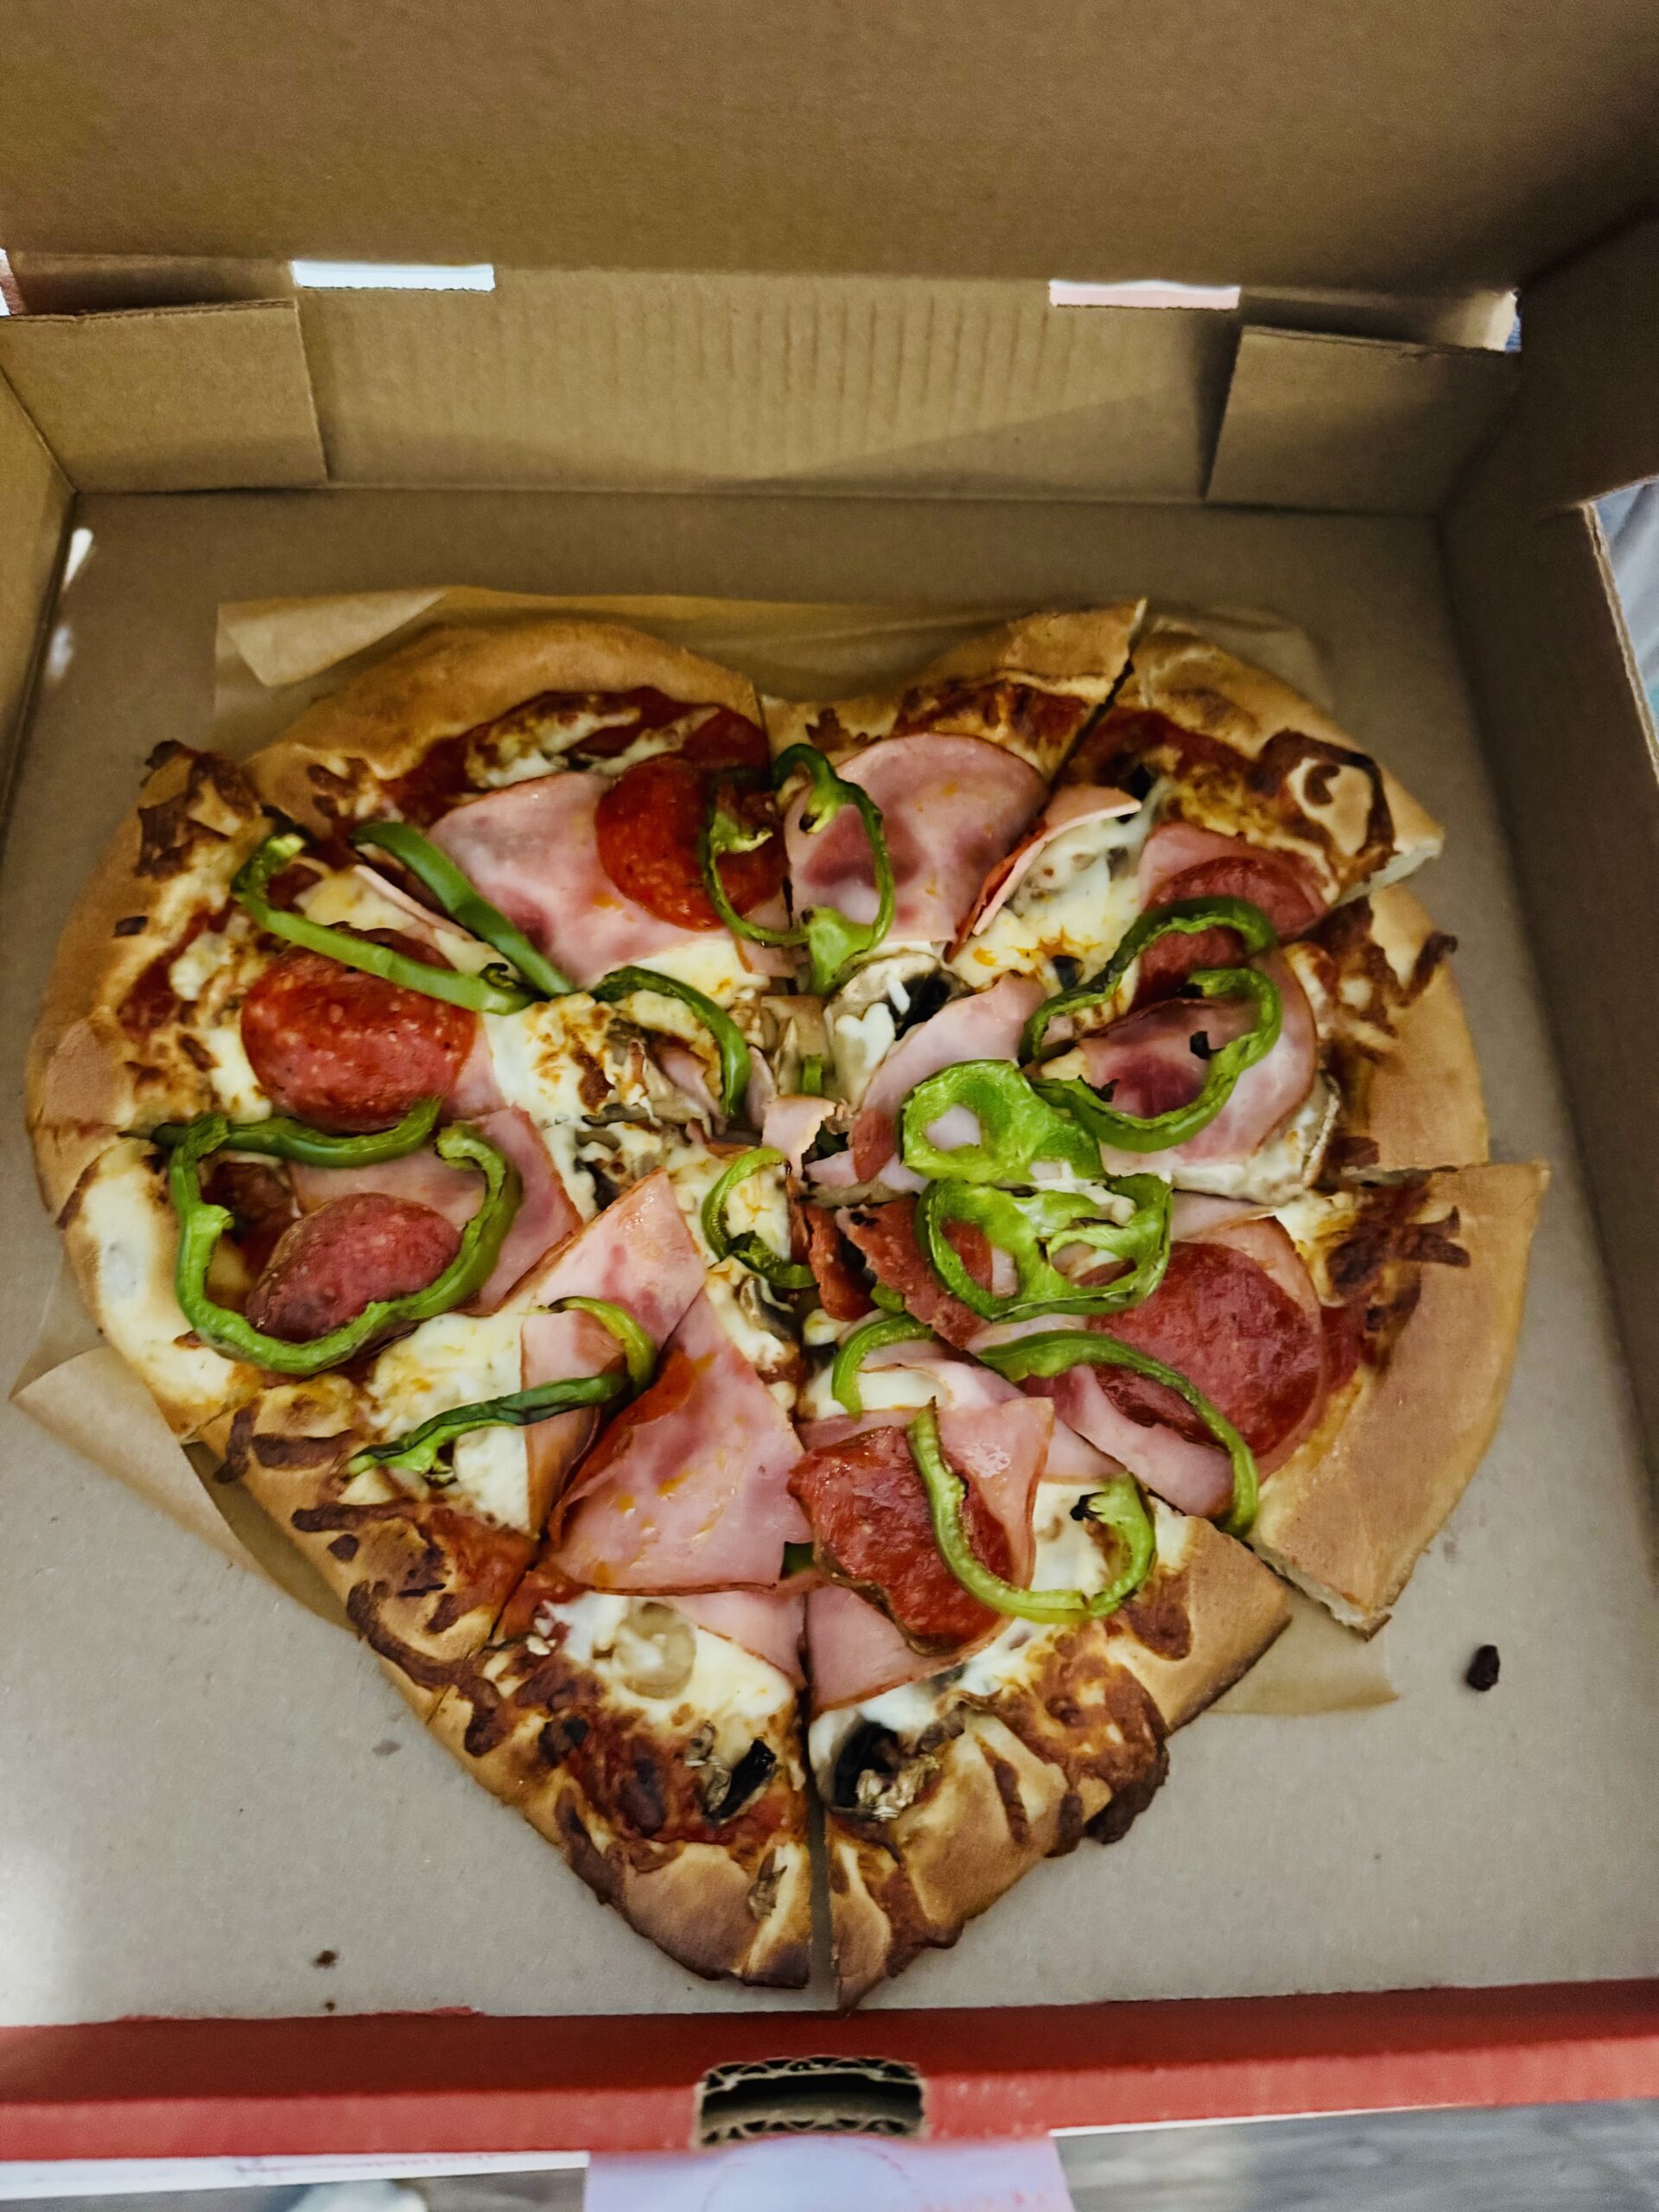
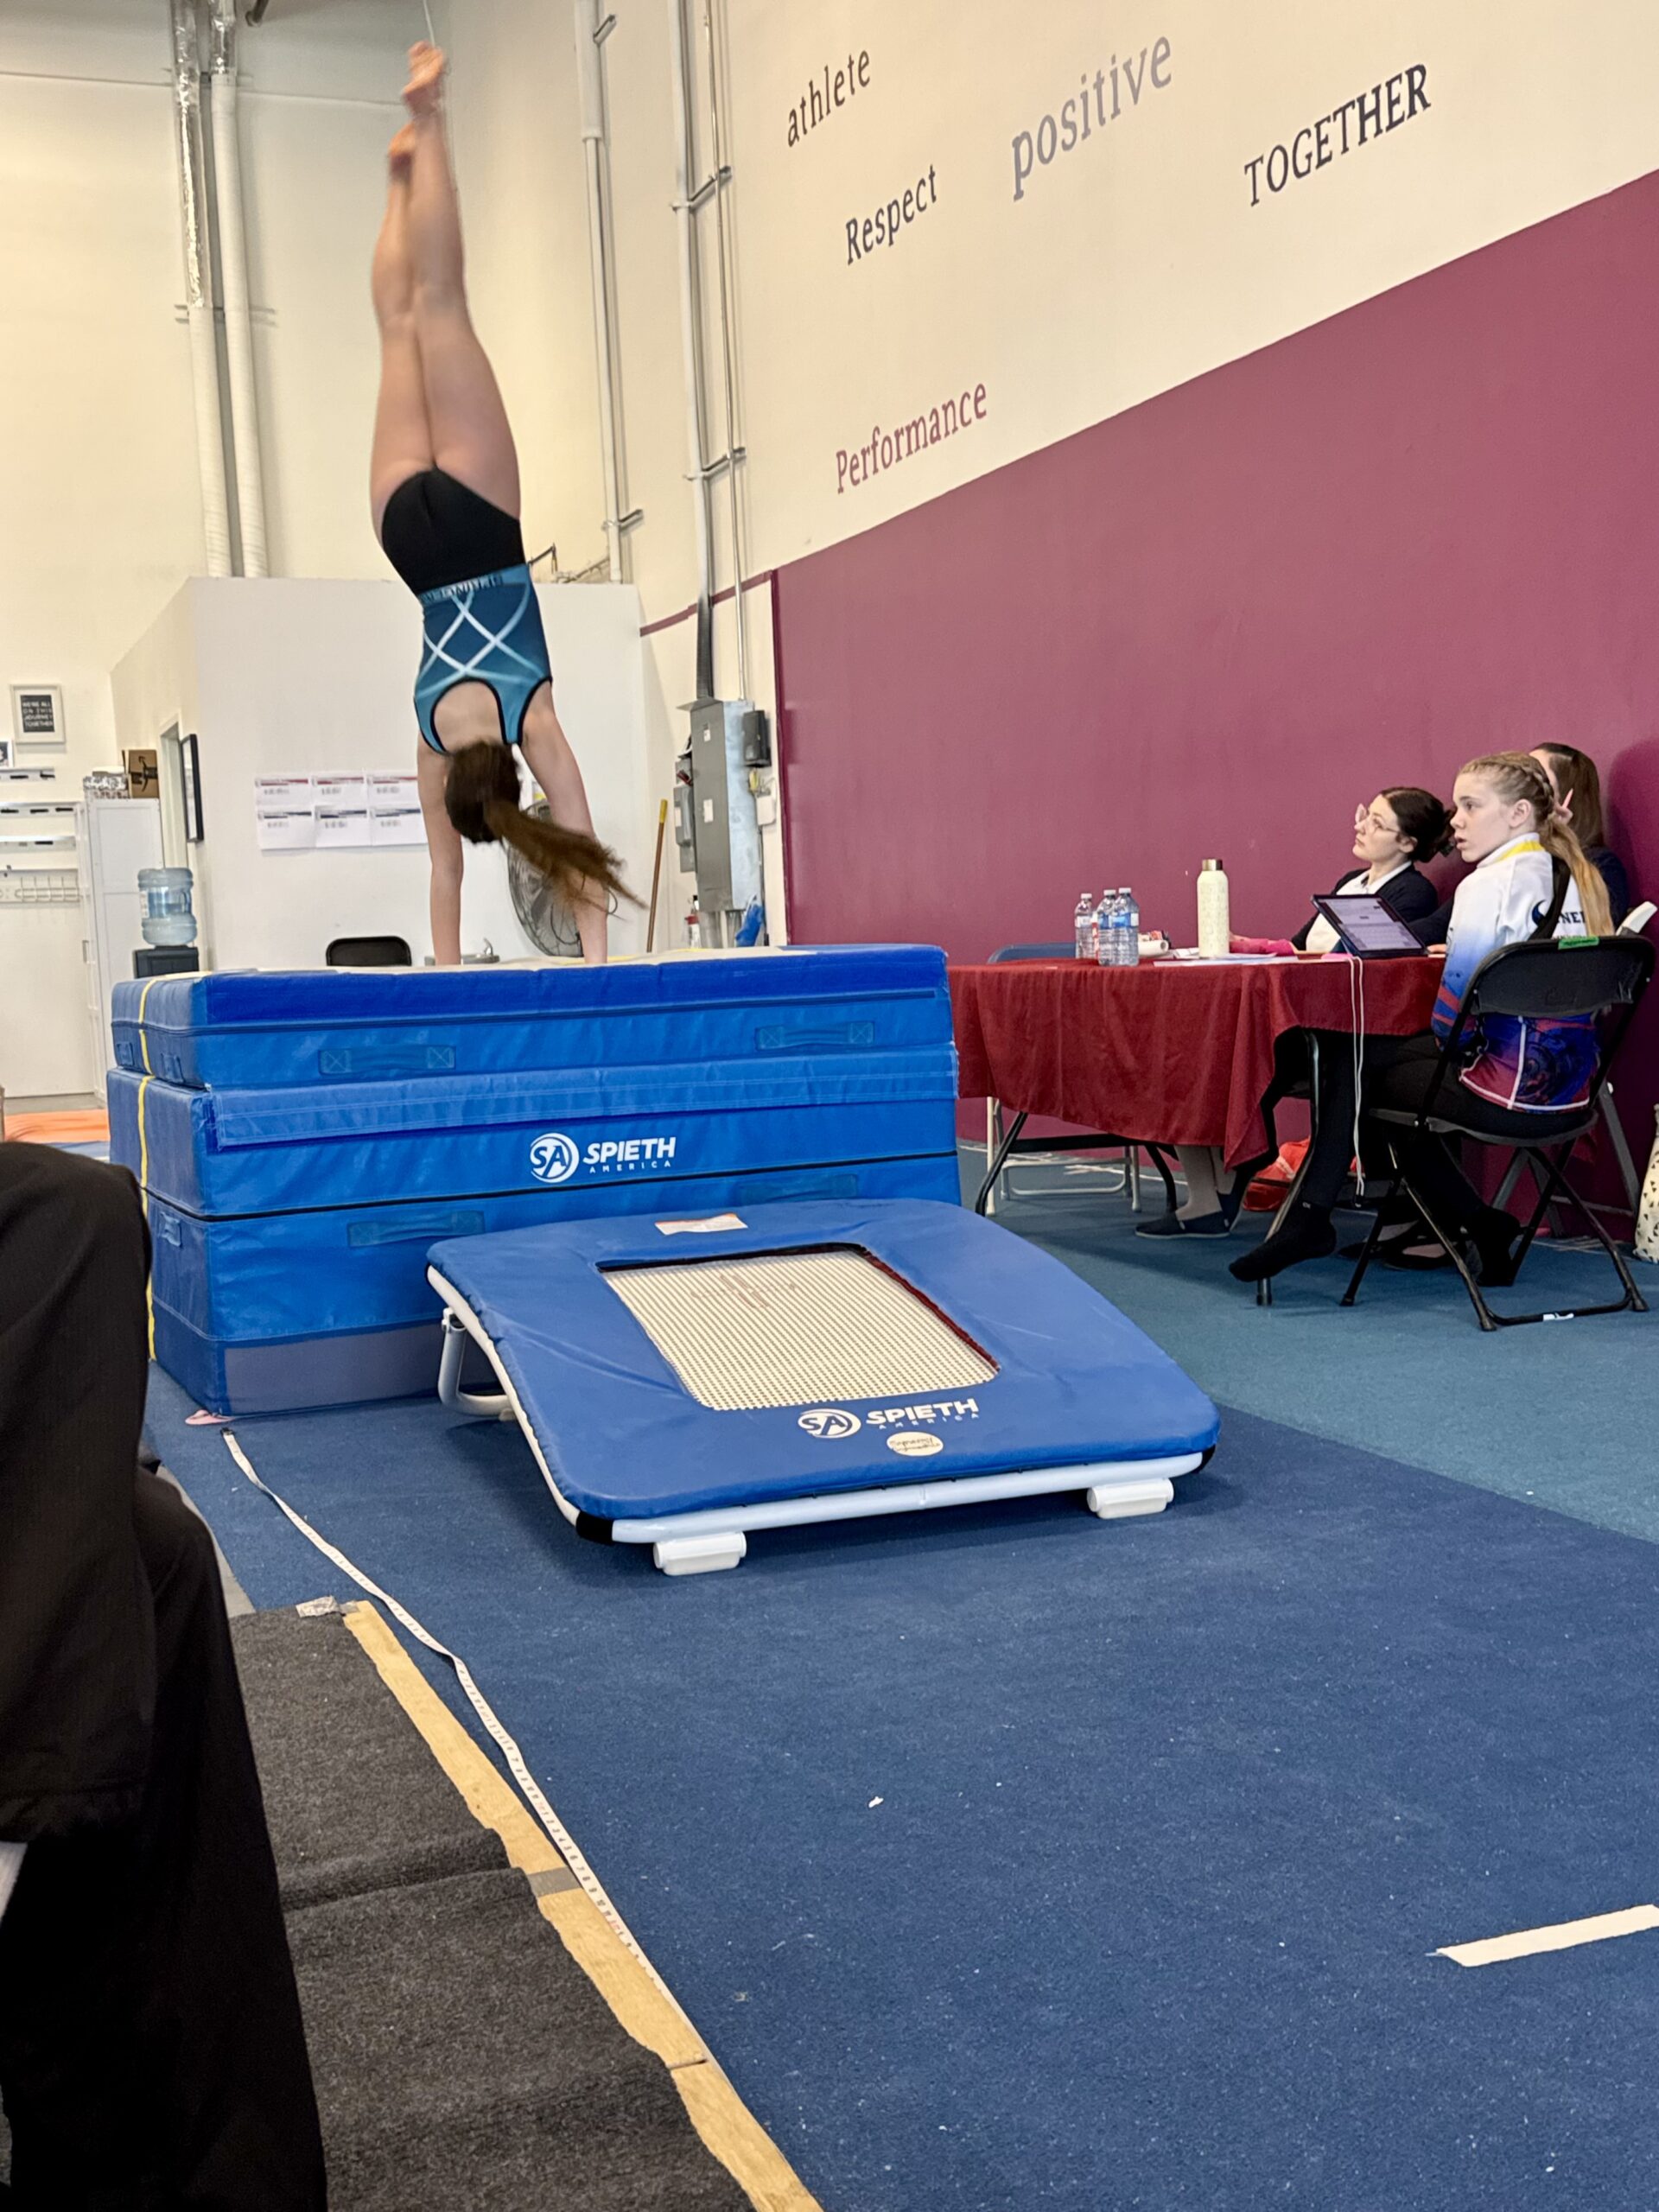
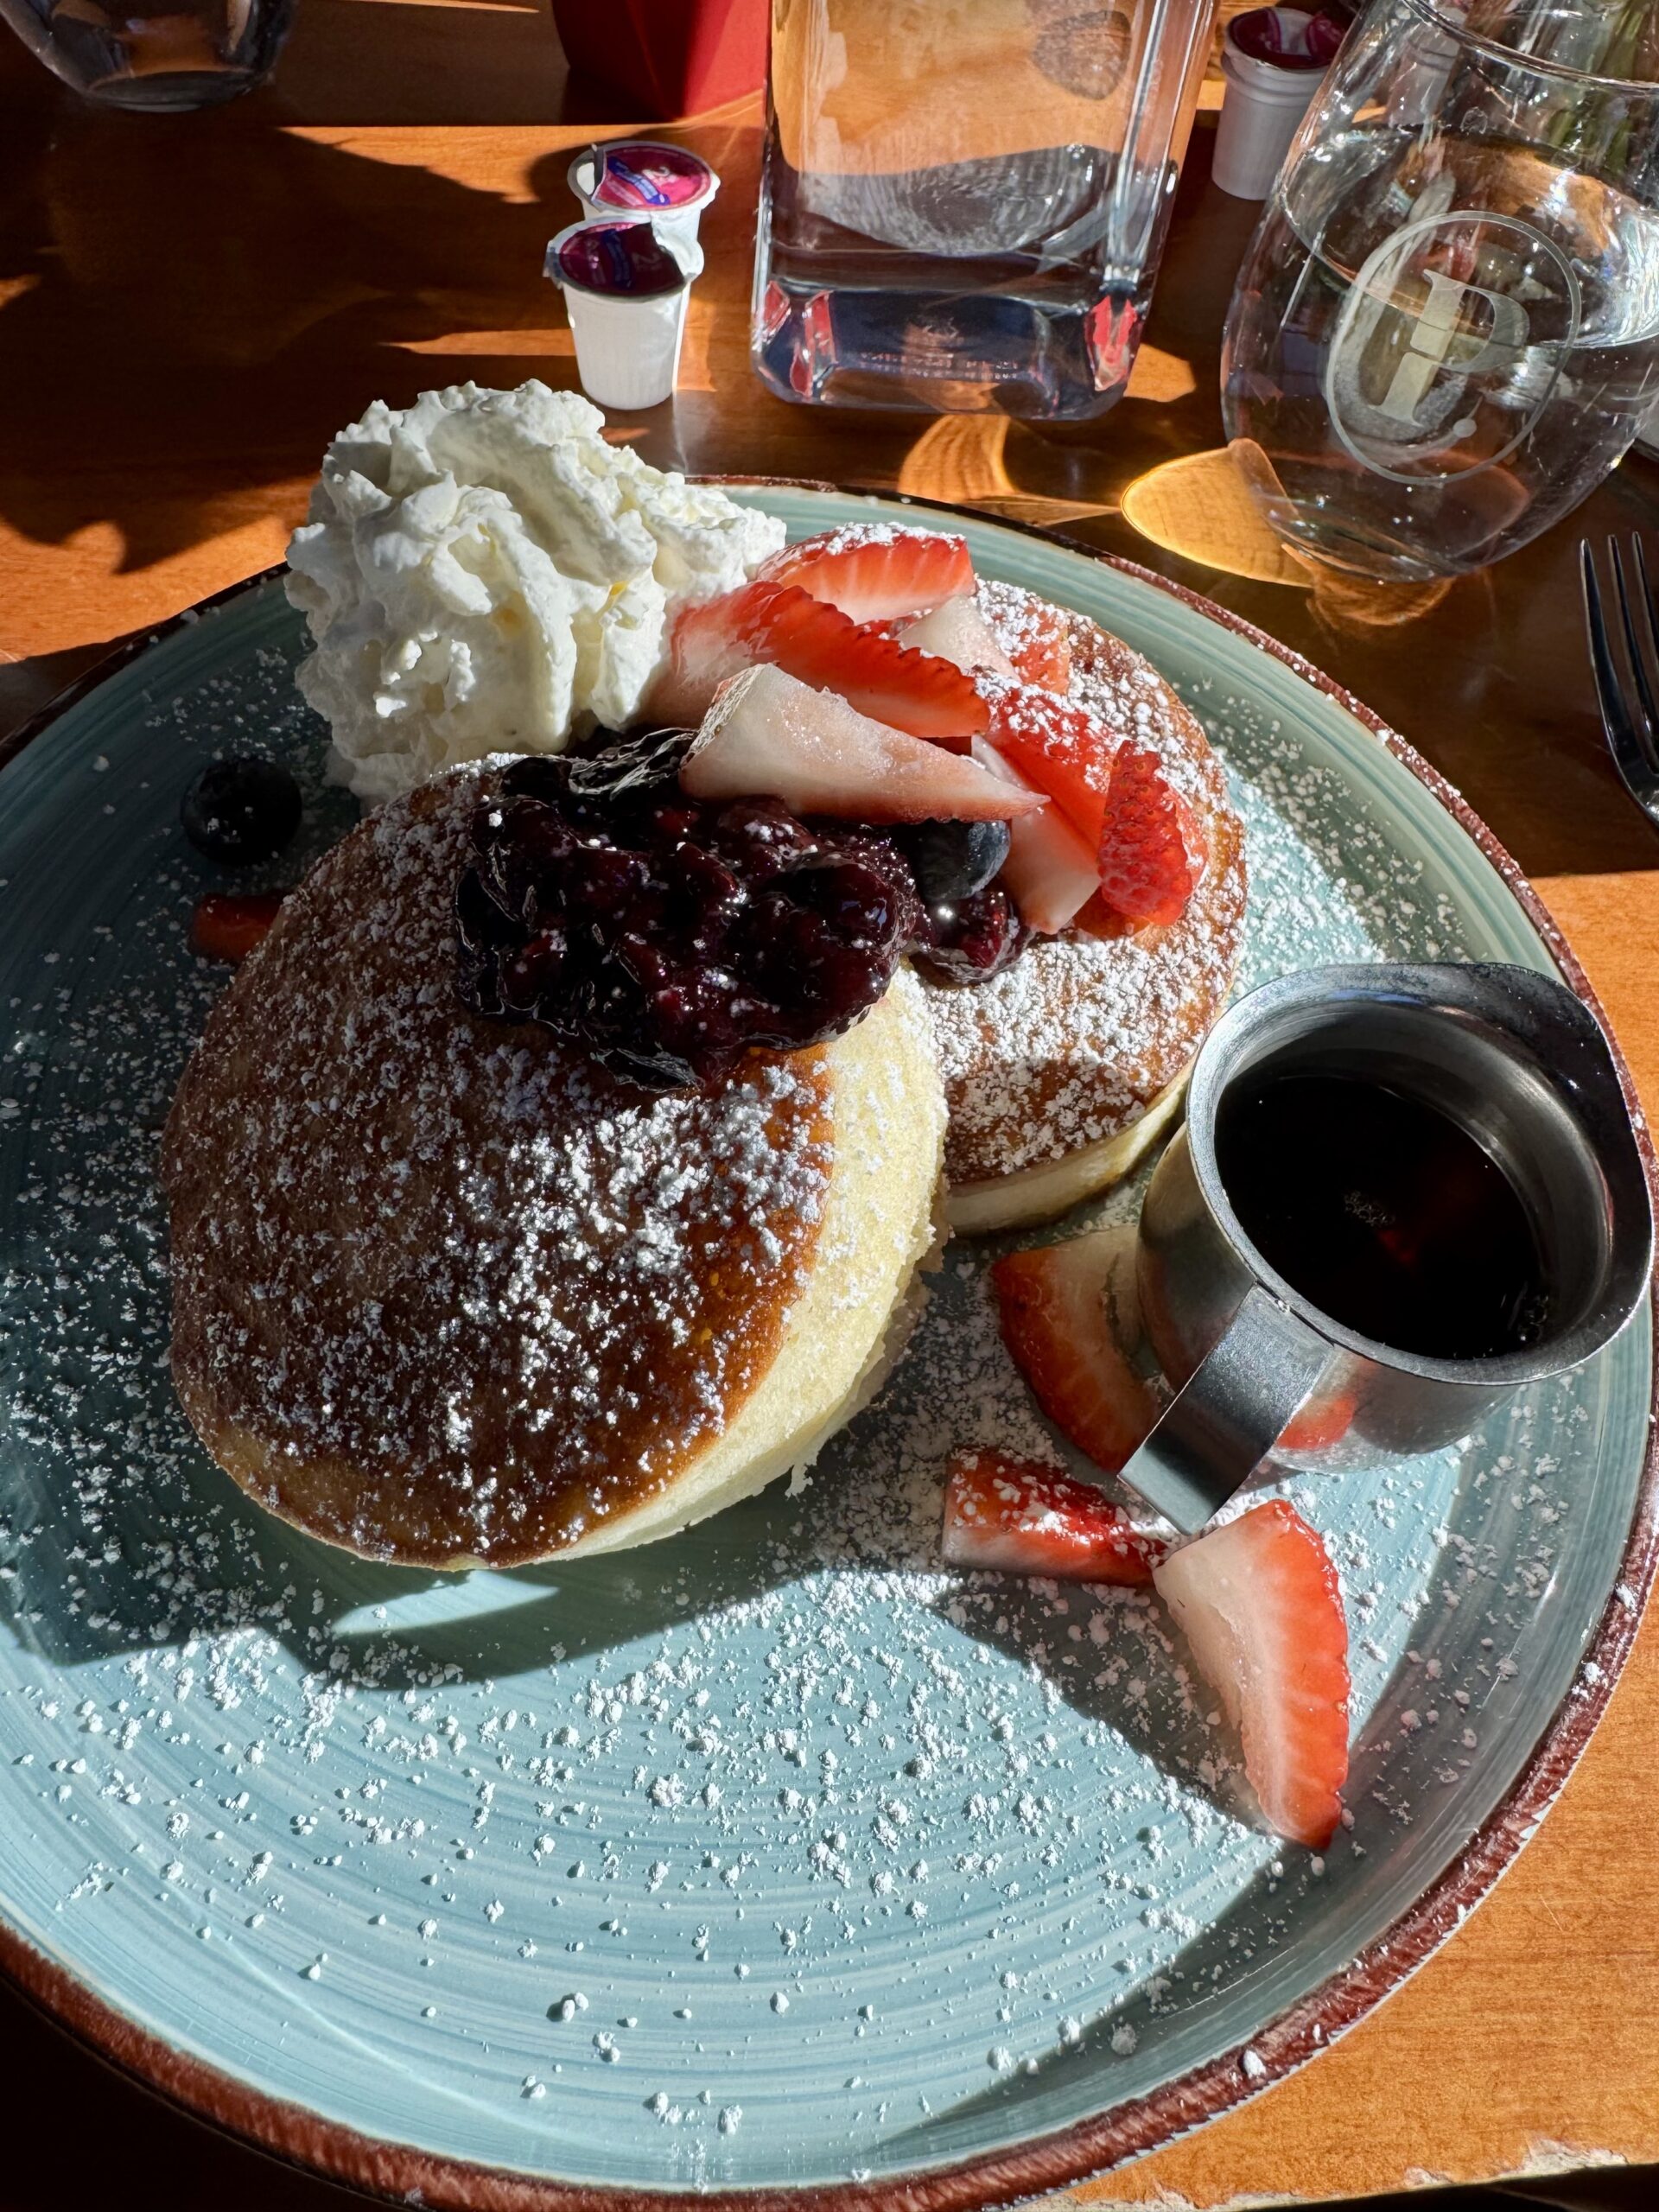
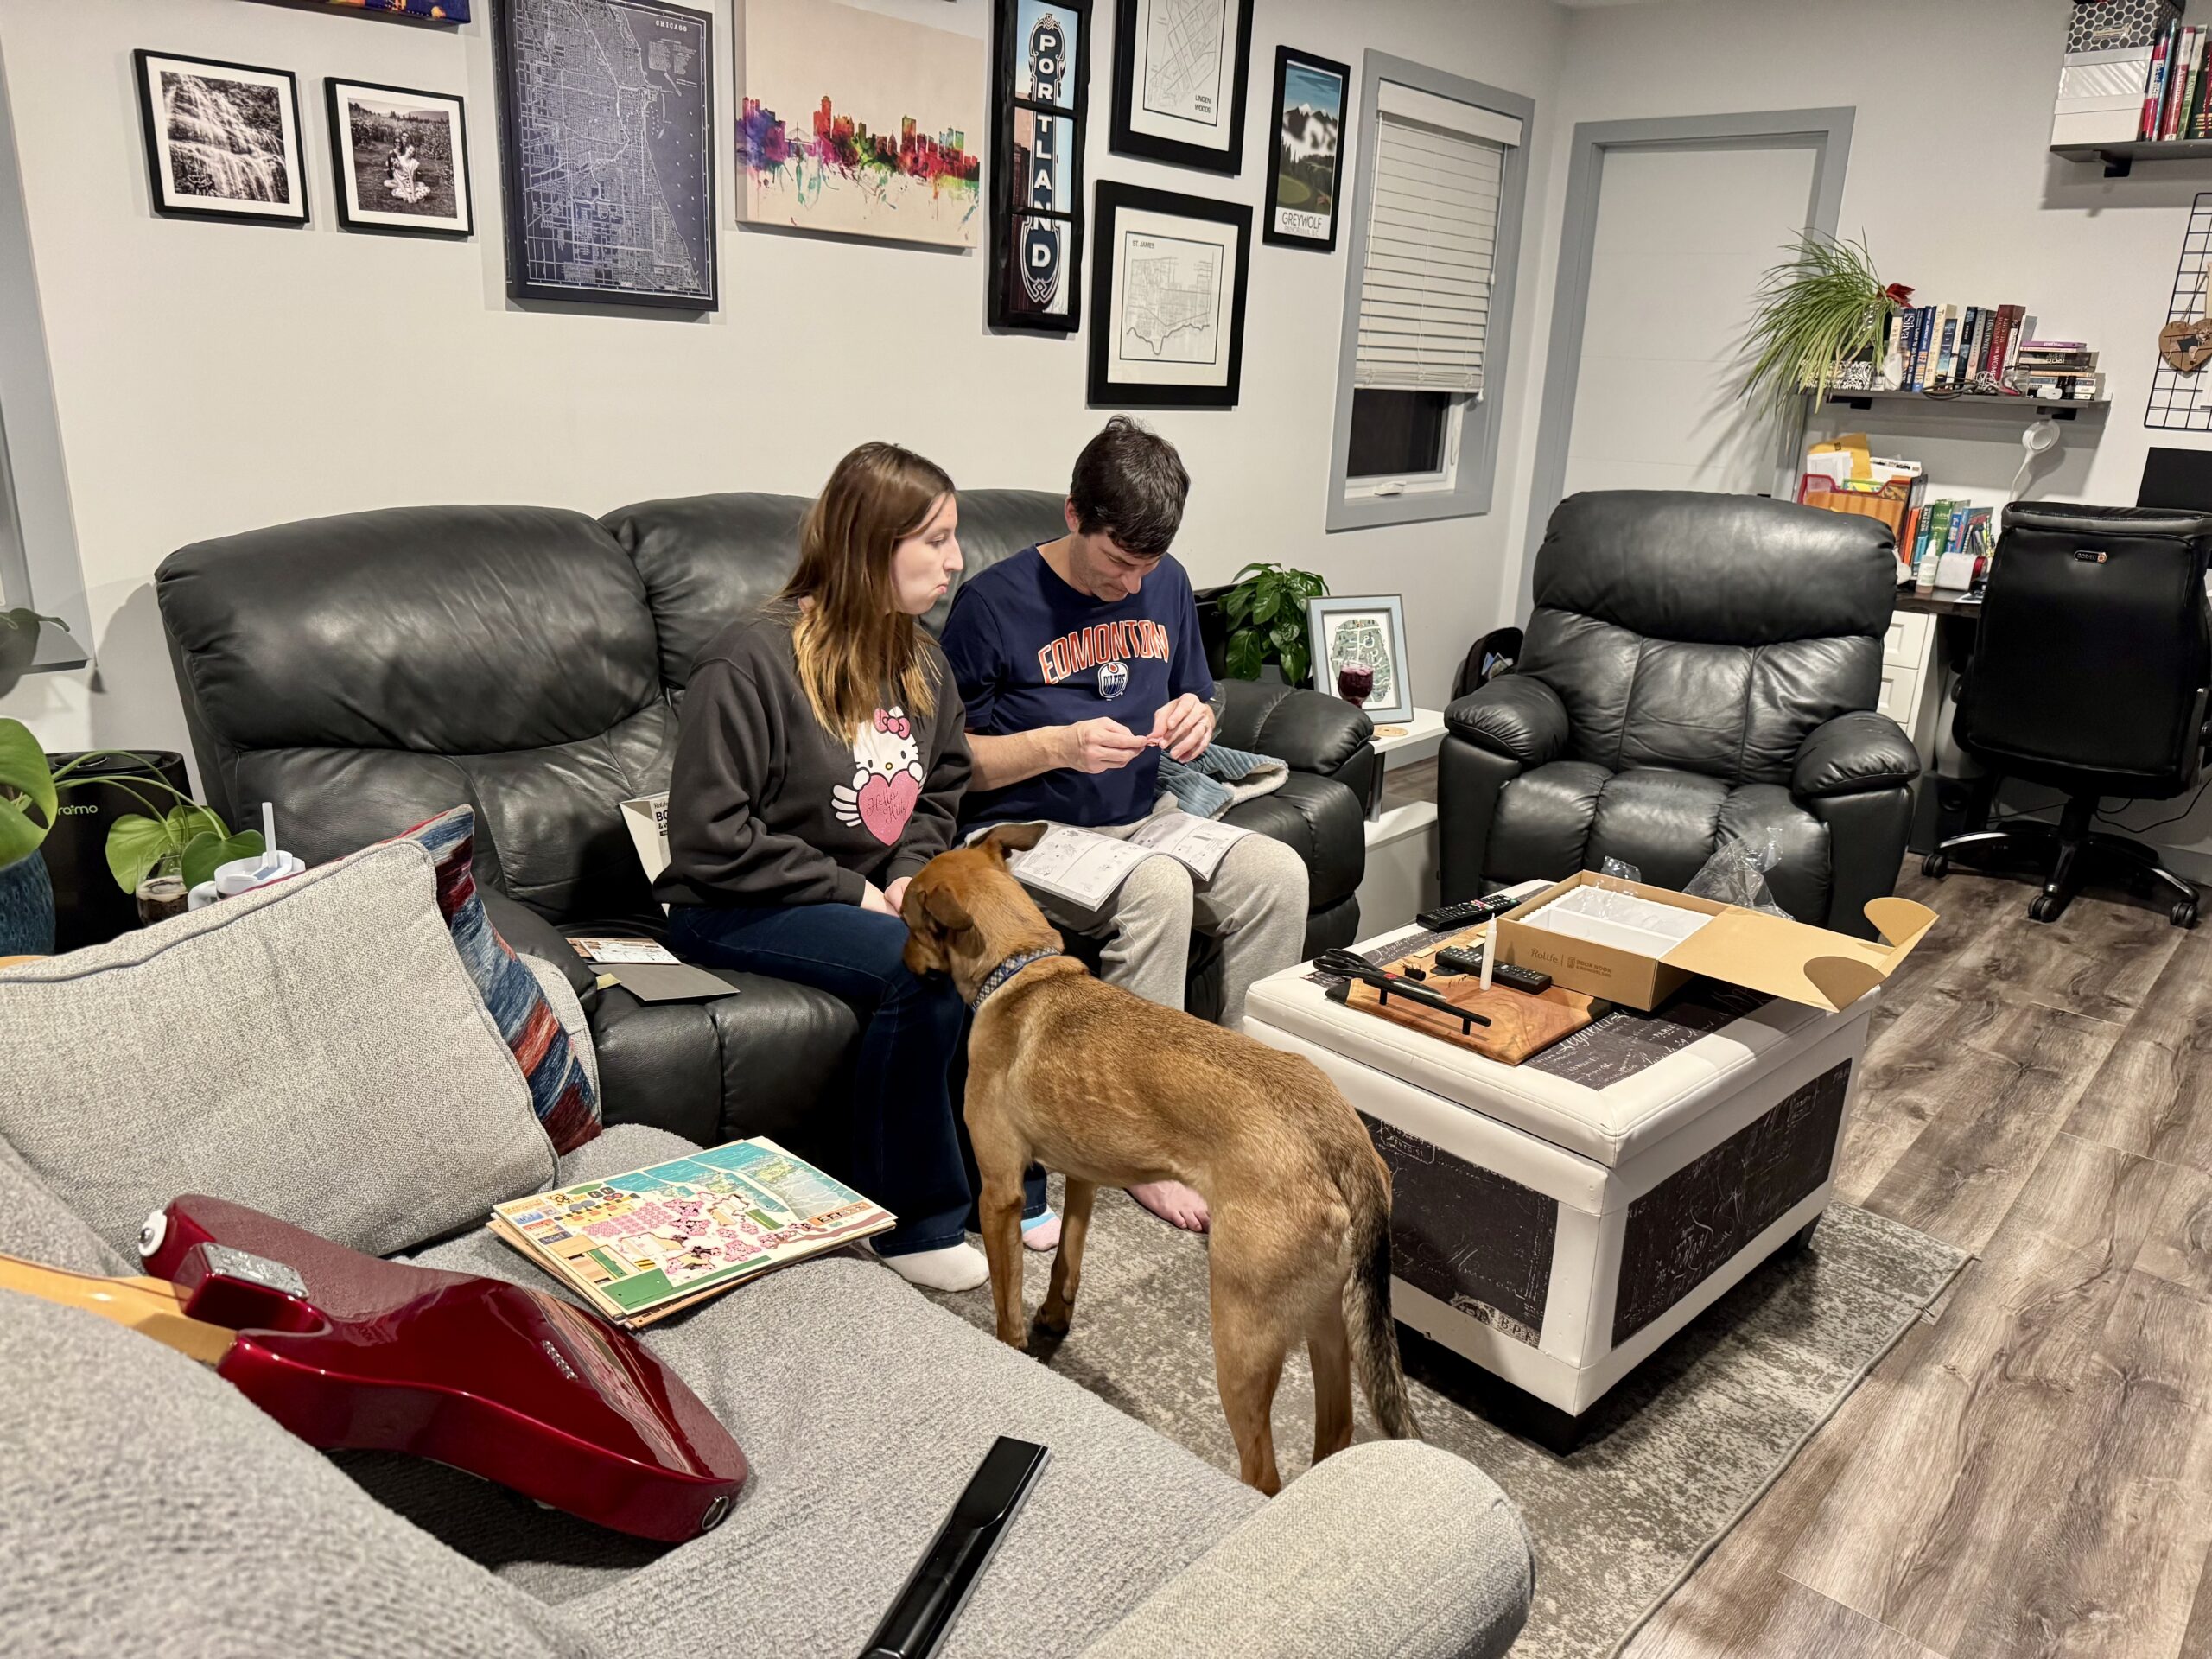
This week I worked, we watched the Olympics, did puzzles, celebrated Valentine’s Day, Cleaned out our CD collection, went to SBean’s gymnastics competition, out for brunch with my Sis and her family, and worked on Christmas book nooks.





















10 thoughts on “February: 7 Day Meal Plan”
Such a delicious sounding menu! I will be trying that honey chicken recipe for sure. We had Detroit style pizza for the first time a year or so ago and we loved it but we had never even heard of it before (and sadly the place isn’t close to us to go back and get some more). I’ll have to try making that too. Thanks for the ideas!
No problem! The Detroit style pizza was delicious so was the chicken! We had the same problem, we tried the pizza on holiday this summer and had to make it ourselves 😆. Thanks for stopping by!
This is my first time visiting, and I am so excited! I’ve been in a rut! I pinned most of these recipes and will be trying them out on my crew! Thank you!
Welcome! This comment just made my whole day, thank you! Enjoy 😊
Amazing, love yes LOVE them all especially the honey chicken, wow
Thank you for sharing with us at SSPS 398. See you again soon
Thank you for having me! See you next week 😊
Pingback: Busy Monday 711
Kristin, that rice salad looks amazing! You have inspired me to make it this weekend. Thank you so much. 🙂 I will be featuring your post tomorrow at The Crazy Little Lovebirds link party. 🙂
Thank you! Warning though, that Crispy Rice Salad will be your new addiction lol! It’s so tasty! Enjoy 🙂
Pingback: Tuesday Turn About #343 Spring Fling -